How to set up Speak Selection on Mac | Apple Support

I’ll show you how to set up Speak Selection on your Mac. Open System Settings, choose Accessibility, select Read and Speak, and turn on Speak Selection.

Click the Info button to customize the keyboard shortcut (default Option+Esc) and choose whether to highlight content—select Words and Sentences for word-by-word highlighting.

Choose word and sentence colors and switch Underline to Background Color to enable highlighting.

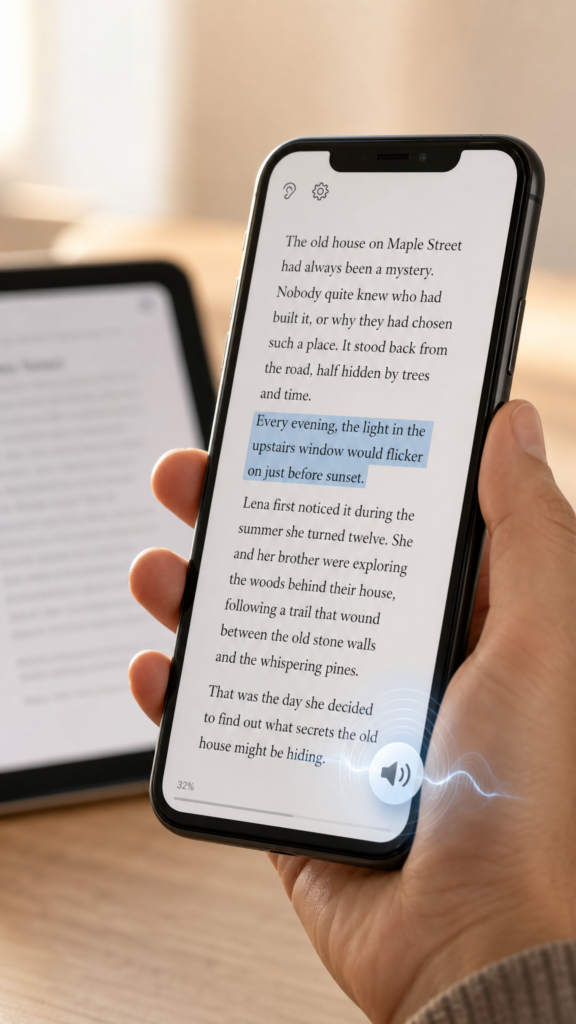
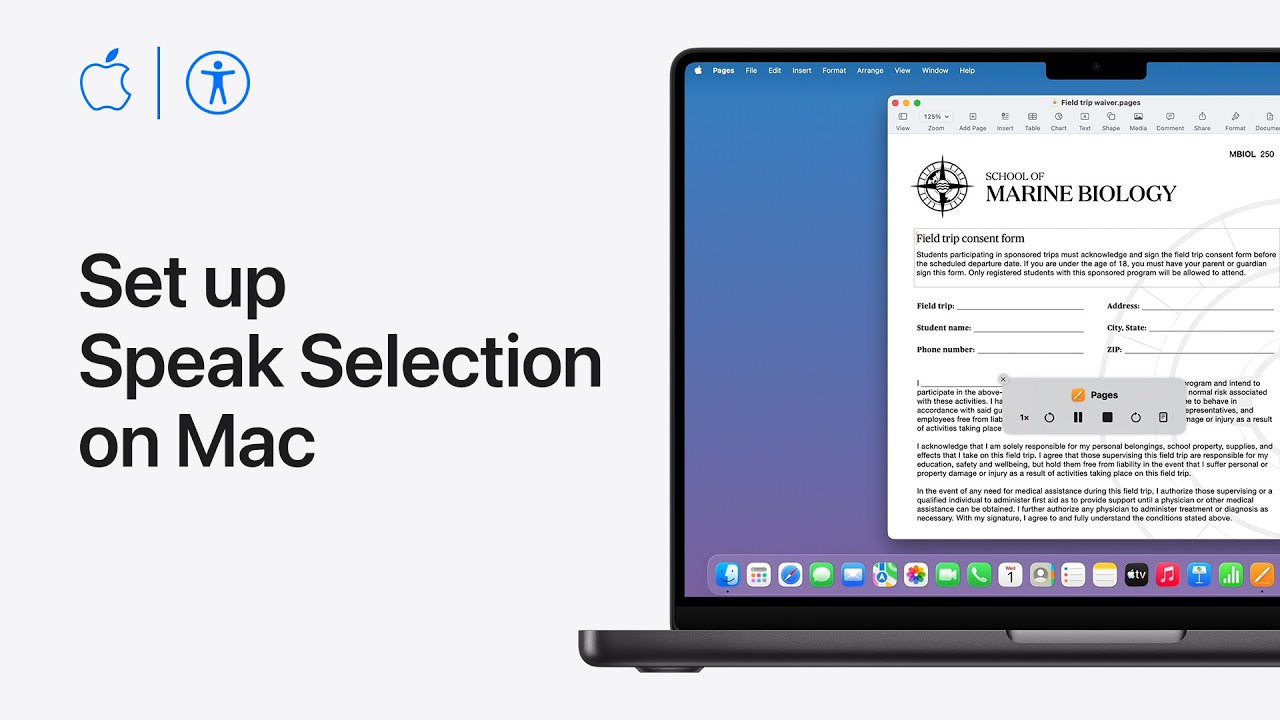
Set the Speak Selection controller to appear automatically or when you press the shortcut, click OK, open Pages, select text, and press the shortcut to have your Mac read it aloud and adjust settings as needed later.

  • Enable Speak Selection in System Settings → Accessibility → Read and Speak.
  • Open Info to set the keyboard shortcut (default Option+Esc).
  • Choose highlighting behavior: Words and Sentences for word-level highlighting.
  • Pick word and sentence colors and switch underline to Background Color to highlight as it reads.
  • Use the Speak Selection controller option, open a compatible app (Pages), select text, and press the shortcut to hear it.

How to have your iPhone or iPad read text to you | Apple Support

I’ll show you how to set up and use Read & Speak on your iPhone or iPad:

First, open Settings, tap Accessibility, then Read & Speak and enable Speak Selection.

Next choose Highlighting to set the style and color for spoken text, then return to download different Voices or change the Default Language while leaving Detect Languages on for automatic detection.

Tap Pronunciations to correct tricky words and adjust the Speaking Rate slider to slow or speed the voice.

To use it, select text in compatible apps, tap the arrow until Speak appears, then tap Speak to hear the text aloud for clearer comprehension quickly.

  • Enable Speak Selection in Settings > Accessibility > Read & Speak.
  • Customize Highlighting, Voices, Default Language, and leave Detect Languages on.
  • Add custom Pronunciations and set Speaking Rate with the slider.
  • Select text in apps, tap the arrow until Speak appears, then tap Speak to listen.

How to personalize the Collections tab in Photos on iPhone | Apple Support

I open Photos and tap the Collections tab at the bottom of the screen. Then I tap Layout and Reorder to choose how my Collections appear.

I can select Small Grid to shrink thumbnails and see more collections, or Large Grid to make them bigger.

To reorganize, I tap Reorder, touch and hold a collection, drag it where I want—moving Featured Photos to the top—and release.

When I’m satisfied with the arrangement I tap Done to save my changes. That’s how I personalize the Collections tab so my photos display exactly the way I like for my daily browsing comfortably.

  • Open Photos and tap Collections.
  • Tap Layout and Reorder to choose Small Grid or Large Grid.
  • Tap Reorder, touch and hold a collection, then drag to reposition.
  • Move Featured Photos (or any collection) to the top as desired.
  • Tap Done to save your personalized layout.

How to record a call on iPhone and iPad | Apple Support

I can record a phone or FaceTime audio call on my iPhone (iOS 18+) and get a searchable transcript in Notes: while on the call I tap More, choose Call Recording, and everyone is notified that recording has started; Notes immediately creates a new note for the transcript.

I can stop recording anytime with the Stop button or end the call to stop; when the recording finishes I tap the notification to open it.

Call recordings appear in Notes where I can play audio, view, search, edit, or share the transcript, and on supported devices Apple Intelligence also shows a helpful summary.

  • While on a call, tap More → Call Recording (all parties alerted).
  • Notes creates a new note with the recording and transcript.
  • Stop recording early with Stop, or end the call to stop.
  • Tap the notification to open the saved call in Notes.
  • In Notes you can search, edit, share, and view an AI-generated summary (if available).

How to sort and filter your library in Photos on iPhone and iPad | Apple Support

I need to find specific photos and videos in my library, so I use the Sort and Filter tools in Photos on iOS 26 or iPadOS 26.

First I open my Library and tap the Sort and Filter button, then tap Filter.

I pick filter options — for example, Favorites and Not in an Album — and can combine multiple filters to narrow results.

To change order I tap Sort and Filter again and choose Sort by Recently Added so items appear by when I added them.

To return to the full library I tap Filter and Remove Filters again.

  • Open Photos Library and tap the Sort and Filter button, then tap Filter.
  • Choose one or multiple filter options (e.g., Favorites, Not in an Album).
  • Combine filters to narrow results and view only matching photos/videos.
  • To change ordering, tap Sort and Filter and choose Sort by Recently Added.
  • Remove Filters to restore the full Library view.

How to share experiences nearby with Apple Vision Pro | Apple Support

I want to share Apple Vision Pro experiences with others using visionOS 26; first I update my headset and confirm any Apple Vision Pro I’ll share with is on the latest OS.

Next I make sure nearby devices are on the same Wi‑Fi network and have Bluetooth enabled.

To watch movies together everyone needs a subscription to the same content, and to play spatial games each person must install the same SharePlay‑enabled game.

Then I open the app or 3D object, look to the bottom of the window for sharing controls, and choose to invite people nearby or connect remotely over FaceTime.

  • Update all Apple Vision Pro devices to visionOS 26.
  • Ensure nearby devices share the same Wi‑Fi and have Bluetooth on.
  • Match subscriptions for shared media and install the same SharePlay games.
  • Open the content or 3D object and access sharing controls at the bottom of the window.
  • Invite people nearby or start a FaceTime share to connect remotely.

How to use Live Translation on iPhone and with your AirPods | Apple Support

I want to translate messages, calls, FaceTime, or in-person conversations; here’s how I do it.

First I ensure my iPhone runs iOS 26 and Apple Intelligence is on. In Messages I tap the contact, enable Automatically Translate, pick the source language, then type and send — translations appear as I write and my contact gets them.

During a call I tap More, choose Live Translation, pick the language, and Start Translation for live spoken translation.

In FaceTime tap More and start Live Translation for captions.

For in-person I update my AirPods, open Translate, set up Live, pick a language, start.

  • Ensure iPhone runs iOS 26 and Apple Intelligence is enabled.
  • In Messages: enable Automatically Translate in the contact, choose language, type and send (translations appear as you type).
  • During phone calls: tap More → Live Translation → choose language → Start Translation for live spoken translation and onscreen transcription.
  • In FaceTime: tap More → Start Live Translation for live captions.
  • For in-person conversations: update compatible AirPods, open Translate → Live → Set Up Live Translation → choose language → Start.

How to use widgets on Apple Vision Pro | Apple Support

I show you how I add and customize widgets in visionOS 26: first I tap Widgets app in Home View to see suggested widgets or pick an app from the list on the left.

Next I choose Photos and swipe through options like panoramas, spatial photos, or posters until I find one I like. I tap the widget to add it to my space, anchor it to the wall where I want it, and use customization controls to adjust size and appearance.

Once set, the widget integrates into my space and reappears again every time I put on Apple Vision Pro.

  • Tap the Widgets app in Home View to begin.
  • Browse suggested widgets or select an app from the left-hand list.
  • For Photos, swipe through panoramas, spatial photos, or posters to choose a style.
  • Tap the chosen widget to add it, then anchor it to the wall and adjust size/appearance.
  • The widget stays integrated in your space and reappears every time you wear Apple Vision Pro.

How to use Call Screening on iPhone | Apple Support

Starting in iOS 16, I can show you how to find out exactly who is calling before you ever pick up the phone. First, open your Settings, tap Apps, and use the search bar to find the Phone app.

Once there, scroll down to the Screen Unknown Callers section and select Ask Reason for Calling. Now, when an unknown number calls, your iPhone will ask for their name and purpose. Simply tap View to read a live transcript of their response.

Finally, you can type a reply, use a suggested message, or slide to answer whenever you’re ready.

  • Open Settings, navigate to Apps, search for the Phone app, and select the Screen Unknown Callers section.
  • Enable the “Ask Reason for Calling” feature to have your iPhone automatically prompt unknown callers for their information.
  • Once a call is being screened, tap the View button to read a live, real-time transcript of what the caller is saying.
  • Interact with the caller without picking up by typing a custom reply or choosing from a list of suggested quick messages.
  • Stay in control of the conversation by sliding to answer the call at any moment once you’ve confirmed who is on the line.

How to use AirDrop on iPhone and iPad | Apple Support

I use AirDrop to quickly send photos, long videos, or large files by first making sure the person is nearby and that we both have Wi‑Fi and Bluetooth on, turning off Personal Hotspot if needed.

If we both have iOS 17 or later, I open the file I want to share, tap the Share button, choose AirDrop, and move my iPhone close to the other device.

I tap the contact’s name and wait for the devices to connect; the recipient taps Accept, and the item opens automatically in a supported app.

To share with someone not in my contacts, I ask them to open Control Center, touch the Connectivity controls, tap AirDrop, and choose a receiving option.

  • Make sure you’re nearby and both devices have Wi‑Fi and Bluetooth on; turn off Personal Hotspot if needed.
  • Open the file, tap Share, choose AirDrop, and bring your iPhone close to the other device.
  • Tap the recipient’s name under People and wait for the devices to connect.
  • Recipient taps Accept; the shared item opens automatically in a supported app.
  • For people not in Contacts, have them open Control Center → touch Connectivity controls → AirDrop and select an option.