I use AirDrop to quickly send photos, long videos, or large files by first making sure the person is nearby and that we both have Wi‑Fi and Bluetooth on, turning off Personal Hotspot if needed.
If we both have iOS 17 or later, I open the file I want to share, tap the Share button, choose AirDrop, and move my iPhone close to the other device.
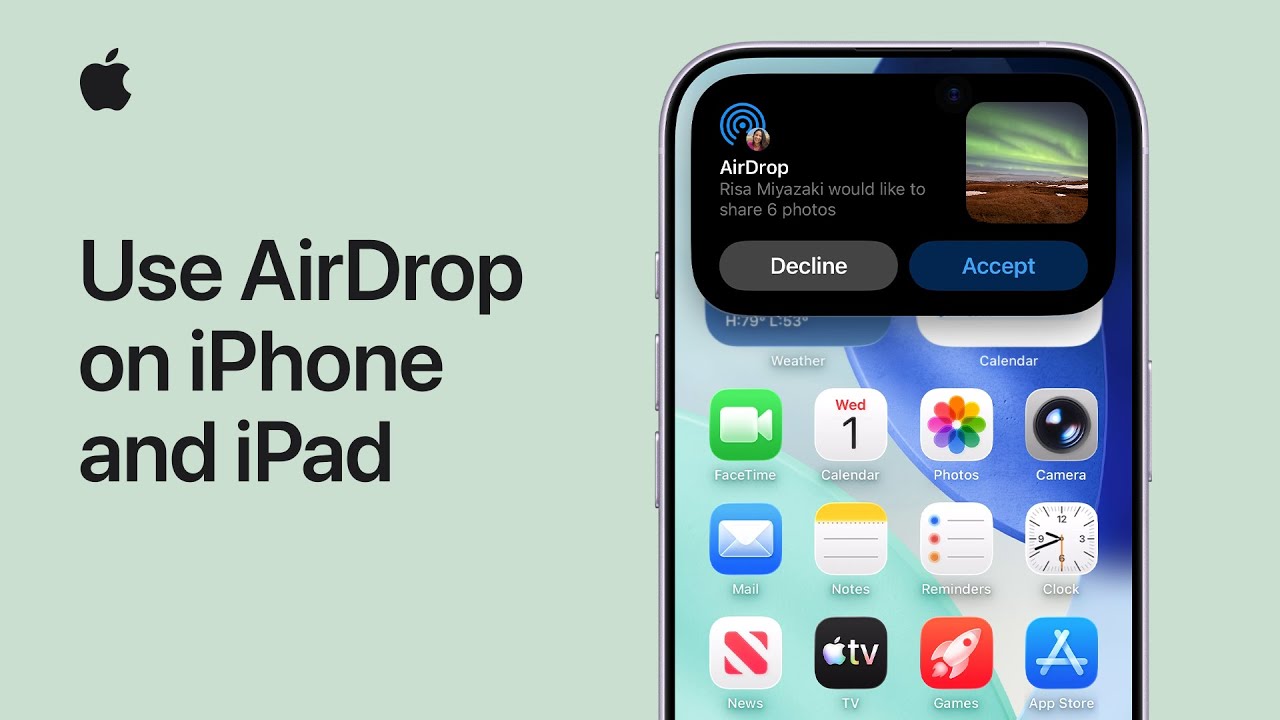
I tap the contact’s name and wait for the devices to connect; the recipient taps Accept, and the item opens automatically in a supported app.
To share with someone not in my contacts, I ask them to open Control Center, touch the Connectivity controls, tap AirDrop, and choose a receiving option.

- Make sure you’re nearby and both devices have Wi‑Fi and Bluetooth on; turn off Personal Hotspot if needed.
- Open the file, tap Share, choose AirDrop, and bring your iPhone close to the other device.
- Tap the recipient’s name under People and wait for the devices to connect.
- Recipient taps Accept; the shared item opens automatically in a supported app.
- For people not in Contacts, have them open Control Center → touch Connectivity controls → AirDrop and select an option.