How to reset your AirPods, AirPods Pro, or AirPods Max | Apple Support

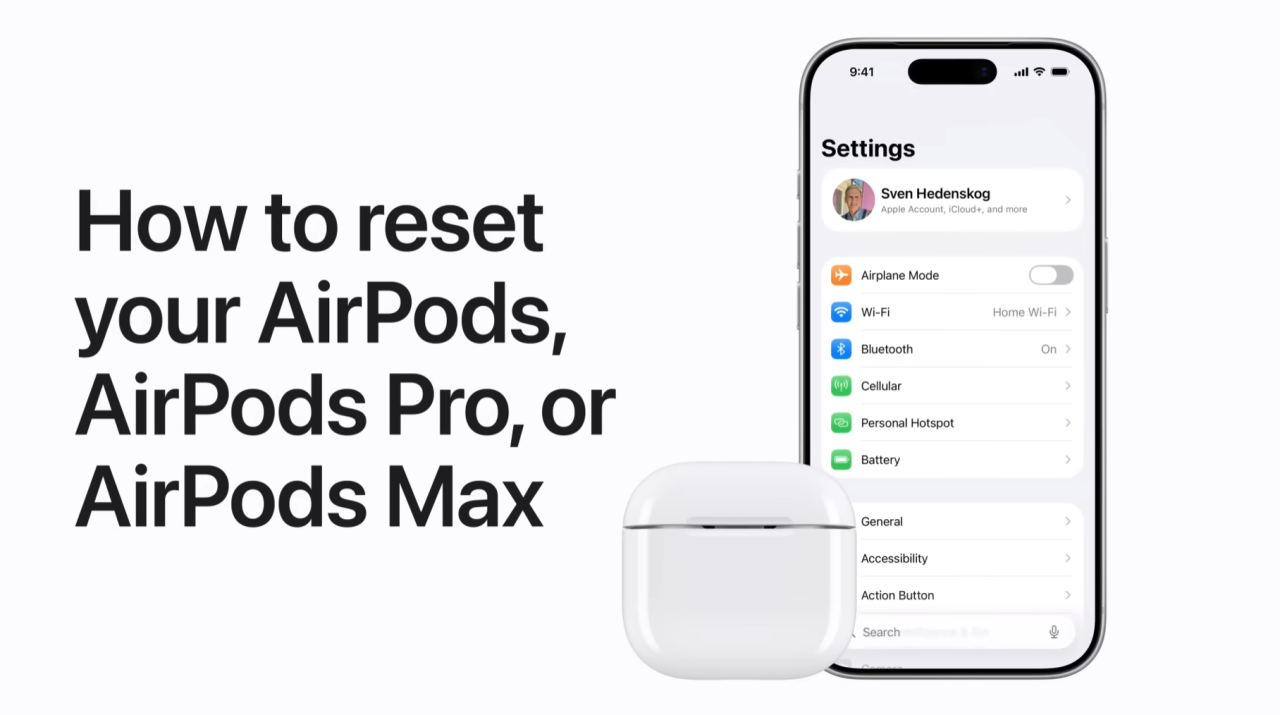
To reset your AirPods, I first recommend unpairing them by going into your iPhone settings, selecting your device, and tapping “Forget This Device” to clear the connection from all your iCloud devices.

For AirPods or AirPods Pro, place them in their case, open the lid, and either double-tap the front of the case or hold the setup button on the back for fifteen seconds until the light flashes amber and then white.

For AirPods Max, ensure they are charged, then hold both the noise control button and the Digital Crown for fifteen seconds until you see the same amber-then-white light sequence.

Now you are fully reset and ready to pair again!
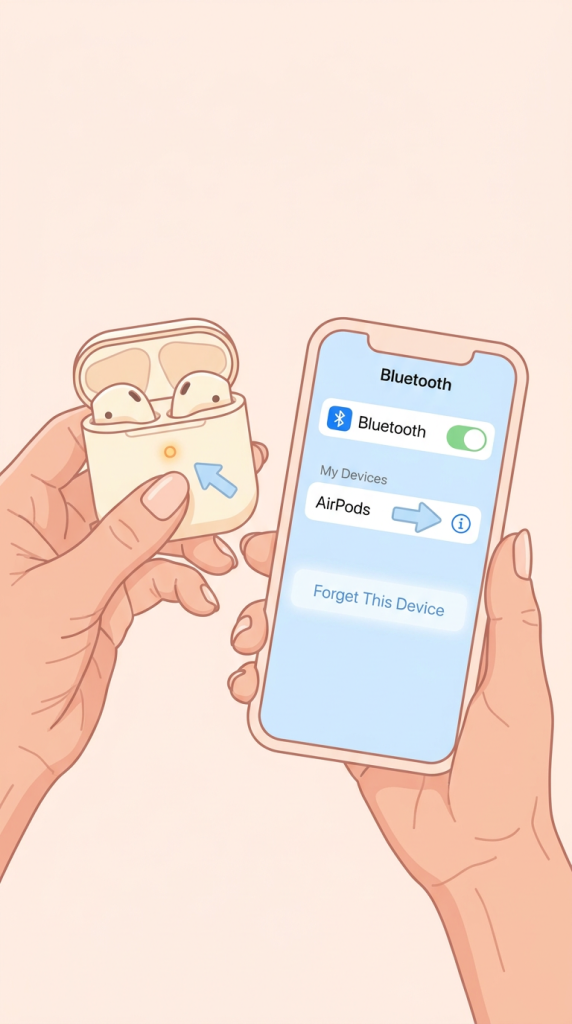
  • I start by unpairing the AirPods or AirPods Max from the iPhone settings by selecting the device and tapping “Forget This Device” to remove it from all iCloud-connected devices.
  • For AirPods or AirPods Pro, I place them in their charging case, open the lid, and either double-tap the front of the case or hold the setup button on the back for 15 seconds.
  • For AirPods Max, I ensure they are charged and out of their case, then I press and hold the noise control button and the Digital Crown together for about 15 seconds.
  • I watch for the status light to flash amber and then white, which indicates that the factory reset is successful.
  • Once the reset is complete, the AirPods are ready to be re-paired with my device just like they were new.
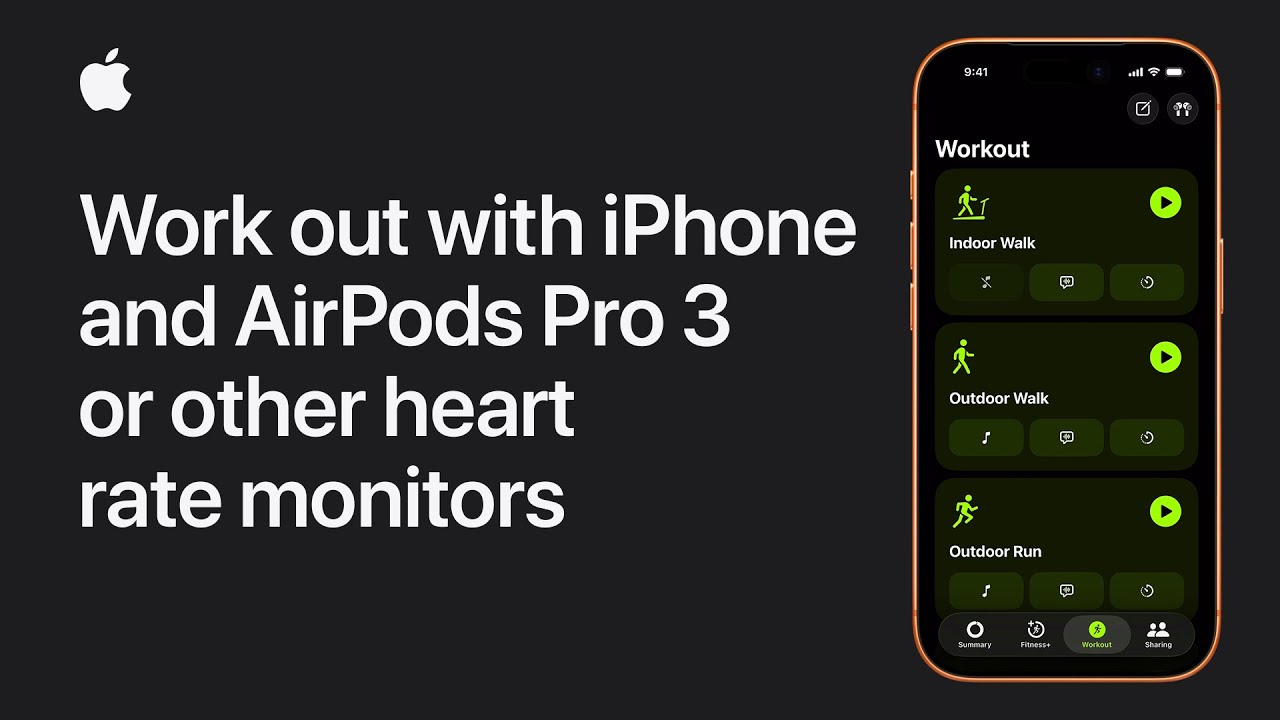
How to work out with iPhone and AirPods Pro 3 or other heart rate monitors | Apple Support

To start a workout on my iPhone with heart rate tracking, I open the Fitness app and tap the Workout tab. If I want full tracking, I make sure a compatible device like AirPods Pro or an Apple Watch is connected.

Once connected, I choose a workout that supports heart rate monitoring. Before starting, I can set up music, pick a Workout Buddy, and choose goals like time or calories.

Then I tap Start, and my workout begins, showing metrics like heart rate and distance.

If the device disconnects, the workout pauses.

When finished, I swipe up, tap End Workout, and review my results.

  • Open the Fitness app and go to the Workout tab.
  • Connect a heart rate monitor (Apple Watch or AirPods Pro).
  • Choose a workout and set music, goals, or Workout Buddy.
  • Tap Start and track metrics like heart rate and calories.
  • Swipe up, tap End Workout, and review your results.

How to reset and restore your iPhone | Apple Support

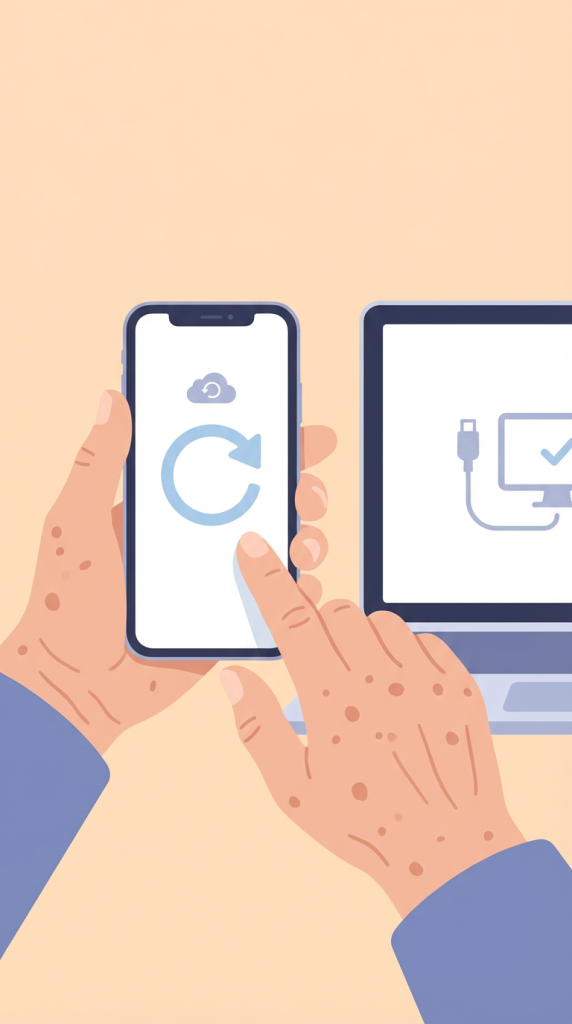
To reset my iPhone to factory settings, I first make sure I have a recent backup in iCloud or on my computer and keep my Apple Account details ready.

Then I open Settings, tap General, select Transfer or Reset iPhone, and choose Erase All Content and Settings. I tap Continue, decide whether to erase the eSIM, and enter my passcode and Apple ID password to begin the process.

Alternatively, I can use a computer by turning off Find My, connecting my iPhone, opening Finder or iTunes, selecting my device, and clicking Restore. After the process finishes, the Hello screen appears.

  • Or use a computer (Finder/iTunes) to restore; wait until the Hello screen appears.
  • Back up your iPhone and prepare your Apple ID details.
  • Go to Settings > General > Transfer or Reset iPhone.
  • Tap Erase All Content and Settings and confirm with passcode and Apple ID.
  • Optionally erase eSIM if needed.

iPhone Tips for Seniors: 5 Creative Ways to Use Siri

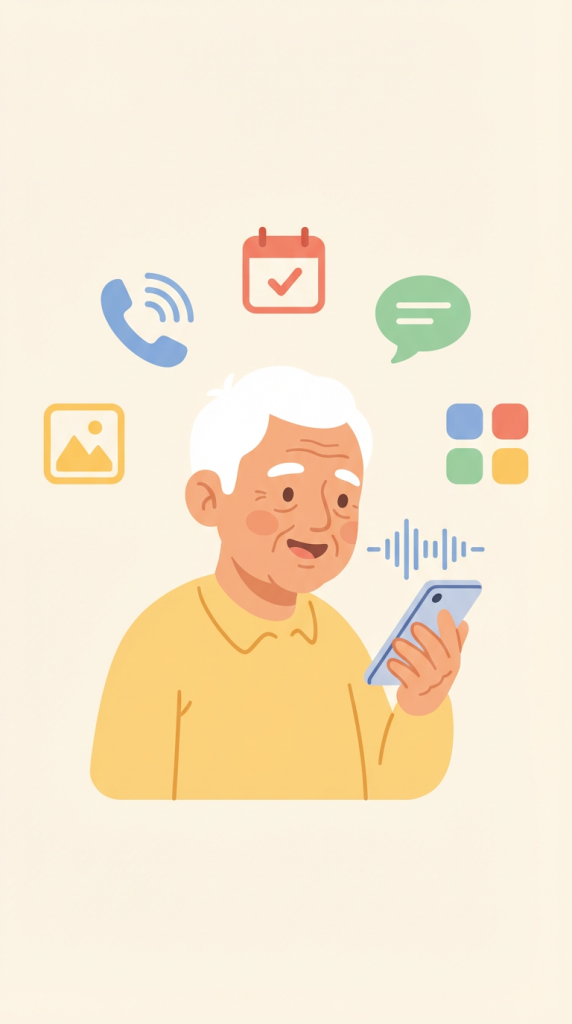
To make using my iPhone easier, I rely on Siri as my voice assistant to handle everyday tasks without tapping through menus. I start by activating Siri using the side button, then ask it to make a phone call on speakerphone.

Next, I create a calendar appointment by simply stating the date and time. I can also open apps like Calculator or Notes just by asking. When I need to send a message or photo, I tell Siri what to send and to whom.

Finally, I check my upcoming schedule by asking Siri, making it quick to stay organized and save time.

  • Use Siri (side button) to make calls on speakerphone with ease.
  • Ask Siri to create calendar events without opening the app.
  • Open apps instantly by saying commands like “Open Calculator.”
  • Send texts or photos quickly using voice commands.
  • Check your schedule or upcoming events by asking Siri.

How to clean your Apple Watch | Apple Support

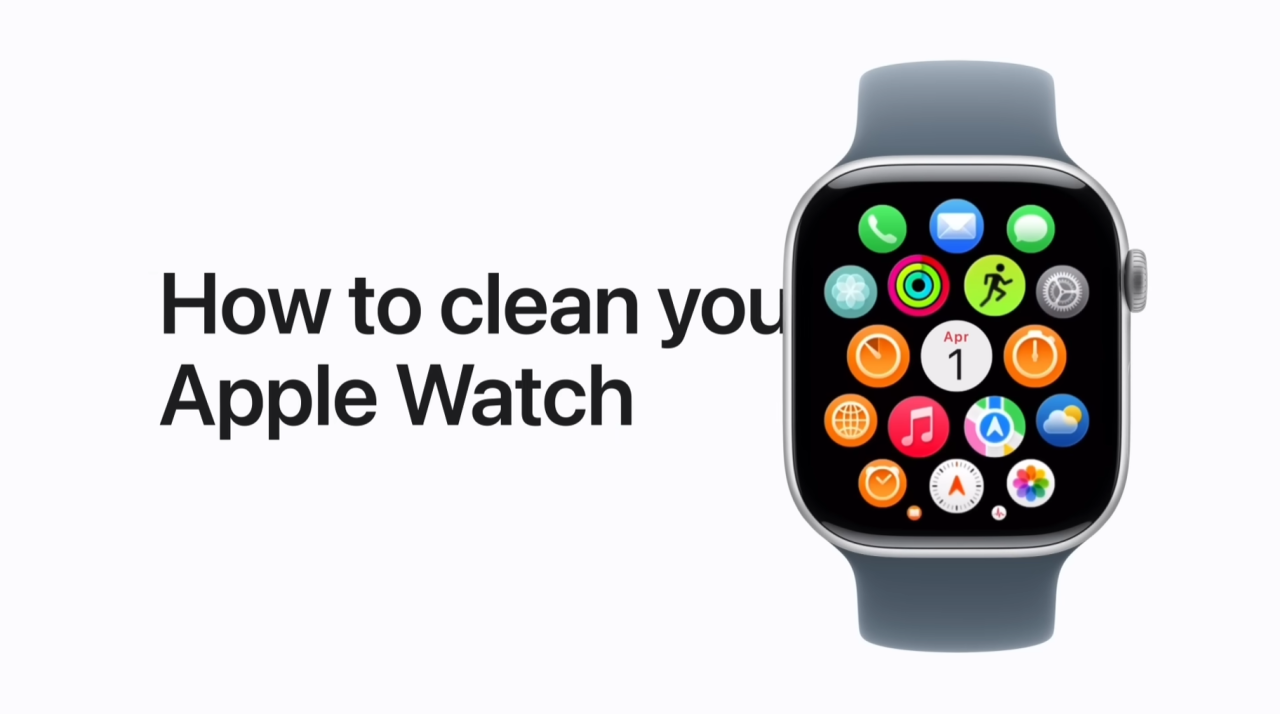
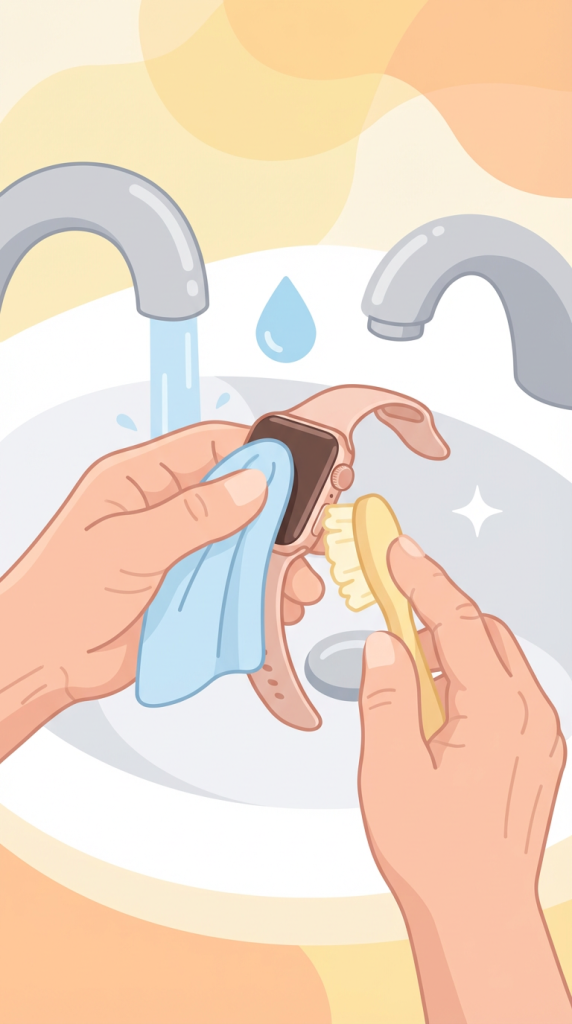
To clean my Apple Watch, I first turn it off by holding the side button and sliding Power Off, then remove it and take off the band if needed. I use a nonabrasive, lint-free cloth, slightly dampened if necessary, to wipe the watch clean.

For stubborn dirt, I rinse it under lightly running warm water without soap, making sure to clean the back crystal and turn the Digital Crown while rinsing.

If needed, I gently brush the speakers. After cleaning, I dry the watch thoroughly, reattach the band, turn it back on, and use Water Lock to clear any remaining moisture.

  • Turn off your Apple Watch, remove it, and take off the band if needed.
  • Wipe it clean with a lint-free cloth; dampen if necessary.
  • Rinse under warm water (no soap) and clean the back crystal and Digital Crown.
  • Gently clean speakers with a soft brush if needed.
  • Dry thoroughly, turn it on, and use Water Lock to remove remaining water.

How to add an email account to your iPhone | Apple Support

To add an email account to the Mail app on my iPhone, I start by opening Settings, scrolling down, and tapping Apps. I either find Mail manually or use the Search field to type Mail and select it.

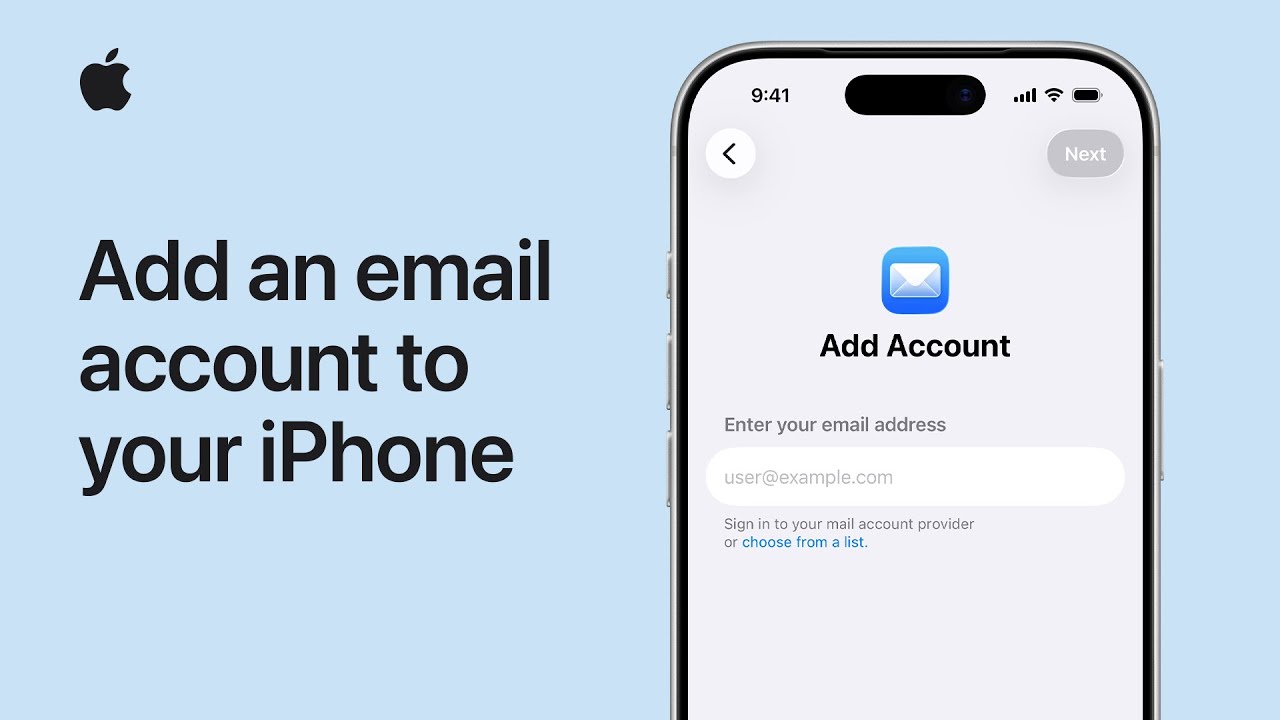
Next, I tap Mail Accounts, then Add Account, and choose my email provider, such as Google. I enter my email address, tap Next, and open the browser when prompted to sign in.

If needed, I complete extra steps like two-step verification. After signing in, I choose which apps to sync with the account, tap Save, and then access my email in Mail.

  • Open Settings, tap Apps, then find or search for Mail.
  • Tap Mail Accounts, then select Add Account.
  • Choose your email provider, such as Google.
  • Enter your email, sign in through the browser, and complete any extra verification steps.
  • Select what you want to sync, tap Save, and start using email in the Mail app.

How to use locked apps with Stolen Device Protection on iPhone | Apple Support

To protect your iPhone if it’s ever stolen, start by ensuring your device runs iOS 18 or later and has Face ID or Touch ID, two-factor authentication, Location Services, and Find My enabled.

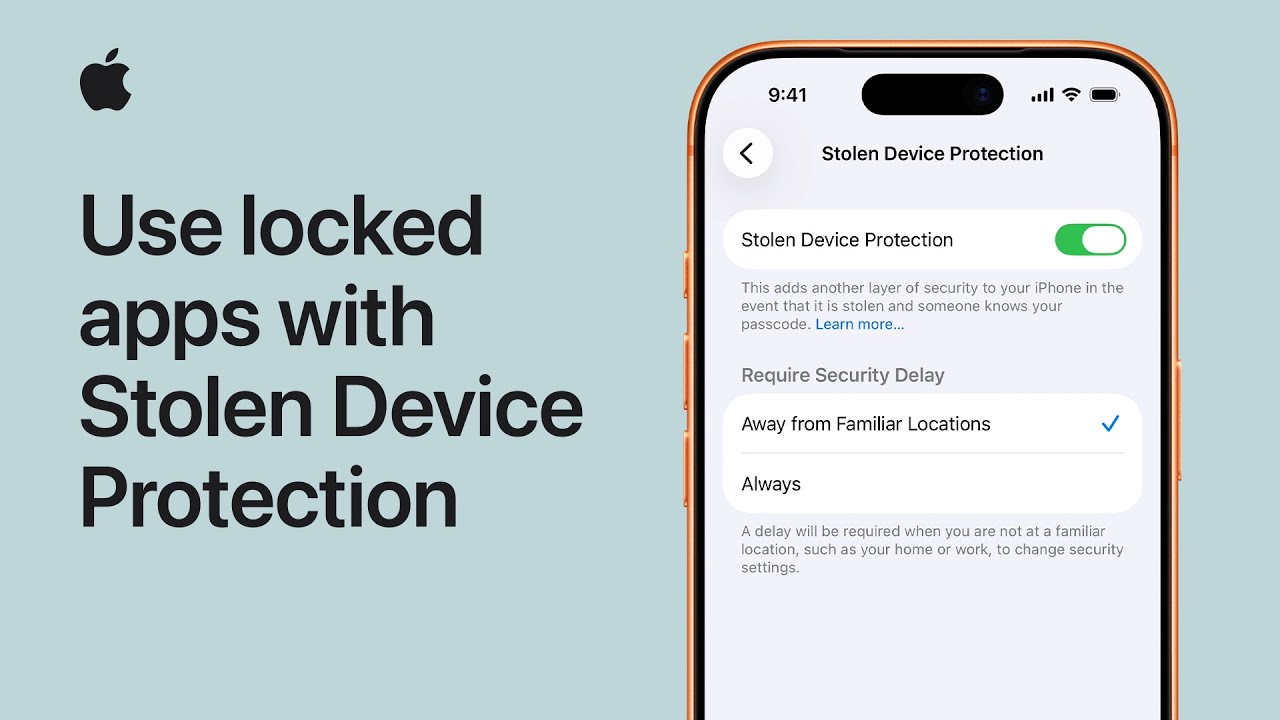
Next, open Settings, go to Face ID and Passcode, enter your passcode, and turn on Stolen Device Protection. This adds extra security, such as requiring biometric authentication and delaying changes to sensitive settings when away from familiar locations.

You can also lock apps by pressing and holding an app, selecting Require Face ID or passcode, and authenticating. To unlock, repeat the process and disable the requirement when needed.

  • Make sure your iPhone uses iOS 18+ and has Face ID/Touch ID, Find My, and 2FA enabled.
  • Turn on Stolen Device Protection in Settings under Face ID & Passcode.
  • This adds extra security like biometric checks and delays for sensitive changes.
  • Lock apps by holding an app and selecting Require Face ID/Passcode.
  • Unlock apps anytime by repeating the steps and removing the requirement.

Get to know Control Center on Apple Vision Pro | Apple Support

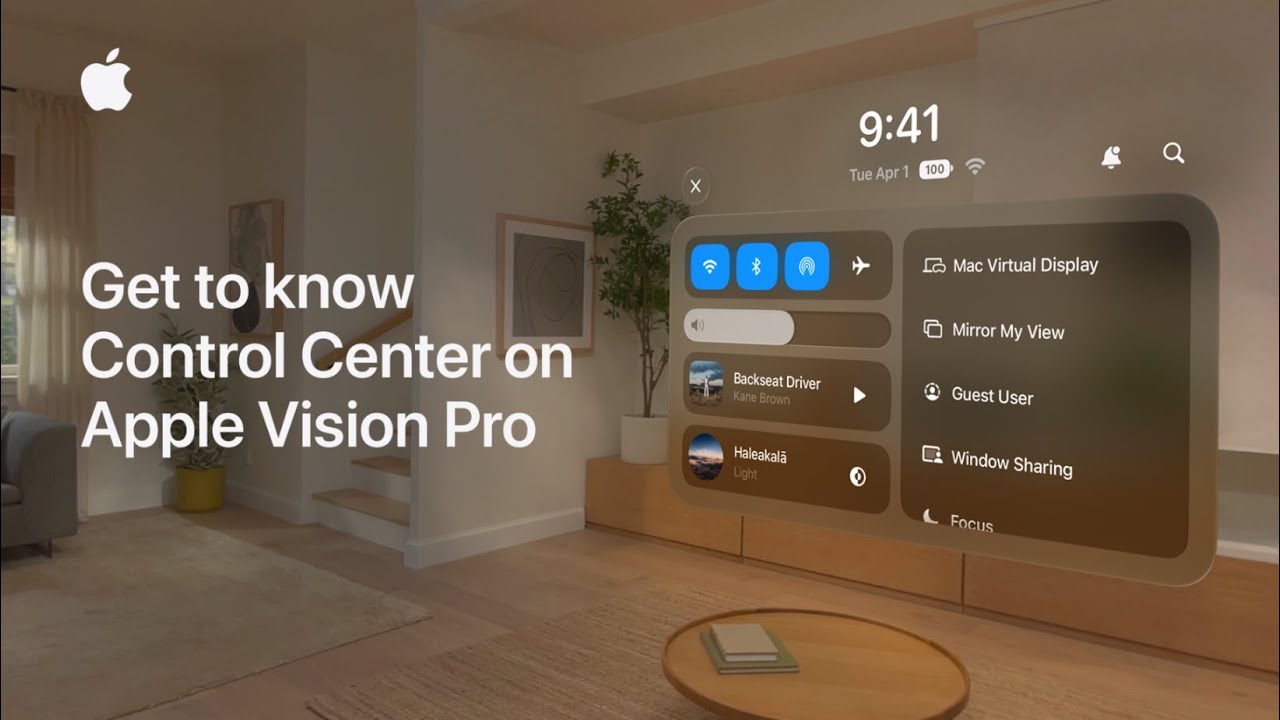
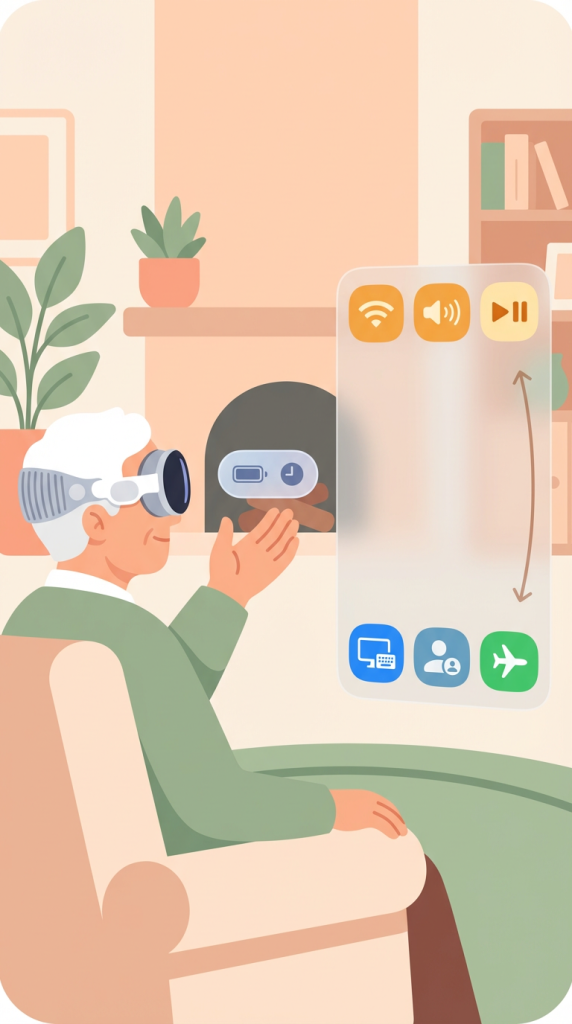
To access Control Center on Apple Vision Pro, start by looking at your hand with your palm facing you, then turn it outward to reveal the status bar showing battery and time.

Tap the status bar to open Control Center. On the left, you’ll find controls like Wi-Fi, volume, and Now Playing, while the right side includes features like Mac Virtual Display, Guest User, and Travel Mode.

You can also open Notification Center or Spotlight from the top.

To customize, go to Settings, add controls, or enable alternative access like “Look Upwards.” When finished, tap the Close button to exit Control Center.

  • Look at your hand and turn it outward to reveal the status bar, then tap it to open Control Center.
  • Access controls like Wi-Fi, volume, and media on the left side.
  • Use features like Mac Virtual Display, Guest User, and Travel Mode on the right.
  • Customize Control Center in Settings or enable “Look Upwards” for easier access.
  • Tap the Close button to exit Control Center when done.

How to connect and pair your Apple Pencil with your iPad | Apple Support

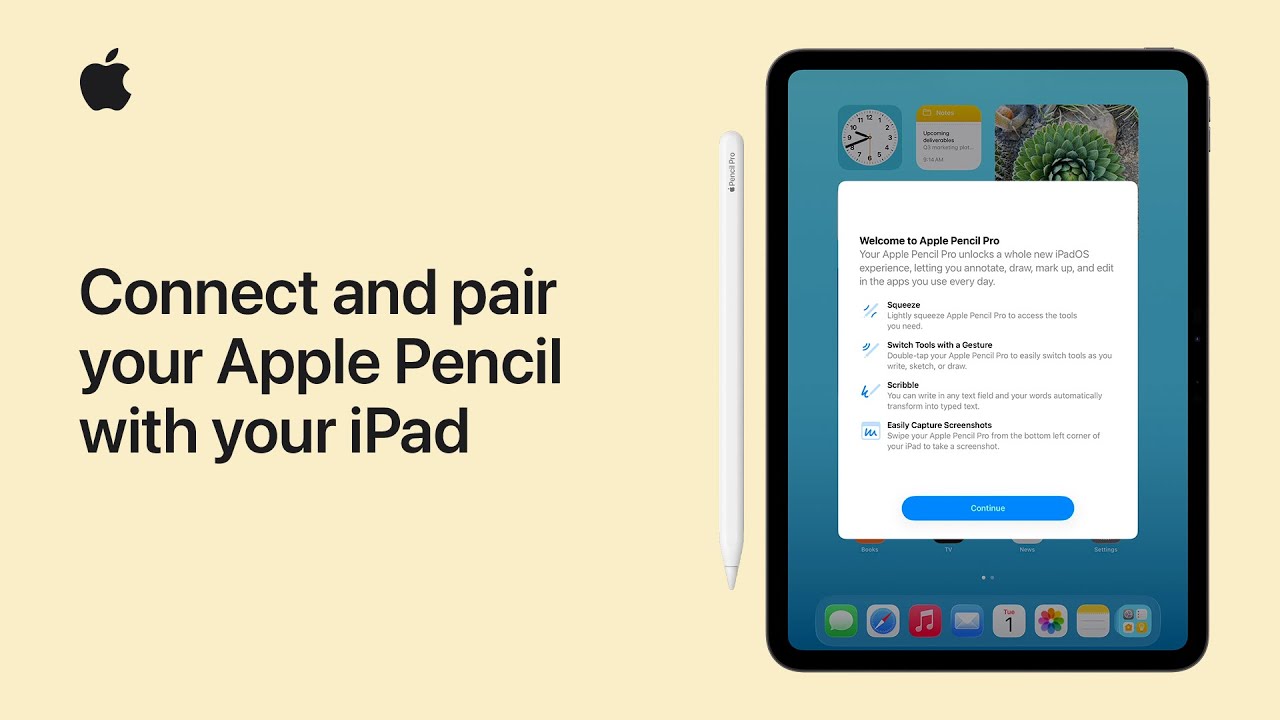
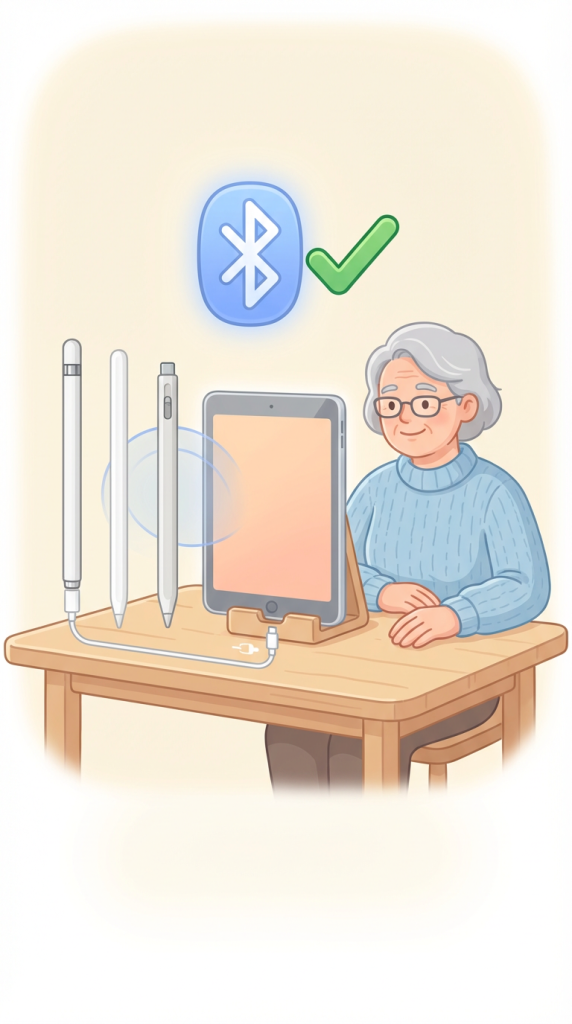
To pair your Apple Pencil with your iPad, start by updating your iPad to the latest version of iPadOS and ensuring Bluetooth is turned on in your settings.

Next, identify which of the four models you have, as each only works with specific iPads. To pair the Apple Pencil Pro or the second-generation model, simply attach it to the magnetic connector on the long side of your compatible iPad.

For the USB-C model, connect it via a cable, and for the first-generation version, plug it directly into the Lightning port or use the required adapter to finish pairing.

  • Ensure your iPad is updated to the latest iPadOS and that Bluetooth is turned on.
  • Identify your specific Apple Pencil model to ensure it is compatible with your iPad.
  • For Apple Pencil Pro or second-generation, attach it to the magnetic connector on the side of your iPad to pair.
  • For the USB-C model, connect it to your iPad using a compatible charging cable.
  • For the first-generation pencil, plug it into the iPad’s lightning port or use the required adapter to complete pairing.

How to use your Apple Pencil Pro | Apple Support

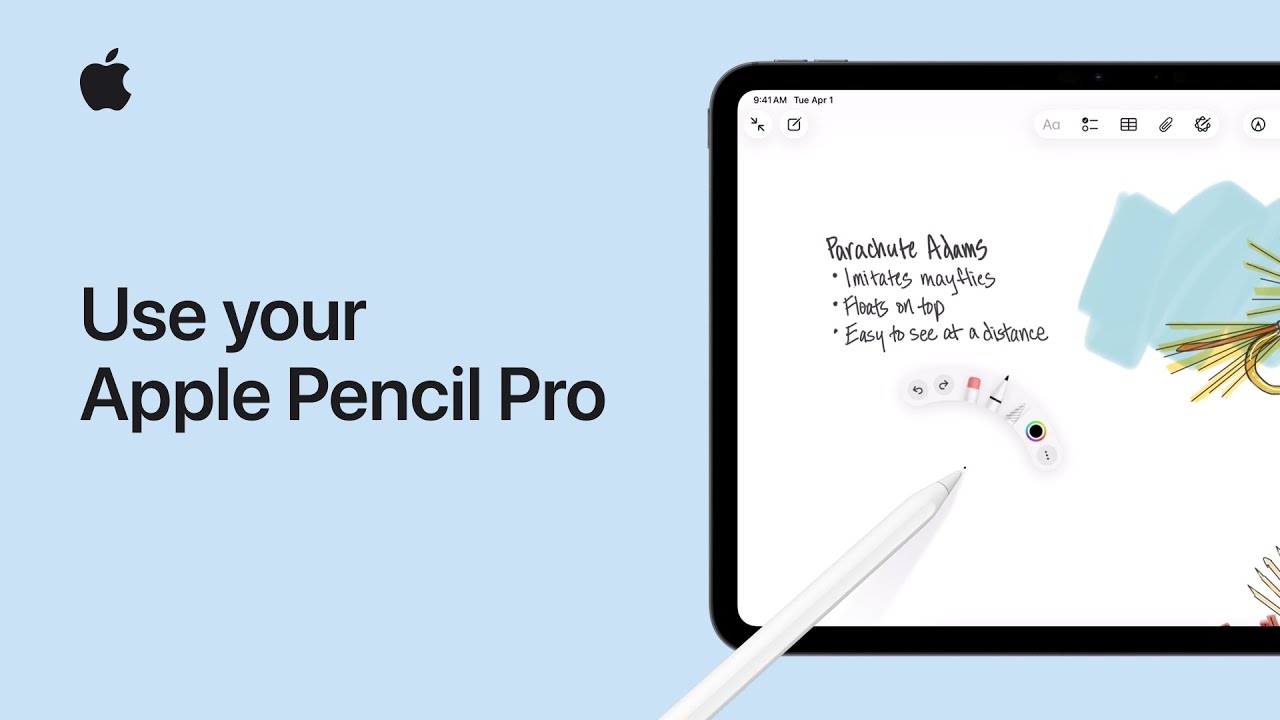
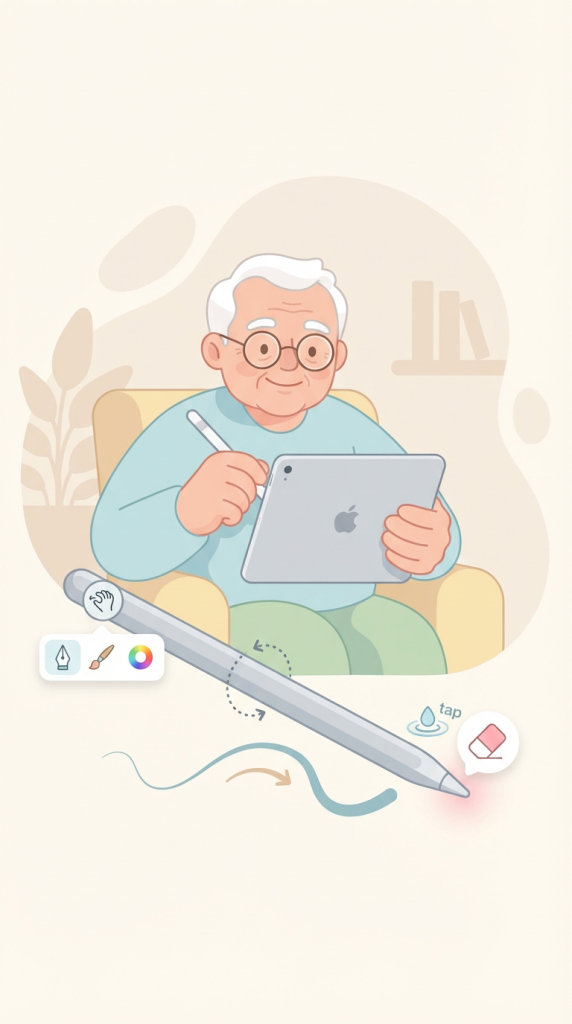
To use your Apple Pencil Pro, start by making sure it’s compatible with your iPad. Begin with basic gestures: squeeze the barrel to open the tool palette, roll the pencil to adjust line thickness, and double-tap to switch tools like the eraser.

In apps like Notes, squeeze again to access tools, swipe to expand options, and select what you need. You can hover the pencil to preview strokes before drawing.

To customize, open Settings or tap Pencil Settings from the palette, then adjust actions like squeeze and double-tap, change sensitivity, and control features like haptic feedback for a more personalized experience.

  • Make sure your iPad supports Apple Pencil Pro, then start using basic gestures.
  • Squeeze to open the tool palette, roll to adjust line thickness, and double-tap to switch tools.
  • Use apps like Notes to access tools, swipe to expand options, and preview with hover.
  • Tap Pencil Settings or go to Settings to customize gestures and actions.
  • Adjust sensitivity, effects, and feedback to personalize your Apple Pencil experience.