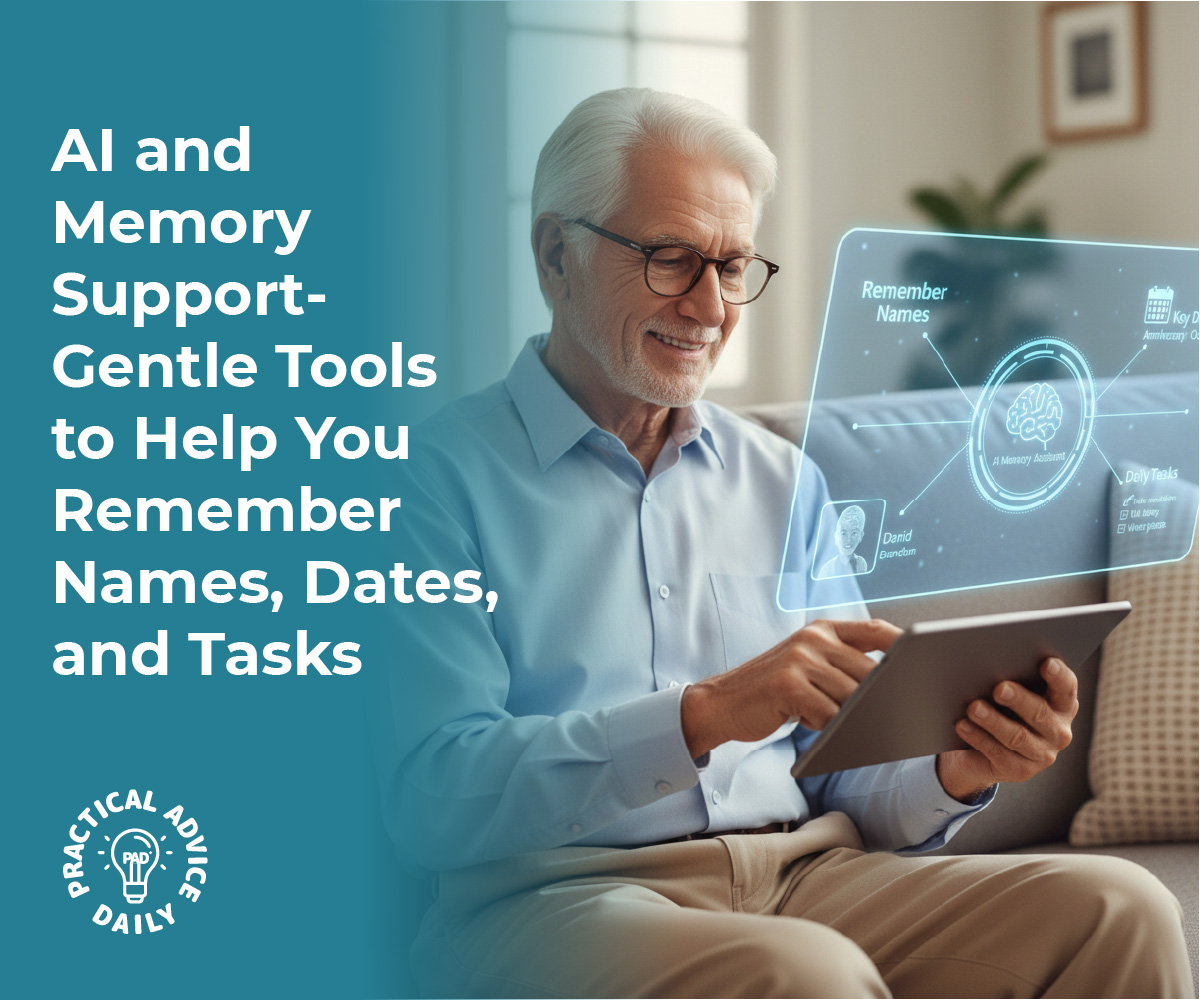
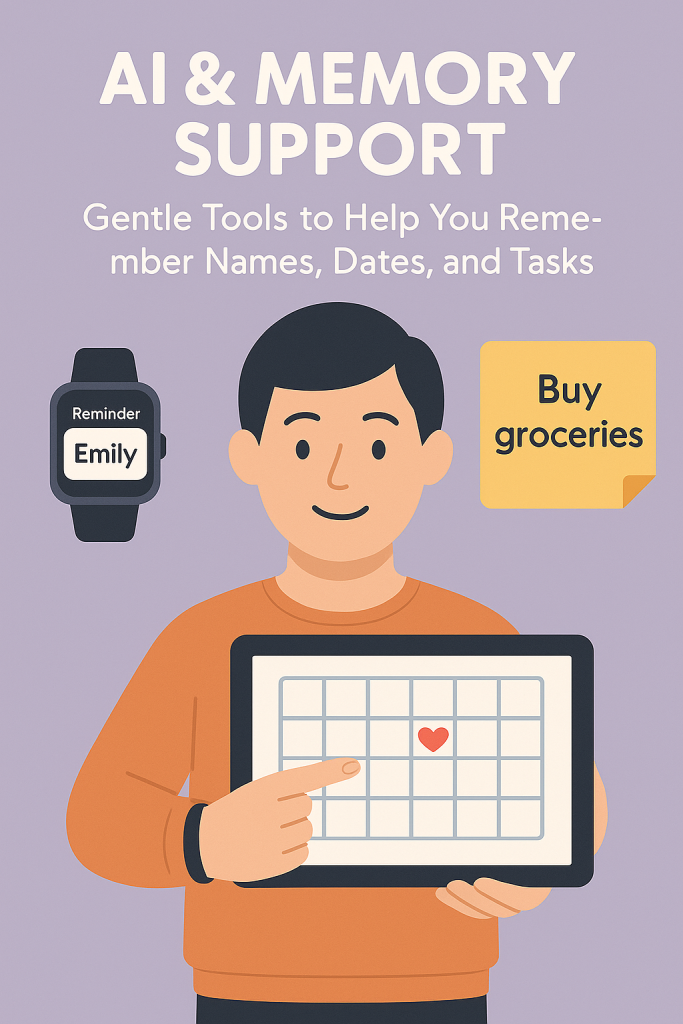
Forgetting a name, misplacing a note, or mixing up appointment times happens to everyone—especially as life gets busier and our brains get a little more crowded. That doesn’t mean you’re “bad with memory.” It simply means you’re human.
Today’s technology can act like a calm, patient helper in the background. You don’t have to be “good with computers” to use it. Many tools are designed so you can talk to them, tap one or two buttons, and let them do the remembering for you.
This guide walks you through friendly tools that can help with everyday things:
- Remembering people’s names and faces
- Keeping track of important dates and appointments
- Staying on top of regular tasks and routines
You’ll see plain-language examples and simple steps, so you can decide which tools feel right for you.
Table of Contents
Key Takeaways
- Reminder apps can gently alert you about appointments, medication, bills, and daily routines.
- Note apps keep all your lists, ideas, and details in one easy-to-find place (often with simple voice dictation).
- Photo-labeling tools help match names to faces, so you can review who’s who before a visit or event.
- Voice assistants let you speak naturally—“Remind me at 3 pm”—and they do the rest.
- You are always in control: you choose what to store, when to be reminded, and how often.
What Is “AI” in Simple Terms?
You’ll hear the word “AI” (Artificial Intelligence) a lot these days. For your purposes, you can think of AI as:
A smart helper inside your phone, tablet, or computer that can recognize patterns and follow your instructions.
For example:
- It can notice that the same face appears in many photos and group them together.
- It can hear your voice and turn your spoken words into written notes.
- It can understand simple requests like, “Remind me to pay the electric bill on Friday.”
You don’t need to understand how it works inside. You only need to know how to give it simple, clear instructions.
1. Reminder Apps: A Gentle Nudge When You Need It
A reminder app is like a pocket calendar with an alarm that never forgets.
What can reminder apps help with?
- Doctor and dentist appointments
- Medication times (morning, afternoon, bedtime)
- Social events: lunch dates, club meetings, birthdays
- Household tasks: taking out the trash, watering plants, paying bills
- Personal routines: going for a walk, stretching, drinking water
Instead of trying to keep everything in your head, you “offload” those details into the app.
A simple example
Imagine you have a check-up on Tuesday at 10:30 am.
You (or a family member) can:
- Open the calendar or reminder app on your phone or tablet.
- Tap the date and time.
- Type or dictate: “Doctor Smith – check-up.”
- Choose when you want the reminder:
- 1 day before
- 1 hour before
- At the exact time
On Tuesday morning, your phone will buzz or chime with a message on the screen. You don’t have to “remember to remember”—the device handles that part.
Tips to make reminders work for you
- Start small. Begin with just 1 or 2 reminders (for example, morning medication and one important appointment).
- Use clear labels. Instead of “Appointment,” write “Eye doctor – bring glasses.”
- Use sounds that are easy to hear. Choose a ringtone or chime that is gentle but noticeable.
- Repeat reminders for daily or weekly tasks, so you don’t have to enter them each time.
2. Note Apps: One Safe Place for All Your “Little Papers”
Many of us have notes scattered everywhere: on envelopes, sticky notes, the backs of receipts. A note app is simply a digital notebook that keeps everything in one place.
What you can store in a note app
- Lists of medications and doses
- Questions for your doctor
- Names of new neighbors or friends, plus something to remember them by
- Shopping lists
- Simple journal entries or gratitude notes
Most note apps let you create different “notes” and give each one a title, like “Groceries,” “Medications,” or “Bridge Club Names.”
Using your voice instead of typing
Typing on a small screen can be tricky. Luckily, many phones and tablets let you speak your note.
Usually, you:
- Open your notes app.
- Tap to create a new note.
- Tap the small microphone icon on the keyboard.
- Speak clearly:
- “Met Tom today at church. He wears a blue cap and has a small dog named Daisy.”
- Tap to stop the recording and your words will appear as text.
Later, when you see Tom again, you can quietly check your note and say, “Hi Tom—how’s Daisy?” That small detail can make conversations feel easier and more comfortable.
Staying organized without stress
- Create simple categories, like “People I Meet,” “Health,” and “To-Do.”
- Don’t worry about spelling; the main point is that you understand it.
- Review your notes once a week to update or remove things you no longer need.
Remembering faces and names can be one of the hardest parts of memory. Many smartphones and computers now offer photo “People” or “Faces” albums that use AI to recognize and group the same person.
How it usually works
- Open your photos app.
- Look for a section called “People,” “Faces,” or similar.
- You’ll see groups of photos with the same face.
- Tap a face and give it a name, such as “Granddaughter Mia.”
From then on, the device will try to recognize Mia in new pictures and add them to her group.
How this can help your memory
- Before a family gathering, you can quickly browse labeled faces to refresh names.
- If you mix up grandchildren or great-grandchildren, you can double-check quietly.
- You can create albums such as “Neighbors,” “Church Friends,” or “Book Club,” with names and small notes.
For example, you might label a group “Bridge Group” and add short notes like “Ellen – tall, glasses, loves gardening” or “Frank – retired teacher, likes jazz.”
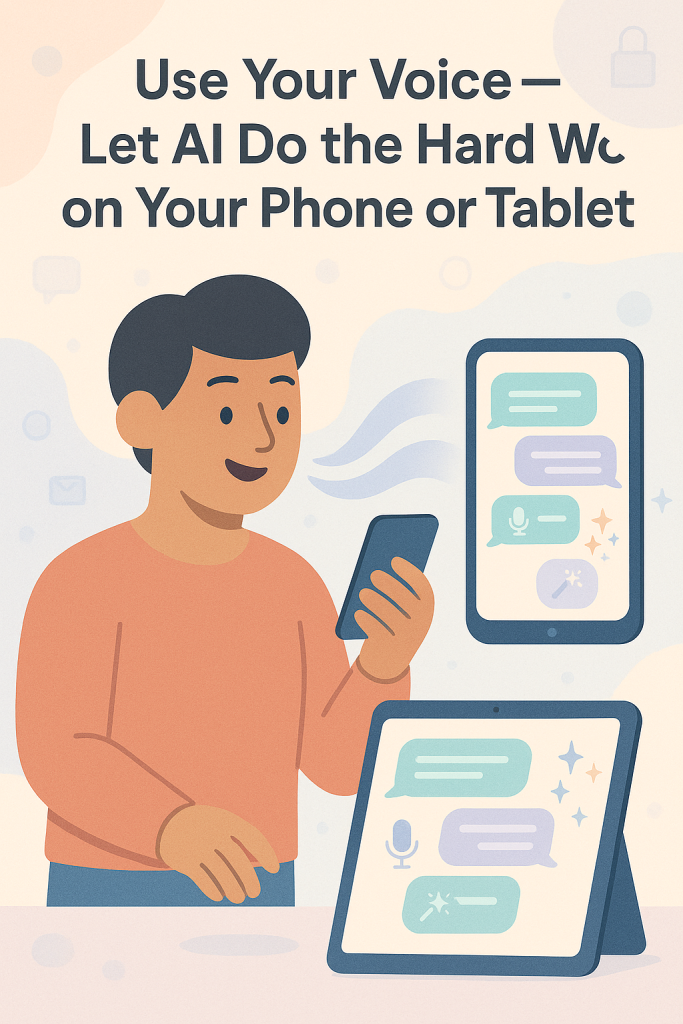
4. Voice Assistants: Just Ask Out Loud
Voice assistants are devices or apps you can talk to, often by saying a “wake word” like “Hey Google,” “Hey Siri,” or “Alexa.”
You don’t have to find an app or press many buttons. You simply ask out loud, in plain language.
What a voice assistant can do for memory support
- Set quick reminders:
- “Remind me every day at 8 pm to take my evening pills.”
- Check your schedule:
- “What’s on my calendar for tomorrow?”
- Answer simple questions:
- “What day is my next dentist appointment?” (if you added it to your calendar)
- Add notes or shopping items:
- “Add milk, eggs, and apples to my grocery list.”
These assistants can be on your smartphone, tablet, or a small speaker in your living room or kitchen.
Why voice assistants are helpful
- Hands-free: No need to unlock your phone or find your glasses.
- Natural language: You can speak as if you were talking to a person.
- Instant help: If you suddenly think, “I must not forget…”, you can say it right away.
5. Using AI to Support Daily Routines
The real power comes when these tools work together to support your everyday life.
Example: A calm morning routine
- A reminder app chimes at 8:00 am: “Morning pills and water.”
- Your note app has a simple checklist: “Pills, light stretching, breakfast, quick walk.”
- Your voice assistant tells you the day’s appointments when you say, “What’s on today?”
- A quick look at your photo labels helps you remember the name of the caregiver or helper arriving that afternoon.
None of this replaces your own memory. It simply takes some of the weight off your shoulders.
Safety, Privacy, and Control
It’s natural to wonder, “Who sees this information?”
A few simple guidelines:
- Only share what you’re comfortable with. You can choose which appointments, notes, and photos you store.
- Use a lock screen (a PIN, fingerprint, or simple pattern) so others can’t easily access your phone or tablet.
- Check settings (a family member can help) to see what is backed up to the cloud and what stays on your device.
- You can delete anything at any time—reminders, notes, or photos.
Remember: these tools are there to serve you. If something doesn’t feel right, you can turn it off, change it, or try a different tool.
Getting Set Up (You Don’t Have to Do It Alone)
If this all feels like a lot at once, that’s completely understandable. You’re not meant to learn everything in a day.
Here are gentle ways to begin:
- Pick just one tool to start with.
- For example, “I’ll start with reminders for my medication.”
- Ask for a helper.
- A family member, neighbor, or caregiver can spend 15–20 minutes showing you the basics.
- You might say, “Can we set up a daily reminder for my pills together?”
- Write down simple instructions.
- Keep a small card next to your chair that says things like:
- “To add a reminder: open calendar → tap plus sign → add time and name.”
- “To speak a note: open notes → tap microphone → talk.”
- Practice one small action each day.
- Today: add one reminder.
- Tomorrow: speak one short note.
- Later in the week: label one or two faces in your photo app.
Step by step, you’ll build comfort and confidence.
Final Thoughts
Your memory is not failing you—it’s doing its best with a lifetime of information. AI tools are simply extra hands to help carry the load.
Reminder apps can tap you on the shoulder when it’s time for something important. Note apps can hold onto names, details, and ideas. Photo-labeling tools can quietly connect faces and names. Voice assistants can sit nearby, ready to help the moment you say, “Remind me…”
You’re still in charge. These tools just make it easier to enjoy your time with family, friends, and the activities you love—without worrying so much about forgetting the details.
If you’re curious, try one small step today: set a single reminder or create one spoken note. See how it feels. You might discover that a little bit of AI support brings a lot of peace of mind.