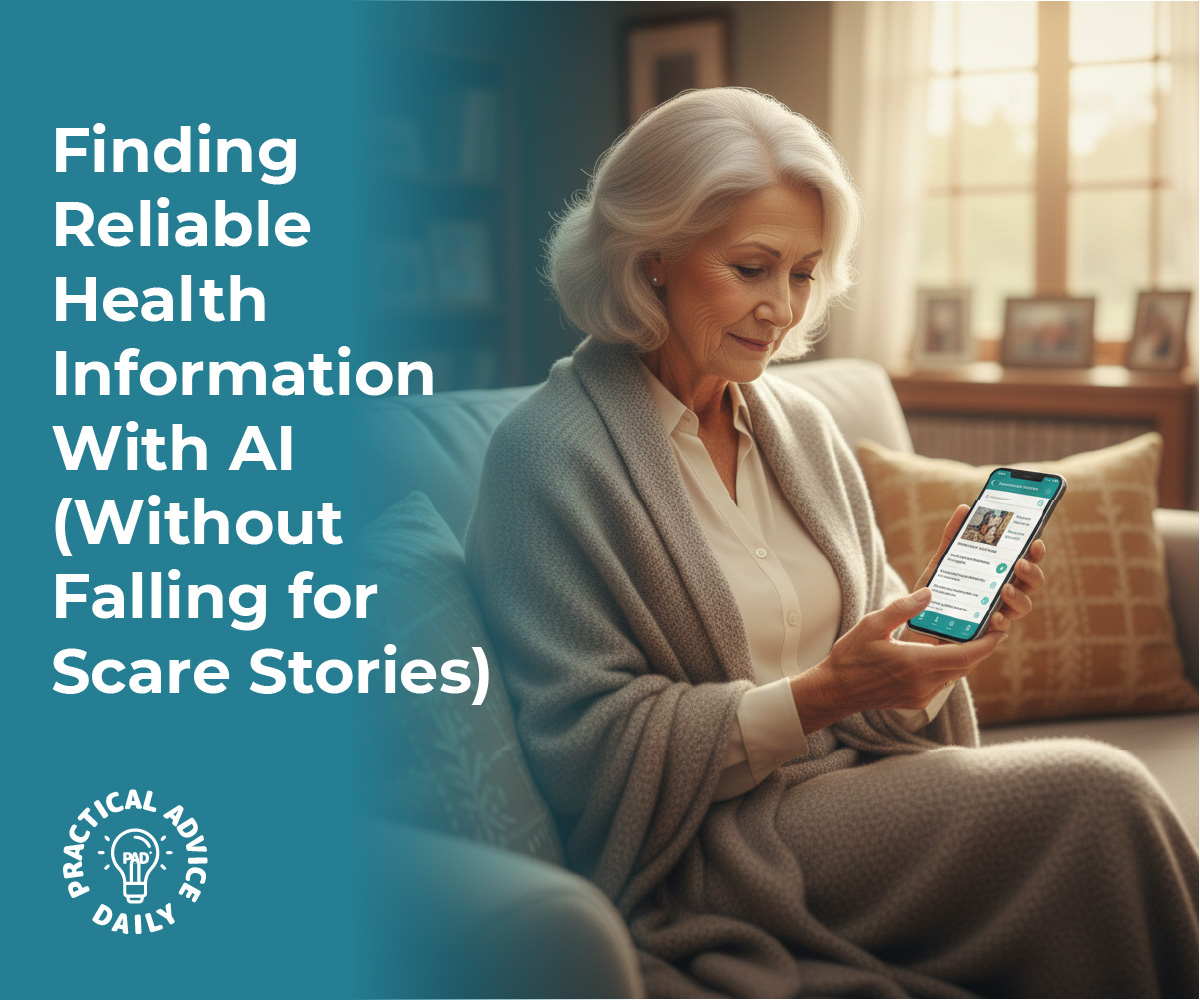
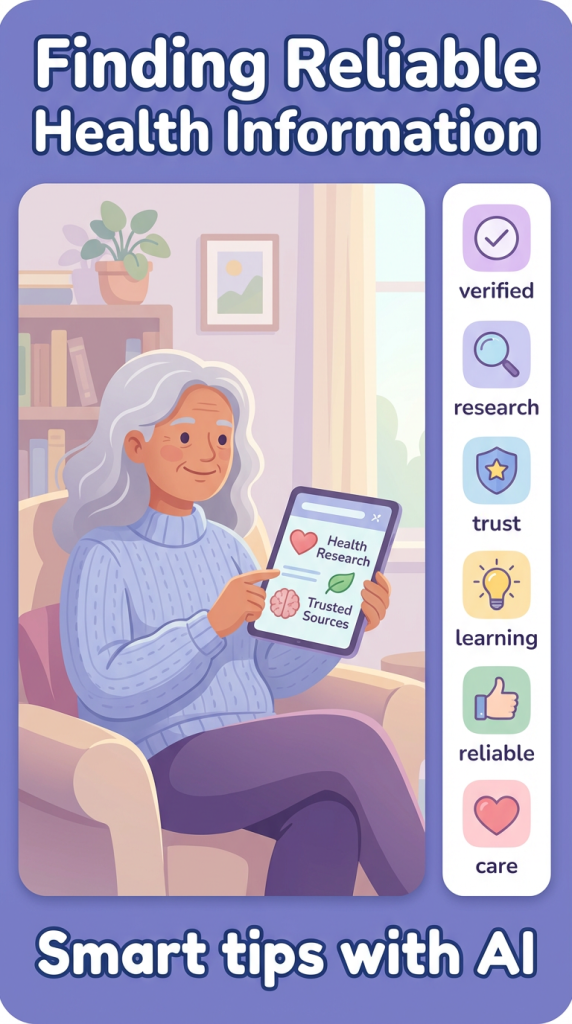
Many older adults are starting to use AI tools—like online chatbots—to look up health information. These tools can explain medical terms in simple language and help you feel more prepared for doctor’s visits.
But there’s a problem: AI can sometimes sound too certain, too dramatic, or give misleading advice. That can be frightening, especially if you’re already worried.
You don’t need to be “good with technology” to follow this. Think of this as learning how to talk to a new kind of librarian.
Table of Contents
Key Takeaways
- AI can be a helpful first step, but it should never replace your doctor or nurse.
- How you ask the question matters. Calm, specific questions usually lead to calmer, clearer answers.
- Always ask for sources (websites, organizations, or articles) and check where the information comes from.
- Be careful with dramatic or frightening language like “deadly,” “miracle cure,” or “shocking.” These are warning signs.
- Compare AI’s answer with at least one trusted health website and, when it really matters, with your own doctor.
- Never change medication, dosage, or treatment based only on AI. Use AI to understand, not to decide.
- If an answer makes you anxious or confused, ask the AI to explain more gently, or write down your questions for your next medical appointment.
1. What AI Can (and Cannot) Do for Your Health
What AI is good at
AI tools can be useful for:
- Explaining medical words in simpler terms
- Example: “What does atrial fibrillation mean in simple language?”
- Giving general information about common conditions
- Example: “What usually helps people with mild arthritis in their knees?”
- Helping you prepare questions for your doctor or specialist
- Example: “What questions should I ask my doctor before starting a new blood pressure medicine?”
- Summarizing long or confusing information
- Example: “Summarize this article for me in plain English.”
What AI is NOT good at
AI is not:
- Your doctor or nurse
- Able to see your test results, unless you type them in (and even then, it can’t replace a medical professional)
- Perfect or always correct
Never rely on AI to:
- Diagnose you (“Do I have cancer?”)
- Tell you to start, stop, or change medications
- Make emergency decisions (“Should I go to the hospital or stay home?”)
For anything serious, urgent, or confusing, call your doctor, clinic, or local emergency number. Use AI only to help you understand, not to decide.
2. How to Ask AI for Calm, Balanced Explanations
The way you ask a question strongly affects the kind of answer you get. Here are some simple “better question” patterns you can copy.
A. Ask for plain language
Instead of:
“Explain congestive heart failure.”
Try:
“Explain congestive heart failure in simple, calm language for someone my age. Avoid scary or dramatic wording.”
Or:
“Explain what congestive heart failure is, using everyday words. Focus on typical treatments and what people can often do to manage it.”
B. Ask for balanced, not extreme, answers
Include phrases like:
- “Give a calm, balanced explanation.”
- “Include both common and rare risks, but make clear which is which.”
- “Avoid alarmist or frightening language.”
Example:
“Give me a calm, balanced explanation of side effects for the blood thinner apixaban. Clearly separate common, mild side effects from rare, serious ones, and avoid alarmist language.”
C. Ask for context, not just worst-case scenarios
Instead of:
“How likely is it that I will die from high blood pressure?”
Try:
“Explain how high blood pressure usually affects people over 70, and how doctors typically manage it. Focus on what most patients can do to reduce risk.”
You can also say:
“Please do not focus only on the worst-case scenario. Include what happens in typical, everyday cases.”
D. Ask it to check itself
You can gently “nudge” the AI to be more careful:
- “Please double-check your answer for balance and avoid exaggeration.”
- “If you are unsure about something, say that you are unsure.”
Example:
“Explain the risks and benefits of knee replacement surgery for older adults. Be honest if something is uncertain, and avoid dramatic language.”
3. How to Ask AI to Show Sources You Can Check
AI can sometimes “sound” confident even when it’s partly wrong. One way to protect yourself is to always ask for sources.
Simple ways to ask for sources
Try adding one of these sentences to your question:
- “List your sources at the end.”
- “Only use trustworthy health sources like major hospitals or government health agencies.”
- “Give me links to reliable health websites I can click on to read more.”
Example question:
“Explain what prediabetes means in simple language. At the end, list a few reliable sources (such as government health sites or major hospitals) where I can read more.”
What a trustworthy source usually looks like
More trustworthy:
- Government health sites
- Often end in .gov (for example: cdc.gov)
- Large, well-known hospitals and clinics
- Major non-profit health organizations
- Example: national heart, diabetes, or cancer organizations
Less trustworthy (be careful):
- Websites covered in ads, pop-ups, “miracle cures”
- Sites that try to scare you into buying something
- Random blogs or social media posts with no clear medical credentials
If the AI gives you a source that feels “salesy,” you can reply:
“This source looks like it’s trying to sell me something. Please give me information only from non-profit health organizations, government health sites, or well-known hospitals.”
4. How to Spot Alarmist or Misleading Health Content
Scare stories are common online. AI can sometimes repeat or exaggerate them if you’re not careful.
Warning signs in the language
Be cautious if the answer is full of words like:
- “Shocking truth”
- “Deadly secret”
- “Miracle cure”
- “Doctors don’t want you to know this”
- “Guaranteed cure”
- “Instant results”
These phrases are often used to grab attention, not to give balanced information.
If you see this, you can say:
“Your answer sounds dramatic. Please rewrite it in calm, neutral language, and remove any sensational or marketing-style wording.”
One-sided answers
Be careful if the AI:
- Only mentions risks, with nothing about benefits
- Only mentions benefits, with no mention of risks or side effects
- Makes something sound either harmless or hopeless, with no middle ground
You can respond:
“Your answer seems one-sided. Please give me a more balanced view, including both benefits and risks, and make clear what is common versus rare.”
Big promises or absolute statements
Watch for:
- “This will cure your diabetes.”
- “You will never have pain again.”
- “This treatment is 100% safe.”
In real medicine, almost nothing is 100% safe or 100% effective.
You can reply:
“Please avoid absolute statements like ‘100% safe’ or ‘will cure you.’ Instead, tell me what usually happens for most people, and what exceptions there can be.”
Here’s an easy step-by-step routine you can follow almost every time you use AI for health questions.
Step 1: Ask AI a calm, specific question
Example:
“Explain what a TSH blood test is for, in simple, calm language for an older adult. Then list a few trustworthy sources where I can read more.”
Step 2: Skim the answer for tone
Ask yourself:
- Does the answer sound calm and neutral, or dramatic and frightening?
- Does it clearly separate common issues from rare ones?
- Does it mention that only a doctor can diagnose or treat you personally?
If not, ask the AI:
“Please rewrite that answer in a calmer, more neutral tone and clearly mark what is rare versus common.”
Step 3: Open at least one trusted source
Click on one or two of the links the AI suggests (ideally to:
- A government health site, or
- A well-known hospital or major health organization
Ask AI:
“From the most trustworthy sources, quote or summarize what they say about this topic, and give me the links.”
Then compare:
- Does the AI’s summary match what the trusted site says?
- If something seems very different, trust the official site first.
Step 4: Bring the info to your doctor
For important or confusing issues:
- Print the AI answer or write down:
- The main points
- The questions you still have
- Take them to your next appointment and say:
- “I read this online and with an AI tool. Can you tell me what applies to me and what doesn’t?”
Your doctor can confirm what fits your body and situation.
6. Using AI Without Panicking: What to Do When an Answer Scares You
Sometimes you’ll get an answer that makes your heart sink. It might talk about death, disability, or worst-case scenarios.
Here’s what to do instead of panicking.
A. Ask it to focus on typical cases
Type something like:
“That answer felt scary. Please explain what usually happens in typical, everyday cases for people my age, and clearly mark what is rare.”
B. Ask it to speak gently
It’s okay to ask for kindness:
“Please rewrite your answer in a reassuring tone. Do not ignore risks, but explain them calmly and clearly.”
C. Remind yourself of what AI can’t see
The AI:
- Doesn’t know your full medical history
- Hasn’t examined you
- Hasn’t seen all your test results and scans
So it is guessing based on general information, not your personal situation.
If the issue feels serious or urgent:
- Call your doctor or clinic
- Use your nurse advice line, if you have one
- In an emergency, call your local emergency number or go to the nearest emergency room
Use AI only to help you understand what the medical team later explains, not to decide what to do right now.
7. What You Should Never Do Based Only on AI Advice
To stay safe, here are some clear “never do this” rules:
- Never start or stop a prescription medication based only on AI.
- Never change your dosage of any medicine because of an AI answer.
- Never ignore new or worsening symptoms because AI suggests it’s “probably nothing.”
- Never delay emergency care because AI told you to “wait and see.”
If you’re not sure whether something is urgent, it’s better to:
- Call your doctor’s office
- Use a nurse advice line
- Follow the instructions from your real health providers
You can show them any AI advice you received and ask:
“Is this accurate for someone like me?”
8. Examples You Can Reuse (Copy-and-Paste Prompts)
Here are some ready-made questions you can copy, paste, and adjust:
- For understanding a diagnosis
“Explain [your condition] in simple, everyday language for someone over 70. Give a calm, balanced overview, including typical treatments and lifestyle changes. Clearly mark what is common versus rare, and avoid dramatic or frightening language.”
- For test results (general explanation)
“Explain what the [test name] test is and what high or low results usually mean. Do not try to diagnose me personally. Just give general, calm information for older adults and list a few trustworthy sources at the end.”
- For medication side effects
“Give a balanced, calm overview of common and rare side effects of [medication name] for older adults. Separate common, mild side effects from rare, serious ones. Make it clear that I must talk to my doctor before making any changes to my medication.”
- To compare information
“Compare what you just told me about [topic] with what major health organizations and government health sites say. Point out any differences and give links to those sources.”
- When an answer sounded scary
“Your last answer felt frightening. Please rewrite it using a gentle, reassuring tone. Don’t hide the risks, but explain what usually happens in typical cases, and clearly mark which situations are rare.”
Final Thoughts
AI can be a useful helper when you’re trying to understand a health issue, a new diagnosis, or a confusing test result. Used wisely, it can:
- Translate medical language into plain English
- Help you feel more prepared for appointments
- Give you questions to ask your doctor
But it is not a doctor, and it sometimes sounds more confident—or more dramatic—than it should. By:
- Asking calm, specific questions
- Always checking the sources
- Watching for scary or salesy wording
- And confirming important information with your real health team
you can make AI work for you, not against you.