If you’ve ever forgotten a birthday, misplaced your grocery list, or wondered what to cook for dinner, you’re not alone. The good news? You don’t need to be a tech expert to get help. Today, smart tools powered by AI (short for artificial intelligence) can lend a hand with everyday things—like keeping track of appointments, reminding you to take medication, or even finding recipes. In this article, we’ll walk you through how it works, step by step. It’s simple, helpful, and designed with beginners in mind.
Table of Contents
Key Takeaways
✅ AI can help you remember important tasks with reminders
✅ To-do list apps use AI to suggest and organize your tasks
✅ Calendar tools can suggest smart scheduling options
✅ AI-powered recipe apps help you decide what to cook
✅ You don’t need to be tech-savvy—many tools are voice-activated and easy to use
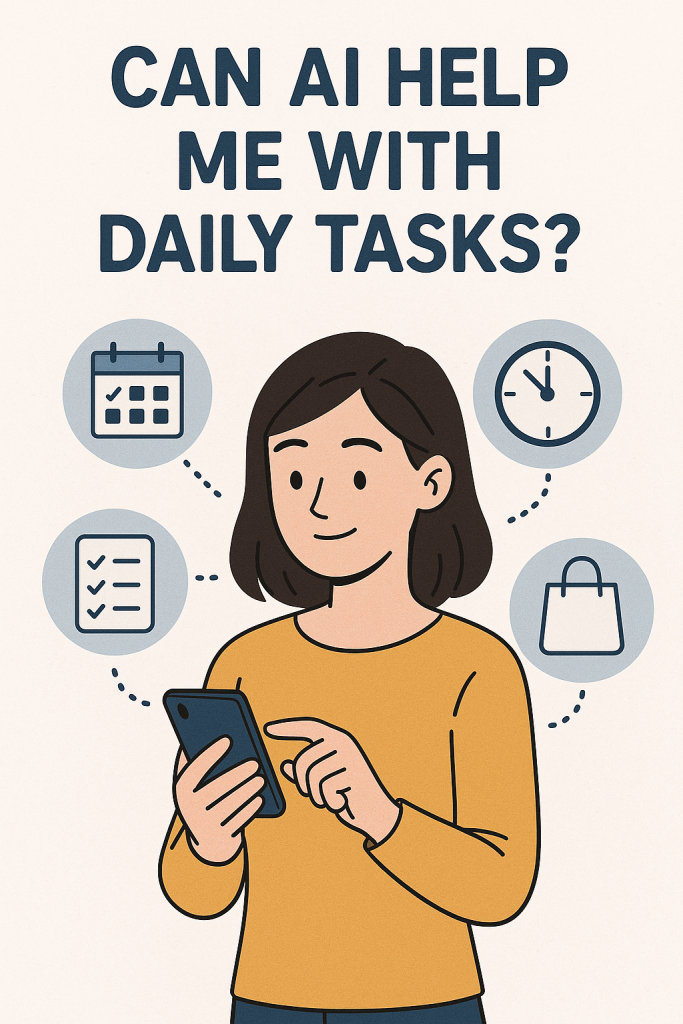
How AI Helps With Daily Tasks
1. Setting Helpful Reminders
Have you ever asked your phone to remind you to take your pills or call someone? That’s AI in action. Tools like Siri (on iPhone), Google Assistant (on Android), or Alexa (by Amazon) can set reminders just by using your voice.
Example:
You can say: “Hey Siri, remind me to water the plants at 6 PM.”
The reminder will pop up at the right time, helping you stay on track.
These reminders can be for anything—taking medication, checking the oven, or going for a walk.
2. Creating Smart To-Do Lists
AI-powered apps like Microsoft To Do, Todoist, or Google Tasks help you manage your daily list in a neat and organized way. Many of them can:
- Suggest tasks based on your habits
- Group similar tasks together
- Let you check off items as you finish them
They often work across devices, too—meaning you can create a list on your phone and check it from your computer later.
3. Smarter Calendars and Scheduling
Your digital calendar can do more than hold appointments. With AI features, apps like Google Calendar or Apple Calendar can:
- Suggest the best time to schedule things
- Remind you in advance (with alerts)
- Let you invite others with one tap
Example:
If you often schedule a morning walk at 8 AM, your calendar might start suggesting that time automatically.
You can also set recurring events—like “Every Friday at 3 PM: Chat with the grandkids.”
4. Easy Recipe Help
Not sure what to cook tonight? AI can help with that, too. Apps like Mealime, Whisk, or even a simple Google search can suggest meals based on what you already have at home.
You can type or say:
“What can I make with chicken and rice?“
And you’ll get recipes in seconds.
Some apps even adjust recipes based on how many people you’re feeding or dietary needs (like low salt or vegetarian meals).
5. Voice Assistants for Everyday Use
If typing feels tricky, voice-controlled assistants are your best friend. Devices like Amazon Echo, Google Nest, or even your smartphone let you do things hands-free:
- “Add milk to my grocery list”
- “What’s on my calendar today?”
- “Play relaxing music”
They make everyday life easier—no buttons required.
Final Thoughts
You don’t need to be a tech whiz to let AI help with your daily routine. From setting reminders to planning meals, these smart tools are here to support you—not confuse you. Try starting with just one tool, like a voice reminder on your phone, and build from there.
You’re more ready than you think. And if you’re curious, there are plenty of simple guides (like this one) to help you explore more.