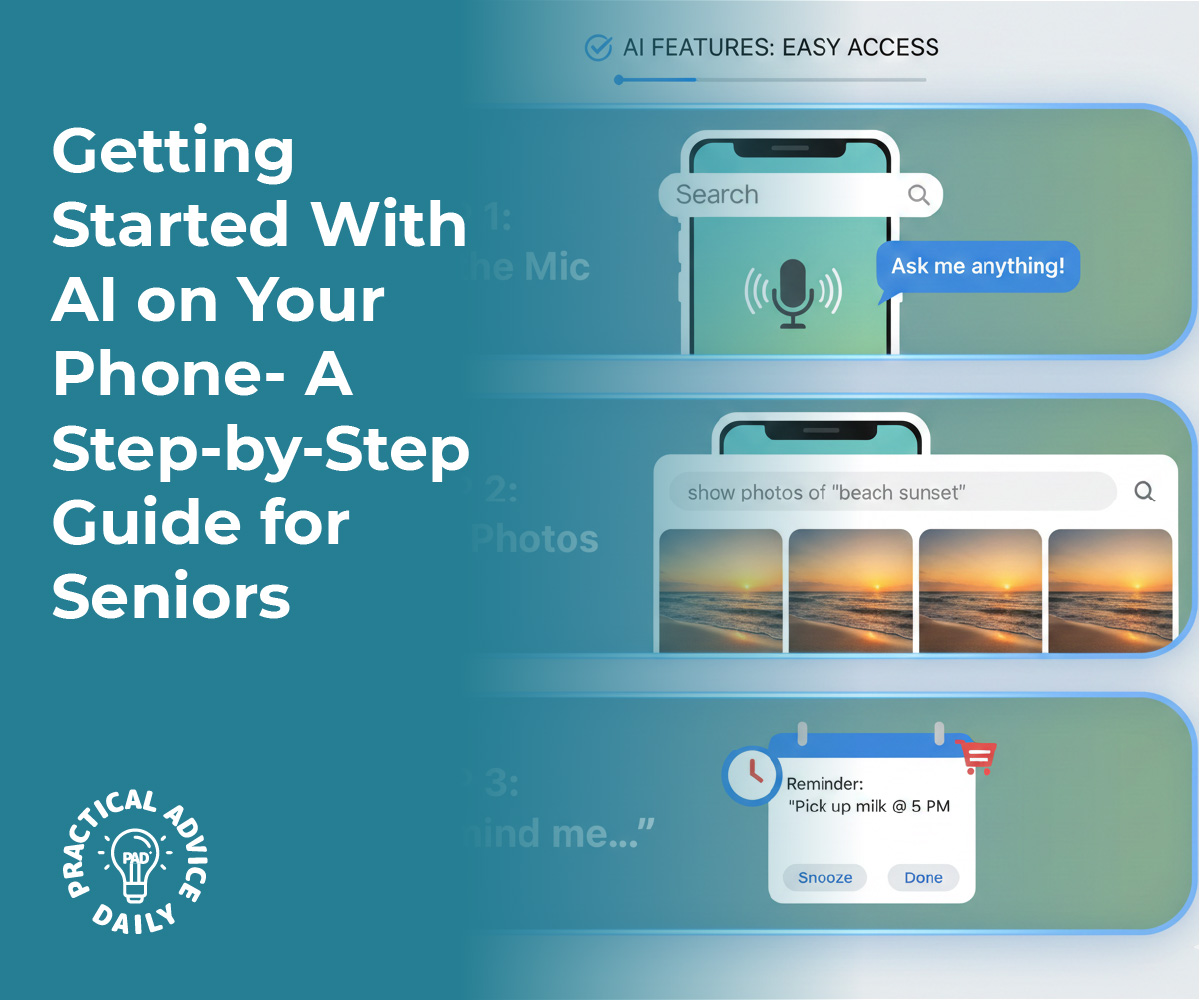
Using “AI” on your phone doesn’t have to be confusing or technical. In many cases, you’re already using it—you just might call it “the voice on my phone” or “searching my photos.”
This guide will walk you through a few simple things AI can do for you, in clear, easy steps:
You don’t need to be “good with technology” to follow along. Go slowly
, one step at a time, and feel free to practice as much as you like.
Table of Contents
Key Takeaways
- AI is just smart help on your phone. It can listen to your voice, understand your words, and help you with small tasks.
- You already have AI tools built in. On most phones this is called Siri (iPhone), Google Assistant (Android), or Bixby (some Samsung phones).
- You can talk instead of typing. Use your voice to send messages, ask questions, or set reminders.
- Photo search can find pictures for you. You can search for “dog,” “birthday,” or “beach” to see related photos.
- Reminders help you remember. Ask your phone to remind you about medicine, appointments, or chores.
- You stay in control. You can always turn these tools off, ignore them, or delete what you don’t want.
Before You Start: A Few Simple Checks
You don’t need to change much on your phone, but these quick checks will make things easier.
- Charge your phone
Make sure your battery is not too low. Aim for at least 30–40% battery.
- Connect to the internet
AI features work best when you’re online.
- If you’re at home, make sure Wi‑Fi is on.
- If you’re outside, your mobile data may be used.
- Know what kind of phone you have
- iPhone (Apple) – usually has only one round or pill-shaped button at the bottom (or no button and a notch at the top), and uses the App Store.
- Android (Samsung, Google Pixel, Motorola, etc.) – often has three buttons at the bottom (Back, Home, Recent) or on-screen icons, and uses the Google Play Store.
If you’re unsure, ask a family member or friend, or look at the logo on the back of the phone: an apple symbol means iPhone.
Part 1: Using Your Phone’s Voice Assistant
Your phone almost certainly has a built‑in “helper” that listens to your voice.
- On iPhone: it’s called Siri.
- On Android / Samsung: usually Google Assistant (sometimes Bixby on Samsung).
We’ll treat this like a “screenshot-style” walkthrough, but in words, so you can imagine what you’d see on the screen.
A. Turn On the Voice Assistant (iPhone – Siri)
- Open Settings
- Look for a gray icon that looks like a gear ⚙️ labeled Settings.
- Tap it once.
- Find “Siri & Search”
- In Settings, scroll down slowly until you see Siri & Search.
- Tap Siri & Search.
- Turn on “Listen for ‘Hey Siri’” / “Siri”
- You should see switches (they look like little sliders) next to:
- “Listen for ‘Hey Siri’” or “Listen for ‘Siri’”
- “Press Side Button for Siri”
- Slide them to the ON position (the switch usually turns green).
- Follow any on-screen instructions
- Your phone may ask you to say a few short phrases out loud so Siri can recognize your voice.
- Just read the words on the screen slowly in your normal voice.
Now Siri is ready.
B. Turn On the Voice Assistant (Android – Google Assistant)
The exact steps can vary slightly from phone to phone, but this general guide should help:
- Open the Google app
- Look for a multi-colored “G” icon called Google.
- Tap it once.
- Open Settings inside the Google app
- Tap your profile picture or the small circle in the top-right corner.
- Look for Settings and tap it.
- Find “Google Assistant” or “Assistant”
- Tap Google Assistant (or simply Assistant).
- Turn on “Hey Google” or “Voice Match”
- Look for options like:
- “Hey Google”
- “Voice Match”
- Turn them ON by tapping the switch.
- Follow any voice setup steps
- If your phone asks, say a few sample phrases so it can recognize your voice.
If you get stuck, don’t worry. You can still usually open the assistant by pressing and holding the Home button (or the center bottom of the screen) for a moment.
Part 2: Practice Talking to Your Phone
Now let’s practice a few things, just like you’d do with a person. You’re not going to break anything by trying.
A. How to Open the Assistant
- iPhone (Siri)
- Say: “Siri” (or “Hey Siri”, depending on your settings).
- Or press and hold the Side button (the long button on the right side of the phone) until you see the Siri screen.
- Android (Google Assistant)
- Say: “Hey Google”.
- Or press and hold the Home button (if your phone has one) or swipe diagonally up from the corner on some newer phones.
You should see something appear on the screen—often a small glowing line or a box that shows your words.
B. Simple Things You Can Say
Try these short sentences:
- Ask the time or weather
- “What time is it?”
- “What’s the weather today?”
Your phone will show and usually say the answer out loud.
- Call someone
- “Call John.”
- “Call Mary on speaker.”
Make sure the person’s name is saved in your Contacts.
- Send a text message
- “Send a text to Sarah.”
- Your assistant will usually ask, “What’s the message?”
- Speak your message: “I’ll be there at 3 o’clock.”
- Then say “Send” if it asks for confirmation.
- Ask a simple question
- “How do you spell ‘necessary’?”
- “What day is Christmas this year?”
If the assistant misunderstands, just try again more slowly. Think of it like speaking to someone with hearing difficulties—it often helps to speak clearly and pause briefly between words.
Part 3: Searching Your Photos With AI
AI can help you find pictures by what’s in the photo, not just by date. For example, you can search for “dog,” “birthday cake,” or “beach.”
A. On iPhone (Photos App)
- Open Photos
- Find the colored flower-like icon labeled Photos and tap it.
- Go to the Search tab
- At the bottom of the screen, tap Search (on the right side).
- Type or speak what you’re looking for
- Tap the search bar at the top.
- Type a word like “dog”, “flowers”, or “car”.
OR tap the microphone icon on the keyboard and say the word.
- View your results
- Your phone will show photos that match your search.
- Tap any picture to see it larger.
You can also search for:
- People’s faces (e.g., type a grandchild’s name if you labeled them in the app)
- Places like “park,” “beach,” or “restaurant”
- Events like “birthday” or “Christmas”
B. On Android (Google Photos)
- Open Google Photos
- Look for a colorful pinwheel-like icon called Photos or Google Photos.
- Tap it.
- Use the search bar
- At the top, tap the Search bar.
- Type or speak your search
- Type a word like “cat”, “food”, “mountain”.
- Or tap the microphone and say “dog.”
- Look through the results
- Scroll through the photos your phone finds.
- Tap any photo to make it larger.
Think of this as telling your phone, “Show me all the pictures of my garden.”
Part 4: Letting AI Help With Reminders
One of the most helpful things AI can do is remember things for you, so your mind doesn’t have to hold everything.
You can set reminders for:
- Taking medicine
- Calling someone back
- Paying a bill
- Bringing something with you when you leave the house
A. Set a Reminder Using Your Voice (Easiest)
You can do this on both iPhone and Android:
- Activate your assistant
- iPhone: “Siri”
- Android: “Hey Google”
- Say what you want to remember
Try phrases like:
- “Remind me to take my pills at 8 p.m.”
- “Remind me to call David tomorrow at 10 a.m.”
- “Remind me to water the plants every Monday at 9 a.m.”
- Check the confirmation
- Your phone will usually repeat back the reminder and show the time on the screen.
- If it’s wrong, just say, “Change it to 9 p.m.” or “Cancel that reminder.”
Your phone will then alert you at the right time with a sound and a small message on the screen.
B. Set a Reminder by Tapping (iPhone – Reminders App)
- Open Reminders
- Find the white icon with colored dots called Reminders.
- Start a new reminder
- Tap the New Reminder button (usually a plus sign + or “New Reminder”).
- Type what you want to remember
- Example: “Take blood pressure medicine.”
- Add a time
- Tap the info button or a small “i” if you see it.
- Turn on “Remind me on a day” or “Remind me at a time.”
- Choose the date and time you want.
- Tap Done.
C. Set a Reminder by Tapping (Android – Google Calendar or Reminders App)
Because Android phones can differ, here’s a general method using Google Calendar:
- Open Google Calendar
- Find the colored calendar icon labeled Calendar or Google Calendar.
- Create a reminder
- Tap the plus (+) button.
- Choose Reminder.
- Describe your reminder
- Type: “Take heart medicine.”
- Set date and time
- Set the day and time you want.
- Tap Save or Done.
If your phone has a special “Reminders” or “Tasks” app from the manufacturer, the steps will be very similar: tap +, write what you want to remember, pick a time, save.
Part 5: Staying Safe and In Control
You might worry that AI is “watching” everything you do. It’s good to be careful, but you also have control.
Here are a few simple safety tips:
- You can ignore it.
If the assistant pops up by mistake, you can tap the X, say “Cancel,” or press the Back or Home button.
- Don’t share private numbers out loud in public.
Avoid saying things like your full Social Security number or bank details near other people.
- Check permissions if you’re unsure.
In Settings, you can look at privacy or permissions for apps and turn off things you don’t want (like location sharing).
- You can turn the assistant off.
Go back to the same Settings where you turned Siri or Google Assistant on, and switch it off if you ever change your mind.
Remember: these tools are there to help you, not to boss you around. You decide what to use and what to ignore.
Part 6: Simple “Cheat Sheet” of Helpful Voice Commands
You can print or write these down if you like.
For everyday information
- “What’s the weather tomorrow?”
- “What time is it in New York?”
- “How do you spell ‘appointment’?”
For communication
- “Call [name] on speaker.”
- “Send a text to [name]: I’m on my way.”
- “Read my new messages.” (Some phones support this.)
For reminders
- “Remind me to take my medicine every day at 8 p.m.”
- “Remind me to pay the electric bill on the 5th.”
- “Remind me to call the doctor tomorrow morning.”
For photos
- “Show me pictures of my dog.”
- “Show me photos from last Christmas.”
If something doesn’t work the first time, don’t feel discouraged. Just try a shorter, simpler sentence.
Final Thoughts
AI on your phone is really just a collection of helpful tools: a good listener, a quick note-taker, and a smart photo organizer. You don’t have to learn everything at once.
If you only do these three things, you’re already using AI:
- Talk to your phone to ask the time or weather.
- Search your photos for things like “dog” or “birthday.”
- Ask your phone to remind you to take medicine or make a call.
As you get more comfortable, you can explore a little more each week. And if you forget a step, that’s perfectly normal—just come back to this guide and follow it again, slowly, one screen at a time.
