Self-driving cars might sound like something from the future, but they are already here, quietly driving on roads today. If the idea of these cars feels a bit confusing or too technical, don’t worry—this guide is made just for you. We’ll walk through how these cars use smart technology, called AI, to make safe driving decisions, step by step. By the end, you’ll understand the basics clearly and feel more confident about this exciting technology.
Key Takeaways
- Self-driving cars use sensors to “see” the world around them.
- AI helps the car understand what those sensors detect.
- The car makes decisions by following clear steps, like a human driver would.
- These cars constantly learn and improve to keep you safe.
How Self-Driving Cars Use AI: Step-by-Step
1. Seeing the World: Sensors Are the Car’s Eyes
Imagine driving with your eyes closed—that wouldn’t work! Self-driving cars use special devices called sensors to “look” around. These include:
- Cameras: Like the ones on your phone, they capture pictures of the road.
- Radar: Sends out radio waves to detect objects nearby, like other cars or pedestrians.
- Lidar: Uses laser light to create a detailed 3D map of the car’s surroundings.
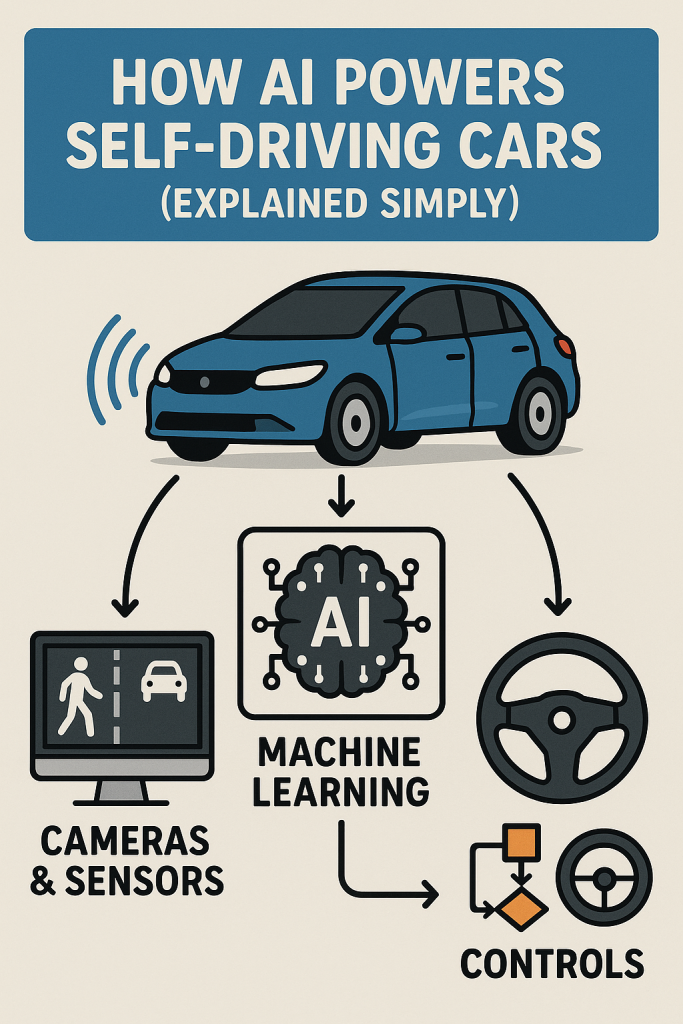
2. Understanding What’s Around: AI Interprets Sensor Data
The car’s AI (artificial intelligence) is like a very smart brain. It takes the information from the sensors and figures out:
- Where the road and lanes are.
- What other vehicles or people are doing.
- Whether there are traffic signs or signals to follow.
For example, if a ball rolls into the street, the AI recognizes the ball and thinks, “Maybe a child could run after it,” so it slows down.
3. Making Safe Decisions: Planning the Next Move
After understanding the environment, the AI decides what to do next. This is like how you decide to stop at a red light or slow down for a pedestrian. The AI follows clear steps, such as:
- Should I speed up, slow down, or stop?
- Is it safe to change lanes?
- When should I turn or go straight?
It plans these moves carefully to keep passengers and others safe.
4. Acting on Decisions: Controlling the Car
Once the AI has a plan, it sends commands to the car’s controls—steering, brakes, and accelerator—to carry out the plan smoothly.
5. Learning and Improving: Getting Smarter Every Mile
Self-driving cars are always learning from experience. They collect data from every trip to handle new situations better in the future. It’s like practicing driving to get better over time.
Real-Life Example: A Simple Drive to the Grocery Store
Picture a self-driving car taking you to the grocery store. Here’s what happens:
- The car’s cameras see a stop sign ahead.
- Its AI recognizes the sign and tells the car to stop.
- When the light turns green and the way is clear, the AI decides it’s safe to move.
- The car carefully steers into the parking spot.
All this happens smoothly, without you having to lift a finger!
Final Thoughts
Self-driving cars use AI to act like a careful and smart driver. They “see,” “think,” and “act” by following clear steps designed to keep everyone safe. While the technology may seem complex at first, breaking it down shows it’s really about simple, everyday decisions—just done by a computer. Now that you know the basics, you can feel more comfortable with the idea of these cars sharing the road. If you’re curious, you might enjoy learning more about how technology is making life easier every day!