Small print is everywhere—on medicine bottles, restaurant menus, receipts, and websites. Squinting at it can be tiring and frustrating, especially when you really need to understand what you’re reading. The good news? Your smartphone or tablet has built-in AI tools that can make text bigger, read it aloud to you, or even clarify blurry words.
These features aren’t just for people with vision challenges; they’re helpful for anyone who wants reading to feel easier and more comfortable. In this guide, we’ll show you how to use these simple tools so you can read anything with confidence—no special glasses or expensive equipment needed.
Table of Contents
Key Takeaways
- Magnifier Tool — Turn your phone’s camera into an instant magnifying glass for real-world text.
- Text-to-Speech — Have your phone read articles, emails, and documents aloud.
- Zoom Settings — Make text bigger on websites and apps without losing clarity.
- Live Captions — See spoken words as text on your screen in real time.
- Image Text Recognition — Take a photo of text and have it read or copied instantly.
Your phone has a built-in camera tool that works like a magnifying glass. Point it at any text—a medicine label, a menu, a receipt—and it instantly enlarges it on your screen.
What to do:
- On iPhone: Open Control Center (swipe down from the top right), tap Magnifier, and point your camera at the text you want to read.
- On Android: Open Google Lens (usually in your camera app or Google app), point at text, and tap Translate or Text.
- Move your phone closer or farther away to adjust the size.
- You can even take a screenshot to save the enlarged text.
Why it matters: It’s instant, free, and works anywhere—no need to carry a physical magnifying glass.
Real-life example: At the pharmacy, you can use this to read the tiny instructions on a medicine bottle before you leave the counter.
Text-to-Speech: Have Your Phone Read to You
Instead of straining your eyes, you can have your phone read text aloud. This works on emails, articles, documents, and even web pages.
What to do:
- On iPhone: Open the text you want to read (an email, article, etc.), then go to Settings > Accessibility > Spoken Content > Speak Screen. Swipe down from the top with two fingers to activate it.
- On Android: Open the text, tap the three dots (menu), and select “Read Aloud” or “Play”.
- Adjust the speed if the voice is too fast or too slow.
Why it matters: It reduces eye strain and lets you “read” while doing other things, like cooking or taking a walk.
Real-life example: Listen to your doctor’s appointment confirmation email while getting ready in the morning.
Zoom In on Websites and Apps
Sometimes websites and apps have text that’s just too small, even on a phone screen. You can make everything bigger without losing clarity.
What to do:
- On iPhone: Go to Settings > Display & Brightness > Text Size, and drag the slider to make text larger across all apps.
- For even bigger text, go to Settings > Accessibility > Display & Text Size > Larger Accessibility Sizes.
- On Android: Go to Settings > Display > Font Size and choose a larger option.
- You can also pinch and zoom on most websites by using two fingers to spread apart on the screen.
Why it matters: It makes reading feel natural and comfortable without having to adjust your phone every time.
Live Captions: See Spoken Words as Text
If someone is speaking to you—on a video call, a video, or in person—your phone can display their words as text on your screen in real time.
What to do:
- On iPhone: Go to Settings > Accessibility > Live Captions and turn it on.
- On Android: Go to Settings > Accessibility > Live Captions and enable it.
- When someone speaks, their words will appear at the bottom of your screen.
Why it matters: It helps you follow conversations more easily, especially in noisy environments or if hearing is a challenge.
Real-life example: During a video call with family, you can read along with what they’re saying, making sure you don’t miss anything important.
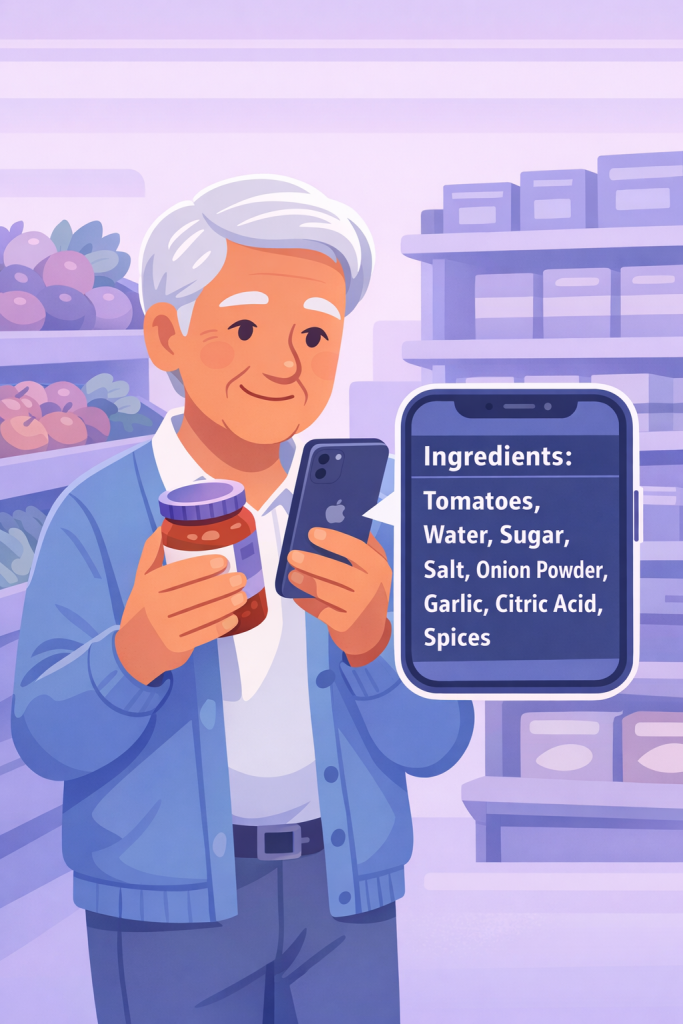
Image Text Recognition: Capture and Read Text Instantly
You can take a photo of any text—a sign, a label, a document—and your phone will recognize the words and read them to you or let you copy them.
What to do:
- On iPhone: Open the Camera app, point it at text, and tap the “Text Recognition” icon (looks like lines of text). The text will appear on your screen, and you can tap it to copy or have it read aloud.
- On Android: Open Google Lens, point at text, and tap “Translate” or “Text”. You can then copy or listen to the text.
- This works even on blurry or angled photos.
Why it matters: It’s perfect for capturing information quickly—like a recipe from a cookbook or instructions from a package.
Real-life example: Photograph a restaurant menu and have your phone read the descriptions aloud so you can hear all the options clearly.
Adjusting Contrast and Brightness for Easier Reading
Sometimes the problem isn’t the size of the text—it’s the contrast. White text on a light background can be hard to read. Your phone can fix this.
What to do:
- On iPhone: Go to Settings > Accessibility > Display & Text Size > Increase Contrast.
- You can also turn on “Smart Invert” or “Classic Invert” to reverse colors (dark background, light text).
- On Android: Go to Settings > Accessibility > Vision Settings > High Contrast Text.
Why it matters: Better contrast makes reading faster and less tiring on your eyes.
The real power comes from using these tools together. For example, you could:
- Take a photo of a medicine label with the Magnifier tool
- Have your phone read the instructions aloud
- Increase the text size so you can also see it clearly
What to do:
- Experiment with different combinations to find what feels most comfortable for you.
- Don’t be afraid to use multiple tools at once—they’re designed to work together.
Why it matters: Everyone’s eyes and preferences are different. By combining tools, you create a reading experience that’s perfect for you.
Final Thoughts
Small print doesn’t have to be a barrier anymore. Your phone is equipped with powerful AI tools that can make reading easier, faster, and more enjoyable. Whether you prefer to zoom in, listen, or use a combination of features, there’s a solution that works for you.
Start with one tool—maybe the Magnifier for your medicine bottles or Text-to-Speech for your emails. Once you see how much easier reading becomes, you’ll feel more confident exploring the other options. The goal is simple: to help you read comfortably and stay informed about the things that matter most to you.