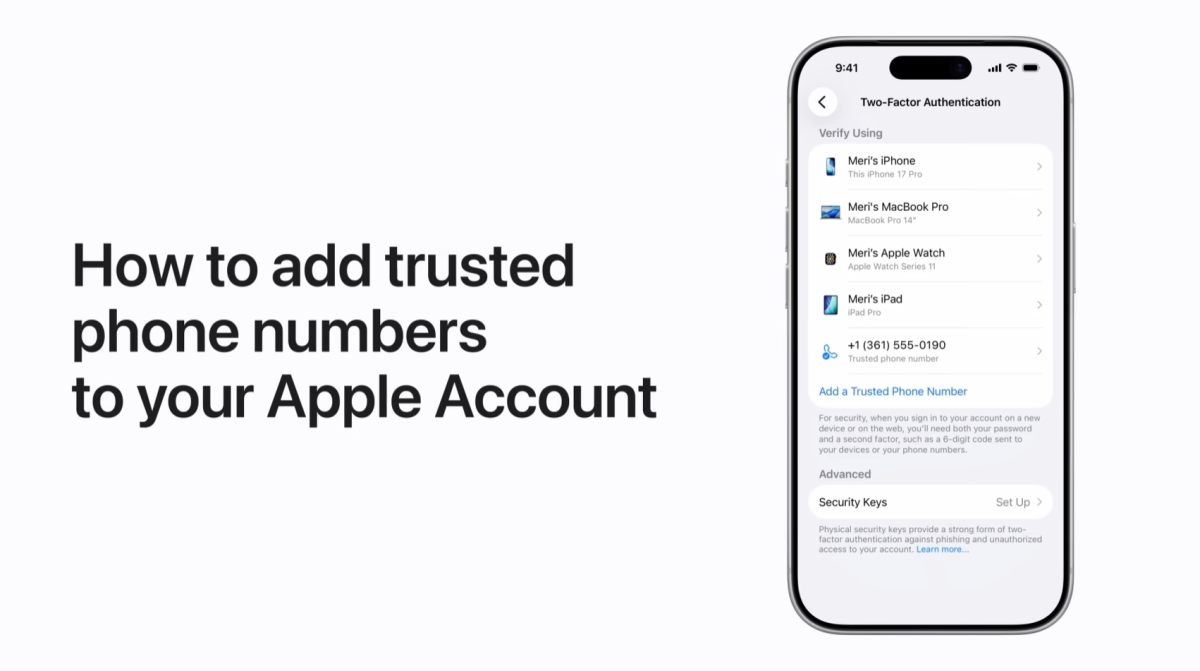
Start by turning on iCloud Keychain and two-factor authentication for your Apple ID, and enable Find My, Location Services, Bluetooth, and internet on your device.
Set up each AirTag one at a time.
Remove the protective film and pull the battery tab until the AirTag chimes.
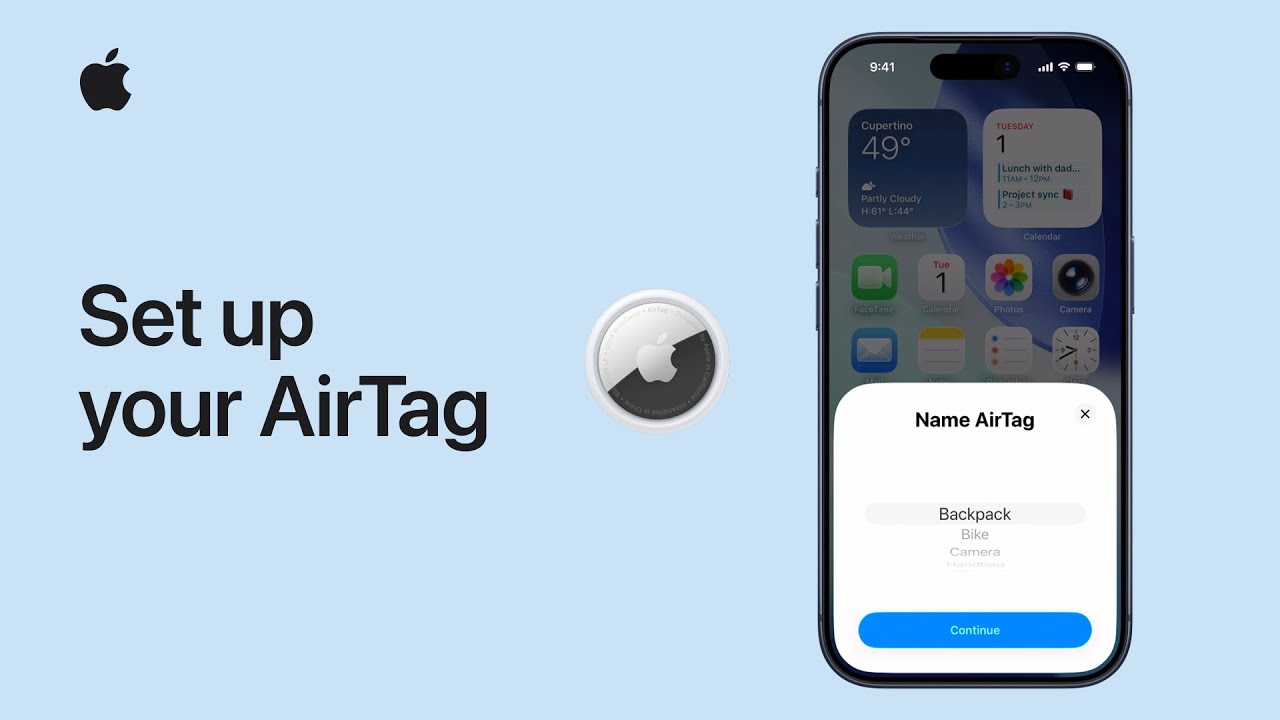
Bring the AirTag close to your iPhone, tap Connect on the prompt, choose a category such as Backpack, and tap Continue.
Tap Agree to register it to your Apple account.
After the confirmation sound, attach the AirTag to your item so you can locate keys, wallet, or bag whenever needed and always find them.
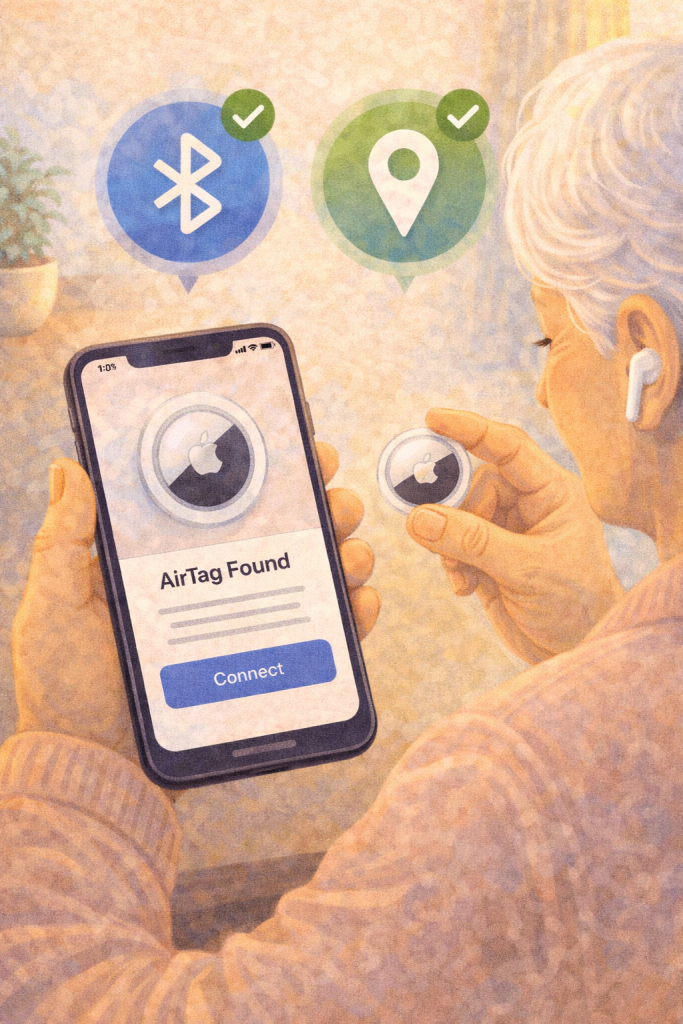
- Ensure iCloud Keychain, two‑factor auth, Find My, Location Services, Bluetooth, and internet are enabled.
- Set up AirTags one at a time.
- Remove film and pull the battery tab until the AirTag chimes.
- Hold the AirTag near your iPhone, tap Connect, name it (e.g., Backpack), then Continue and Agree.
- When it chimes again, attach it to your item to track or locate it.