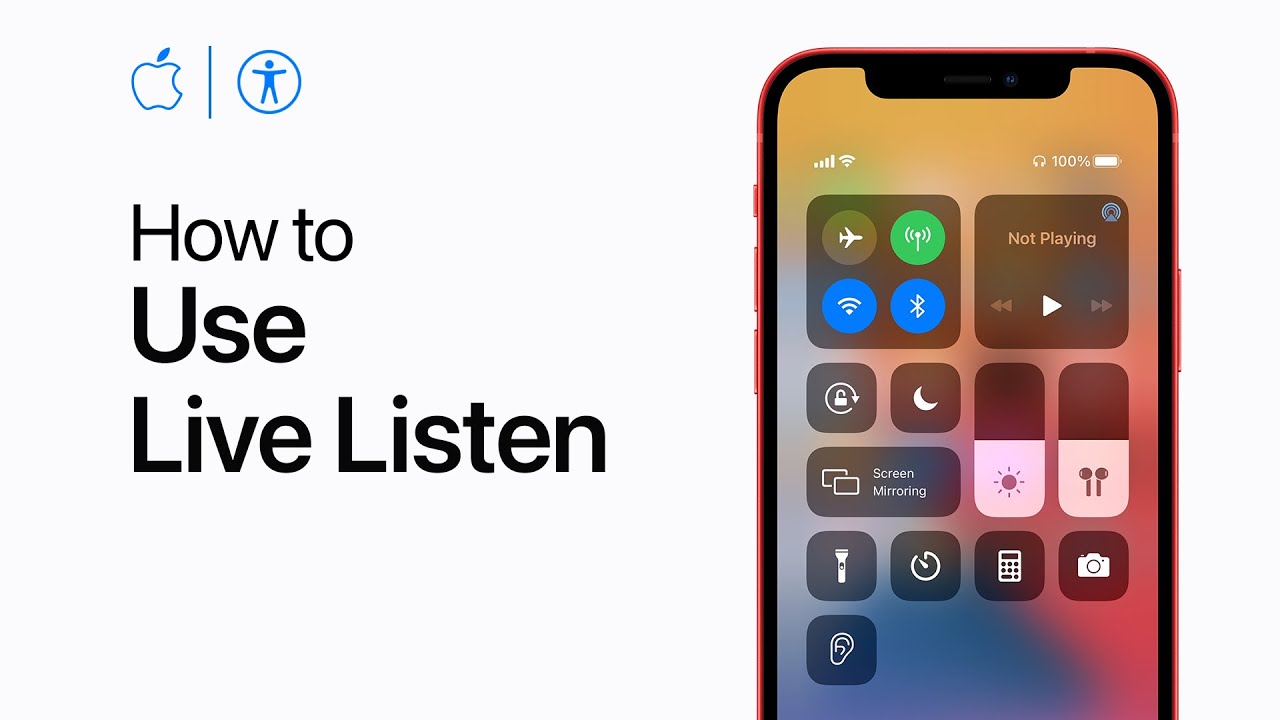
How to multitask with Split View on iPad | Apple Support

With Split View in iPadOS, you can work on two apps side by side for increased productivity. To use Split View, tap the multitasking button while in an app like Procreate, then select Split View to move it to one side. Open another app, like Photos, from the home screen or app library on the other side. Adjust the space each app occupies by dragging the divider. You can also open multiple windows of the same app, such as Notes, by dragging the app from the dock. To exit Split View, tap the multitasking button and select full screen, or use the app switcher to manage open apps.

Summary:
– Use Split View to work on two apps side by side in iPadOS.
– Tap the multitasking button and select Split View to position an app on one side.
– Open a second app from the home screen or app library on the other side.
– Adjust the space between apps by dragging the divider.
– To exit Split View, tap the multitasking button and select full screen or use the app switcher.

How to update your iPad | Apple Support

To keep your iPad up to date with the latest features and security enhancements, start by backing up your device. To update wirelessly, plug your iPad into power, connect to Wi-Fi, and check for updates in Settings under General and Software Update. You can either update immediately or schedule it for overnight. To update using a computer, connect your iPad to a Mac or Windows computer with internet access. On a Mac with macOS Catalina or later, use Finder; on macOS Mojave or earlier or a Windows PC, use iTunes. Follow the prompts, accept terms and conditions, and your iPad will restart once the update is complete.

Summary:
– Back up your iPad before updating.
– To update wirelessly, connect to power and Wi-Fi, then check for updates in Settings > General > Software Update.
– Choose to update immediately or schedule for overnight.
– To update using a computer, connect your iPad to a Mac or Windows PC with internet access and open Finder (macOS Catalina or later) or iTunes (macOS Mojave or earlier/Windows).
– Follow the prompts and accept terms and conditions; your iPad will restart when the update is complete.

How to add widgets to your iPad Lock Screen | Apple Support

Keep current information at your fingertips with widgets on your iPad lock screen. To add them during lock screen customization, tap “Add Widgets.” You can choose from suggested widgets or select widgets from a specific app. For example, tap to add the calendar widget from the suggestions, then tap to add a reminders list widget. Once done, tap the close button to return to the lock screen you’re customizing. Personalize your lock screen to your preferences and for more tips, subscribe to the Apple support YouTube channel or watch more videos.

Summary:
– Add widgets to your iPad lock screen for quick access to information.
– During lock screen customization, tap “Add Widgets.”
– Choose from suggested widgets or select from specific apps.
– Add desired widgets, such as calendar and reminders, and tap close.
– Customize your lock screen and learn more by subscribing to the Apple support YouTube channel.

How to use AirPlay to stream video or mirror the screen of your iPhone or iPad | Apple Support

With AirPlay, you can share various content from your iPhone or iPad to larger screens like Apple TV, Smart TVs, or Mac computers. First, ensure both devices are on the same Wi-Fi network. To stream content, tap the AirPlay button within compatible apps and select your desired device. Alternatively, for screen mirroring, access Control Center, tap “Screen Mirroring,” and choose the target device. Enter a code if prompted. Streamed content allows multitasking on your iOS device while playing on the target screen, while screen mirroring replicates your device’s screen in real-time. Enjoy a wider view of apps and content on the larger display.

Summary:
– AirPlay enables sharing content from iPhone or iPad to larger screens like Apple TV, Smart TVs, or Macs.
– Ensure both devices are connected to the same Wi-Fi network before initiating AirPlay.
– Streaming allows displaying videos, photos, and music from compatible apps onto another screen, while screen mirroring replicates the device’s screen on a larger display in real-time.
– To stream content, tap the AirPlay button within compatible apps and select the desired device. For screen mirroring, access Control Center and tap “Screen Mirroring,” then choose the target device.
– Enjoy multitasking on the iOS device while content streams on the target screen or view apps and content in real-time on the larger display through screen mirroring.

How to Use Airdrop on iPhone or iPad

Airdrop simplifies file sharing across Apple devices, including iPhones, iPads, and Macs, using Bluetooth. First, activate Wi-Fi and Bluetooth in the Control Center. Adjust Airdrop settings to limit recipients, choosing between “Contacts Only” or “Everyone.” Then, select the file to share and tap the share icon. Choose Airdrop and select the recipient device. Ensure both devices are within Bluetooth range. Accept the transfer on the receiving device. Airdrop accommodates various file types, such as notes, URLs, and images. It’s a convenient method for on-the-go sharing without requiring Wi-Fi.

Summary:
– Airdrop facilitates easy file sharing between Apple devices like iPhones, iPads, and Macs via Bluetooth, without requiring Wi-Fi.
– Activate Wi-Fi and Bluetooth in the Control Center of both sender and receiver devices.
– Customize Airdrop settings to allow sharing with “Contacts Only” or “Everyone,” adjusting as needed.
– Select the file to share, tap the share icon, then choose Airdrop and the recipient device.
– Accept the transfer on the receiving device to complete the sharing process seamlessly.

How to share your Wi-Fi password | Apple Support

To quickly share your Wi-Fi password with a friend from your iPhone, ensure both phones have Wi-Fi and Bluetooth enabled. Open Control Center and disable Personal Hotspot. Make sure you and your friend are saved in each other’s contacts with Apple ID emails. Then, in Settings on your friend’s phone, tap Wi-Fi and select your network. When prompted on your iPhone, tap “Share Password” to confirm. Your friend can now join the network instantly. Share the love by sharing your Wi-Fi! For more tips, subscribe to the Apple Support YouTube channel or explore other videos.

Summary:
– Enable Wi-Fi and Bluetooth on both phones.
– Turn off Personal Hotspot in Control Center.
– Ensure mutual contact details are saved, including Apple ID emails.
– On your friend’s phone, select your Wi-Fi network in Settings.
– Tap “Share Password” on your phone when prompted to allow instant connection.

How to set up and use your AirTag | Apple Support

To start using AirTag, ensure iCloud Keychain and two-factor authentication are enabled for your Apple ID, along with Find My location services and Bluetooth on your device. Remove the protective film and plastic tab from the AirTag, then bring it close to your iPhone to start setup. Follow on-screen instructions to complete setup. If an item with the AirTag goes missing, use the Find My app to track it down. Tap your item in the app to see its last known location and options like playing a sound. Use Find Nearby or directions in Maps for precise tracking. Enable Lost Mode for additional assistance, and tap “Enable” to confirm.

Summary:
– Ensure iCloud Keychain, two-factor authentication, Find My location services, and Bluetooth are enabled.
– Remove protective film and plastic tab from AirTag, then bring it close to iPhone for setup.
– Use the Find My app to track missing items with AirTag, accessing last known location and playing a sound.
– Utilize Find Nearby or Maps directions for precise tracking if item is within Bluetooth range.
– Enable Lost Mode for additional assistance and tap “Enable” to confirm setup.

How to pair and set up your Apple Watch | Apple Support

To pair your new Apple Watch with your iPhone, ensure your iPhone has the latest iOS version, is connected to Wi-Fi or cellular, and Bluetooth is enabled. Put on your Apple Watch, turn it on by holding the side button, and place it near your iPhone. Tap “Continue” on your iPhone, select “Setup for Myself” or a family member, and position the watch in the on-screen frame using the iPhone’s camera or pair manually if needed. Follow on-screen instructions to choose settings, wrist preference, and accept terms. Wait for the pairing confirmation, then set up as new or restore from backup. Follow prompts until syncing completes, indicated by a message on your iPhone and the appearance of the watch face on your Apple Watch.

Summary:
– Ensure iPhone is updated, connected to Wi-Fi/Cellular, and Bluetooth is on.
– Turn on Apple Watch by holding the side button, then position it near the iPhone.
– Tap “Continue” on iPhone, choose setup options, and pair the devices.
– Follow on-screen instructions to set preferences, accept terms, and complete setup.
– Wait for sync confirmation, indicated by message on iPhone and watch face appearance on Apple Watch.

How to find your lost AirPods | Apple Support

If your AirPods are missing, use Find My: Open Find My, tap your AirPods, select the item you’re looking for, and use the “Find” or “Directions” button to locate them. Move your iPhone around to track their proximity. For Second Gen AirPods Pro, use Precision Finding. Activate “Lost Mode” to get notifications about their location and prevent unauthorized use. To deactivate, swipe up and tap “Remove This Device.” That’s how Find My helps find your AirPods. Subscribe to Apple Support for more.

Summary:
– Use Find My to locate missing AirPods: Open Find My app, tap on your AirPods, and select the missing item.
– For AirPods out of Bluetooth range, tap “Directions” to see their last known location on Maps.
– For nearby AirPods, tap “Find” to make your iPhone guide you to their location.
– Utilize Precision Finding for Second Gen AirPods Pro to pinpoint the case’s location accurately.
– Activate “Lost Mode” for notifications on their whereabouts and prevent unauthorized use; remove them from Find My once found.

How to zoom in on your iPhone or iPad screen with Window Zoom — Apple Support

Window Zoom magnifies a portion of the iPhone or iPad screen for closer viewing. To activate, go to Settings > Accessibility > Zoom > Zoom Region, and select “Window Zoom.” Then, enable zoom and toggle the zoom lens by double-tapping with three fingers. Adjust magnification by dragging fingers up or down inside the zoom lens. For more settings, triple-tap with three fingers. VoiceOver users can access settings by double-tapping with one finger inside the zoom lens. Settings include switching between window zoom and full screen zoom, resizing the window, applying color filters, and more. Dismiss the zoom menu shortcut by tapping outside it. This feature enhances accessibility on Apple devices, promoting inclusive user experiences.

Summary:
– Window Zoom on iOS devices magnifies a section of the screen for better visibility.
– Activate it through Settings > Accessibility > Zoom > Zoom Region > “Window Zoom.”
– Toggle the zoom lens by double-tapping with three fingers, adjusting magnification by dragging fingers up or down inside the lens.
– Additional settings, including color filters and resizing options, are available by triple-tapping with three fingers.
– Dismiss the zoom menu shortcut by tapping outside it, offering enhanced accessibility for users.