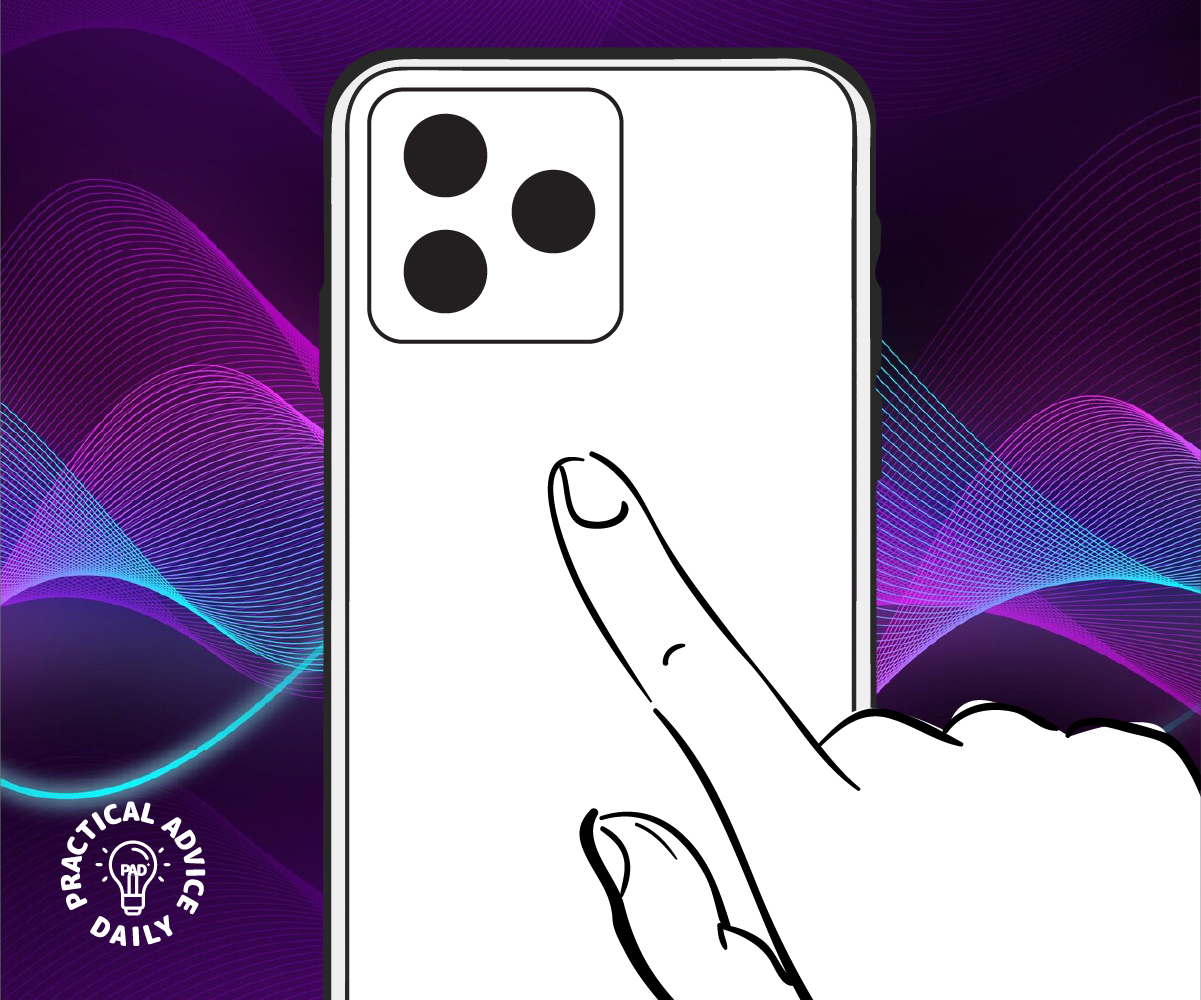
Did you know you can perform tasks on your iPhone just by tapping the back of your device? The Back Tap feature is a hidden but powerful tool that lets you quickly take screenshots, open apps, and trigger shortcuts—perfect for making your iPhone easier to use.
This guide will walk you through enabling and customizing Back Tap so you can use it for quick actions. Whether you’re new to iPhones or just looking for an easier way to navigate your device, this step-by-step guide will help!
Table of Contents
What is Back Tap?
Back Tap is an accessibility feature on iPhones running iOS 14 or later. It allows you to double-tap or triple-tap the back of your iPhone to perform certain actions, like:
- Taking a screenshot
- Opening the camera
- Turning on the flashlight
- Accessing Control Center
- Launching an app
- Running a shortcut
This feature works even if your iPhone has a case, as long as the taps are firm enough.
How to Enable Back Tap
Setting up Back Tap is easy! Just follow these steps:
- Open the Settings app on your iPhone.
- Scroll down and tap Accessibility.
- Under Touch, select Back Tap.
- Choose Double Tap or Triple Tap.
- Select the action you want to assign to each tap.
Once enabled, you can start using Back Tap immediately!
Best Uses for Back Tap
Back Tap is highly customizable, making it a great tool for simplifying daily tasks. Here are some useful ways to use it:
- Take a screenshot – No need to press buttons; just tap the back of your phone.
- Launch the Camera – Capture moments instantly with a quick tap.
- Turn on the Flashlight – Perfect for when you need light in the dark.
- Open an App – Set it to launch your favorite app instantly.
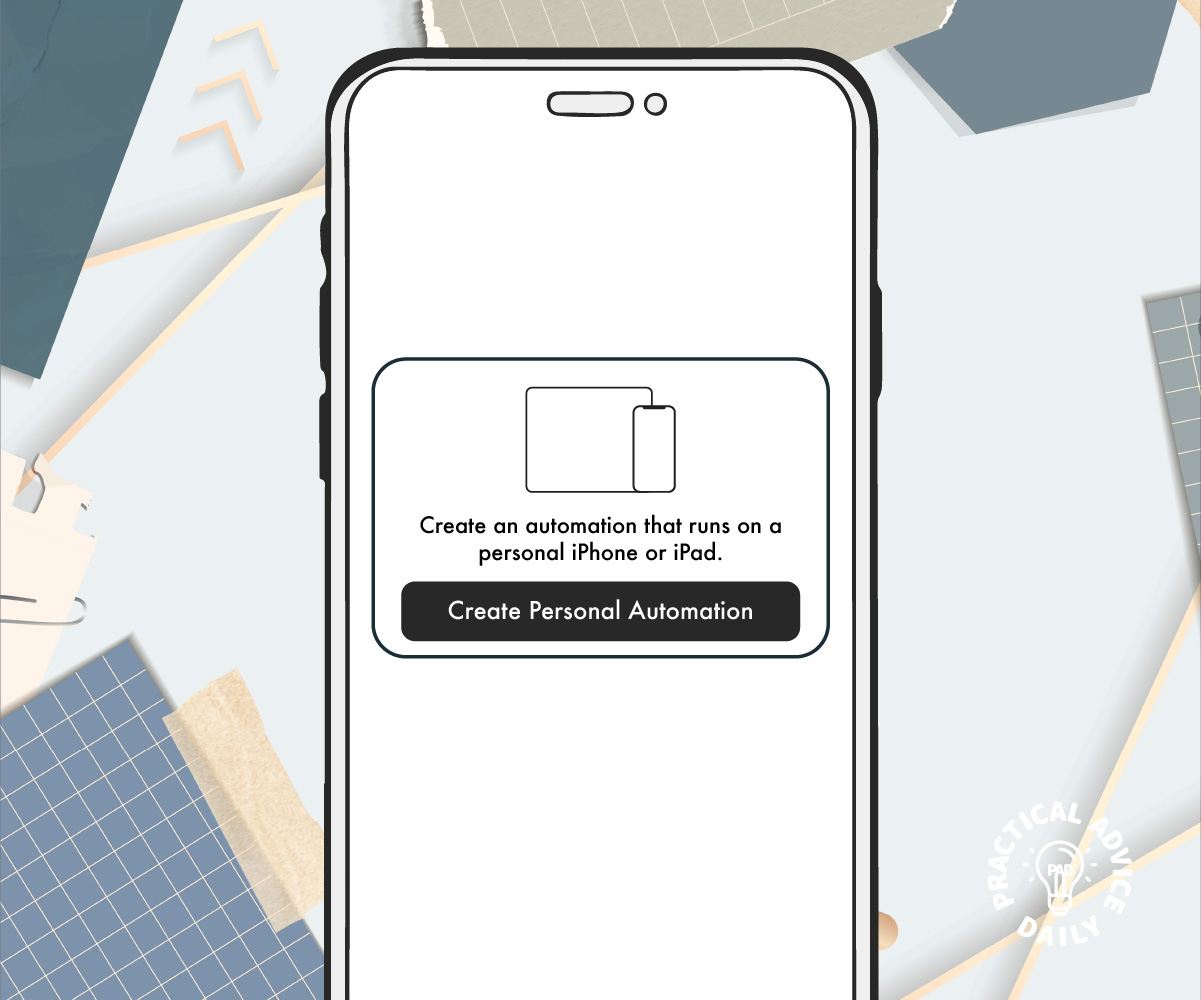
- Run a Shortcut – Automate tasks like sending a message, playing music, or checking the weather.
Troubleshooting Back Tap Issues
If Back Tap isn’t working, try these solutions:
- Ensure your iPhone is running iOS 14 or later.
- Restart your device and try again.
- Remove or adjust your phone case if it’s too thick.
- Check that Accessibility > Touch > Back Tap is properly set up.
Final Thoughts
Back Tap is a hidden gem that makes using your iPhone easier and more efficient. Whether you want to take screenshots quickly, turn on your flashlight, or access your favorite apps, this feature is a game-changer.
Try it out and see how much more convenient your iPhone can be! If you found this guide helpful, share it with friends and family so they can enjoy this handy trick too.