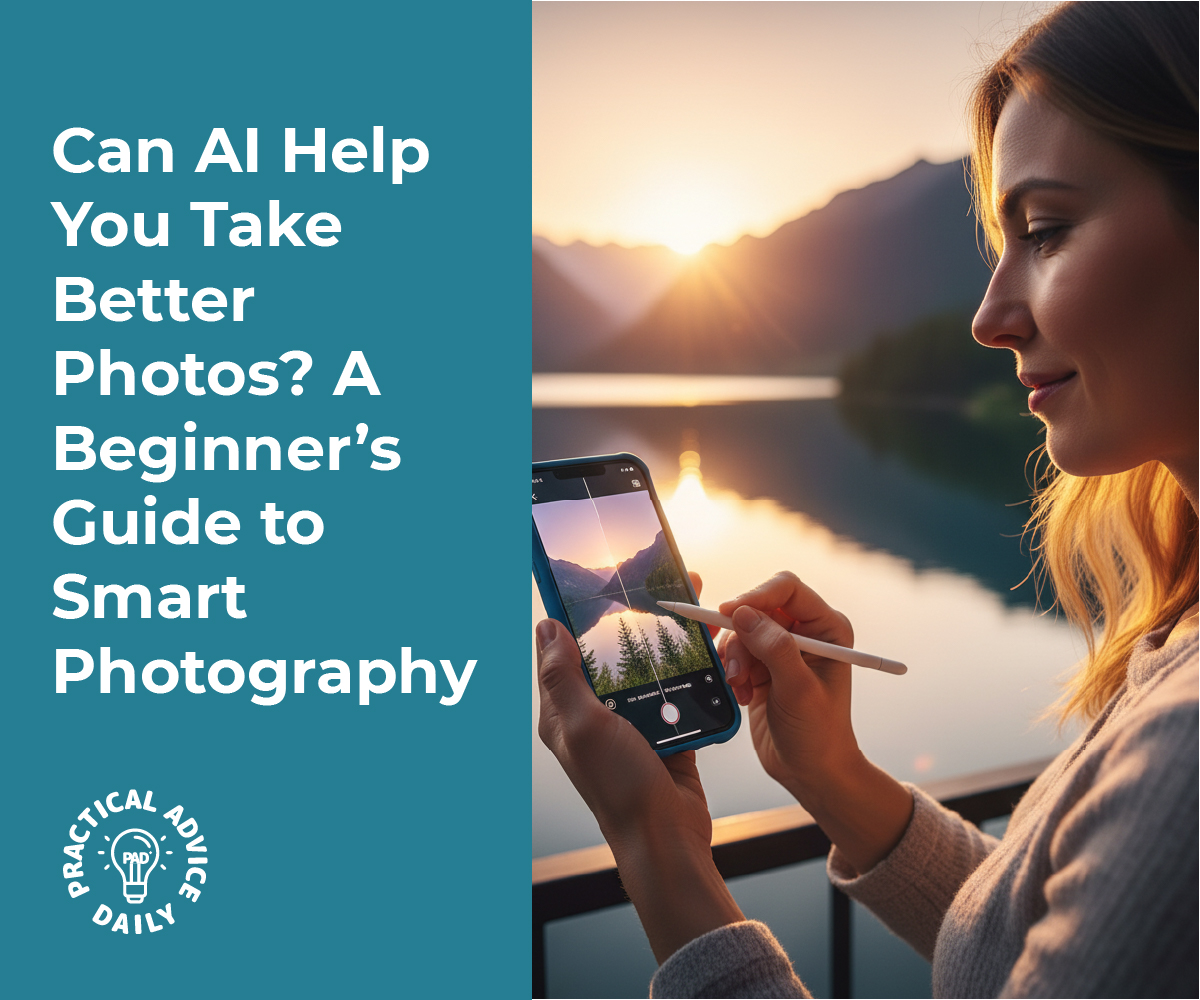
Have you ever wondered how some people always seem to take perfect photos, even without fancy cameras? The secret often lies in artificial intelligence (AI). Today’s smartphones and digital cameras use AI to help you focus, adjust lighting, and even edit your pictures automatically. You don’t need to be a tech expert or professional photographer—AI tools can do most of the hard work for you.
In this beginner-friendly guide, you’ll learn how AI can help you take better photos, from capturing the perfect portrait to enhancing your shots with smart editing tools.
Table of Contents
Key Takeaways
- AI can automatically adjust camera settings like brightness, focus, and color to match the scene.
- Portrait AI helps you look your best, enhancing lighting and smoothing backgrounds naturally.
- AI editing tools can fix common issues like poor lighting or blurry shots in just a few taps.
- You don’t need expensive gear—most of these features are built right into modern smartphones.
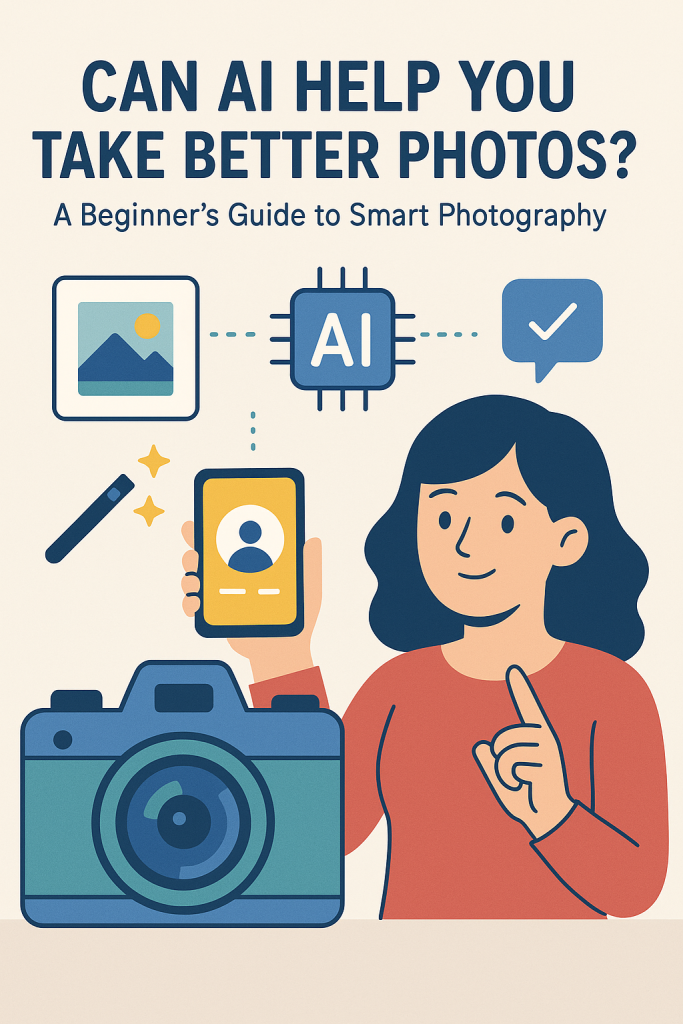
Understanding AI in Photography
AI in photography simply means that your camera or phone uses smart software to recognize what’s in your photo and adjust settings for the best result.
For example, if you’re taking a picture of a sunset, the AI might automatically boost the warm colors and adjust the exposure so the sky looks rich and glowing. If you’re snapping a portrait, it can focus on the person’s face and blur the background to make them stand out.
You don’t have to fiddle with controls or know photography terms. AI acts like an invisible assistant, quietly helping you take better pictures.
How AI Makes Camera Settings Smarter
In the past, photographers had to manually adjust settings like ISO, shutter speed, and white balance. Today, AI can do that for you.
Here’s how it helps:
- Scene Detection: The camera identifies what you’re photographing—like food, pets, landscapes, or people—and chooses the right settings automatically.
- Auto Focus: AI quickly locks focus on faces or moving subjects so they stay sharp.
- Light Adjustment: It balances exposure so photos aren’t too dark or too bright.
- Color Correction: AI enhances natural colors, keeping skin tones and scenery true-to-life.
For example, when you take a photo of your dog running in the park, your phone might automatically increase the shutter speed to freeze the motion and keep your pet clear, not blurry.
AI-Powered Portraits: Look Your Best
Many smartphones now include portrait mode, which uses AI to separate you from the background and apply a gentle blur—similar to what professional photographers do with special lenses.
AI can also:
- Smooth your skin slightly (without looking fake)
- Adjust shadows and highlights on your face
- Brighten eyes and enhance hair detail
This doesn’t mean changing how you look. It’s more like having perfect lighting every time you take a selfie.
Try experimenting with your phone’s portrait settings. Most devices let you adjust the background blur or lighting style, so you can control the final look.
Smart Editing Made Simple
Even after you take a photo, AI can help you make it look better instantly.
Most phones and apps now include auto-enhance or AI edit options. These tools can:
- Fix poor lighting or color balance
- Remove unwanted objects or reflections
- Sharpen details or smooth out grainy areas
- Suggest the best crop or framing
For example, Google Photos, Apple Photos, and Adobe Lightroom all use AI to make editing faster and more intuitive. You can tap a single button to transform a dull picture into something bright and polished—no technical skill needed.
Real-Life Example: From Ordinary to Outstanding
Imagine you’re taking a photo at your granddaughter’s birthday party. The room is a little dark, and people are moving around. Your phone’s AI detects faces, brightens them slightly, and reduces motion blur so everyone looks clear. Later, you can open the photo in your gallery, tap Auto Enhance, and watch as it fixes the lighting and color in seconds.
What used to take a professional and a computer hours can now be done in moments—all with tools you already have.
Tips to Get the Most from AI Photography
- Clean your lens first. Even the best AI can’t fix a smudged lens.
- Try different angles. AI can improve lighting, but composition is still up to you.
- Use portrait mode for people. It’s designed to make faces stand out beautifully.
- Explore your camera settings. Look for “AI mode,” “scene detection,” or “auto-enhance.”
- Review before sharing. AI can sometimes make colors too bright; a quick check ensures your photo still looks natural.
Final Thoughts
AI has made photography easier and more enjoyable for everyone. You no longer need to study complicated settings or buy expensive equipment to capture stunning photos. With just your smartphone and a little curiosity, you can take professional-looking pictures that truly capture the moment.
So, the next time you snap a photo—whether it’s a family portrait, your garden, or a vacation view—let the AI do its magic. You might be surprised at just how good your photos can look.