
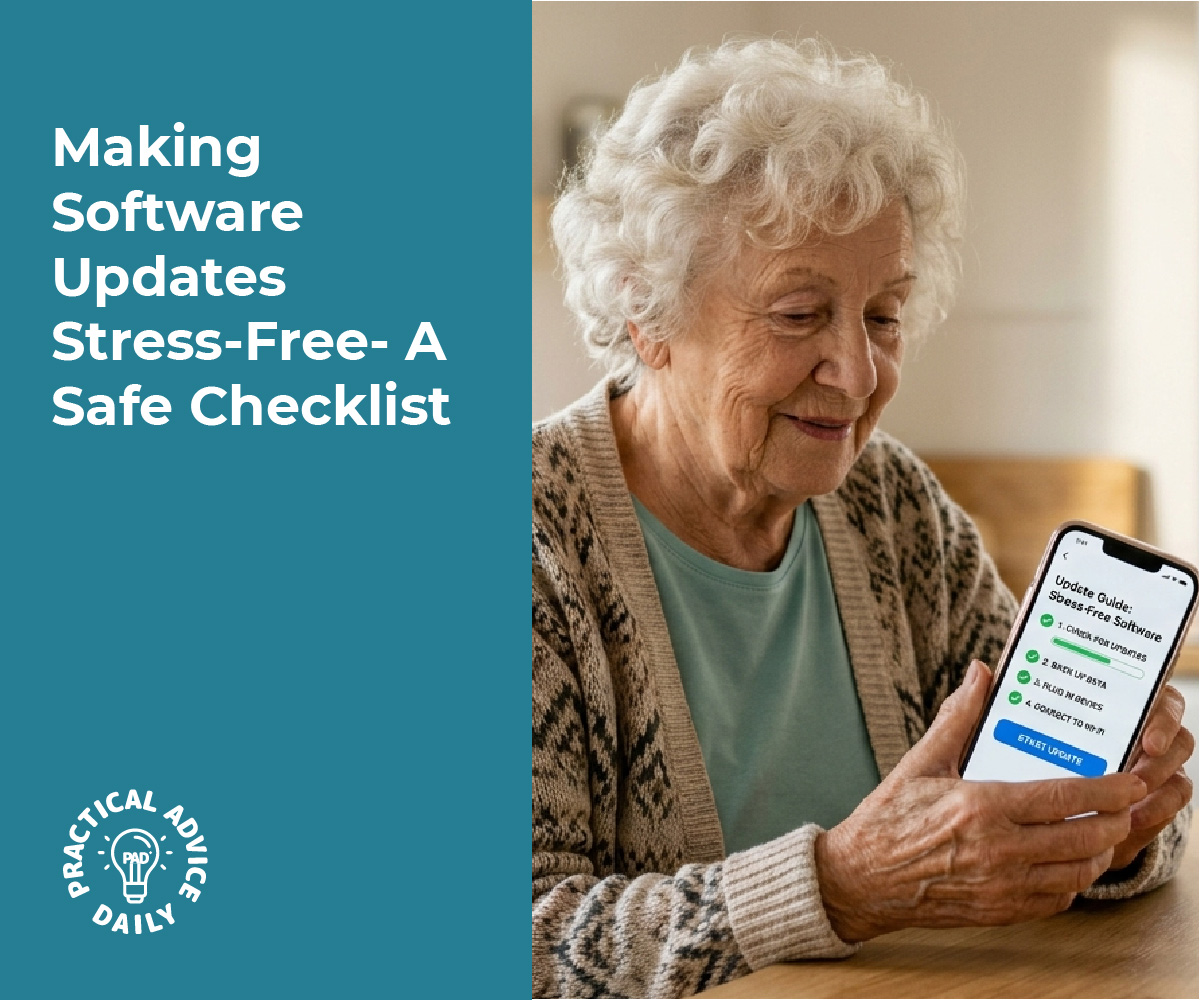
iOS updates bring new features and improvements, but they also carry risks of data loss or compatibility issues. The best way to protect your data is to create a complete backup before updating and verify it works afterward. This simple practice can save hours of frustration if something goes wrong during the update process.
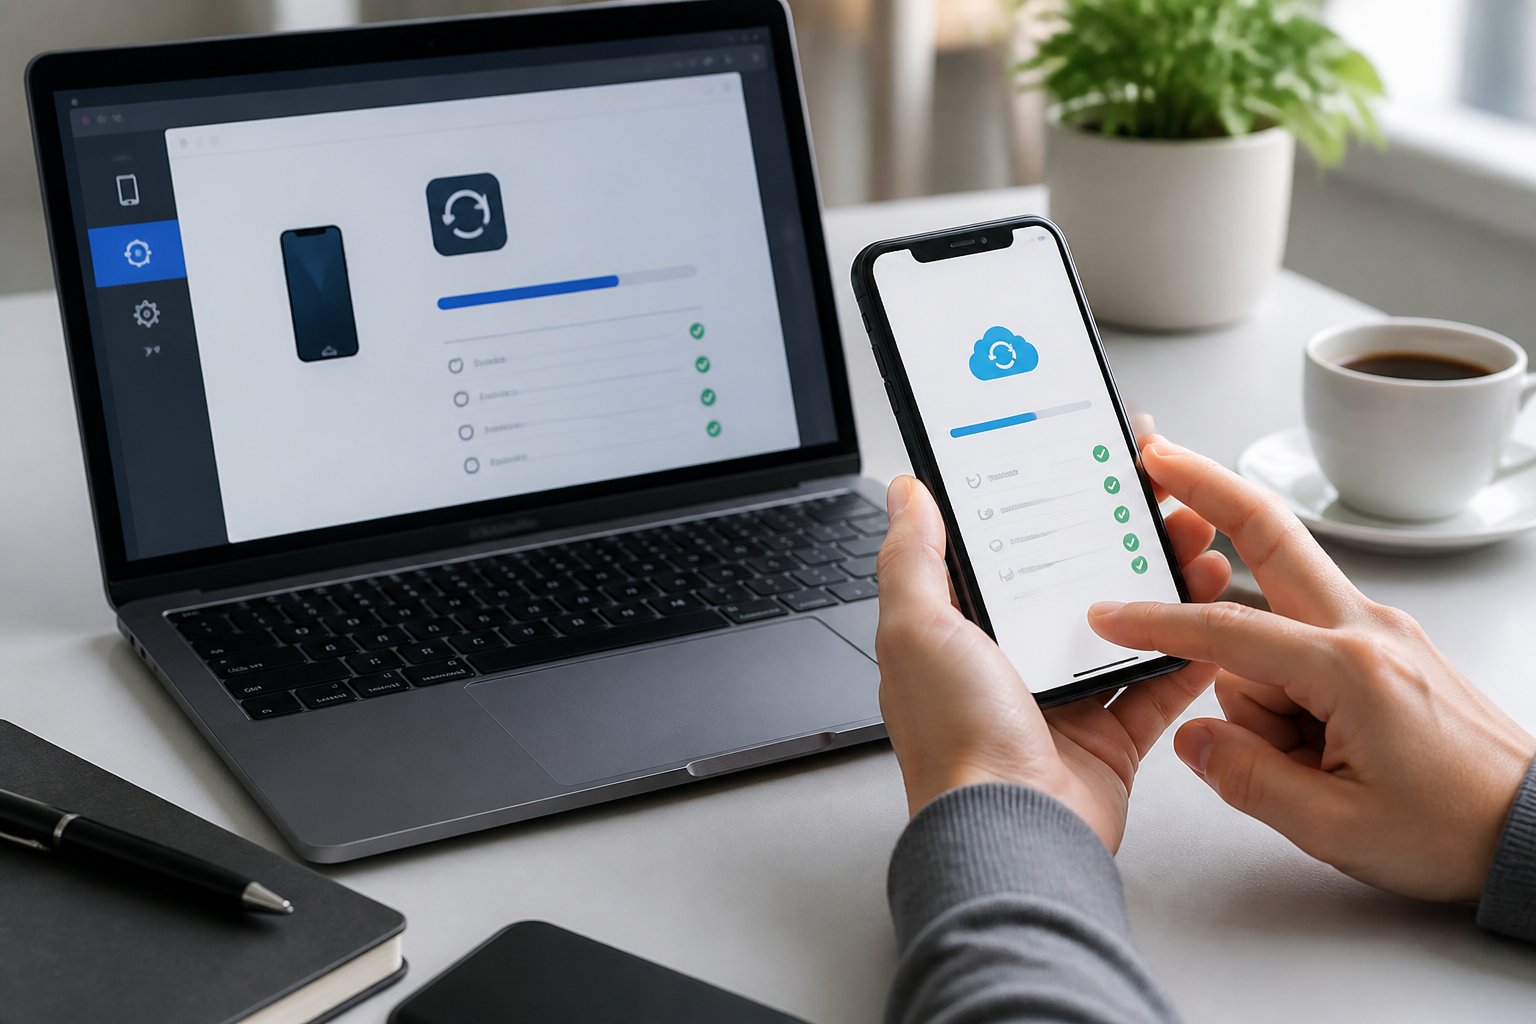
Many users skip the backup step because they assume everything will work perfectly. However, updates can sometimes fail, causing apps to malfunction or data to disappear. Taking a few minutes to back up and test your device ensures you can recover everything if problems arise.
This guide walks through the entire process, from choosing between iCloud and local backups to testing your data after the update completes. Each step includes clear instructions that work for any iPhone model and iOS version.
Table of Contents
Key Takeaways
- Creating a backup before any iOS update protects your data from potential loss during the installation process
- Both iCloud and local backup methods offer reliable protection, with each option suited to different storage needs and preferences
- Testing your backup before updating and verifying your data afterward ensures you can restore everything if issues occur
The Importance of Backing Up Before Any iOS Update
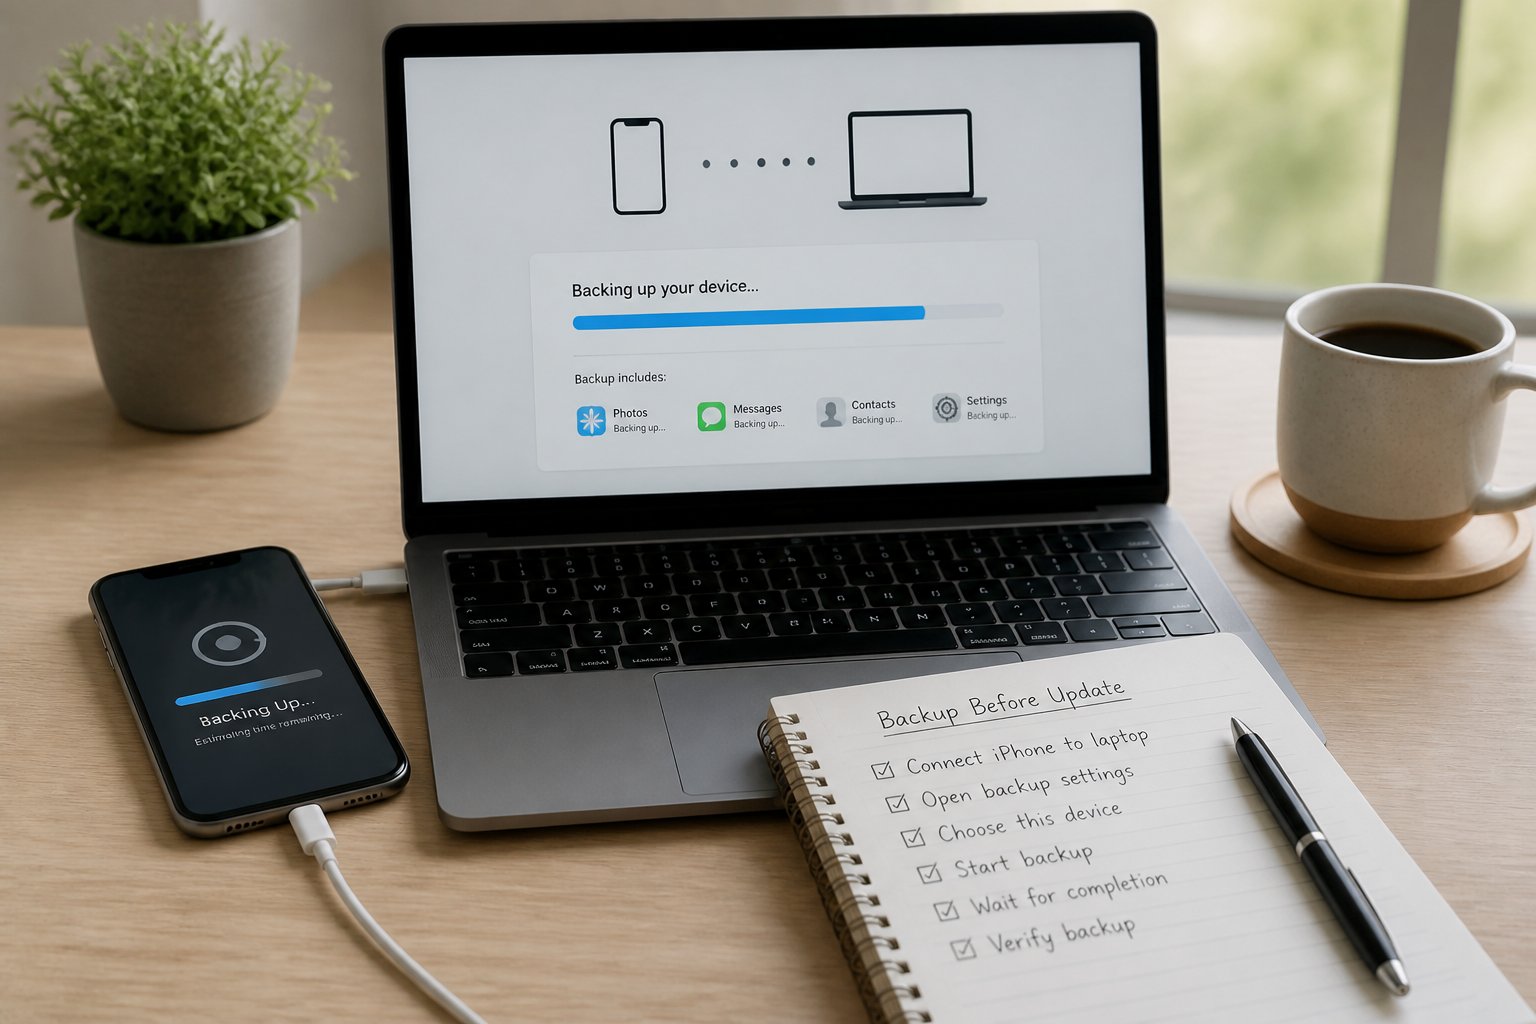
iOS updates can fail unexpectedly, and when they do, unbacked data may become inaccessible or permanently lost. A proper backup ensures that photos, messages, app data, and settings remain recoverable regardless of what happens during the update process.
Why Data Loss Happens During Updates
Software updates modify core system files and can interrupt data storage structures. If an update fails midway due to insufficient battery, unstable internet connections, or unexpected errors, the device may enter a recovery loop or become unresponsive.
Corrupted update files present another risk. When iOS 26 or iOS 18 downloads are incomplete or damaged, the installation process can overwrite existing data without completing successfully. This leaves users with neither the old system nor the new one functioning properly.
Hardware issues can also emerge during updates. If a device has underlying storage problems that haven’t caused noticeable symptoms, the intensive read-write operations during an update can trigger failures. The update process stresses the device more than typical daily use, sometimes exposing previously hidden weaknesses.
What Gets Protected in a Backup
An iCloud backup stores app data, device settings, home screen organization, iMessage and SMS messages, photos and videos not already in iCloud Photos, purchase history, and ringtones. It runs automatically when the device is plugged in, locked, and connected to Wi-Fi.
A local backup through a computer captures everything iCloud does plus additional items: Health data, activity history, saved passwords, and personalized settings that iCloud excludes. Local backups also complete faster and don’t count against cloud storage limits.
Neither backup type saves data already synced through other services. Touch ID or Face ID settings, Apple Pay information, and content from the App Store require fresh setup after restoration.
When and How Often You Should Back Up
Users should create a backup within 24 hours before any iOS update. This ensures the most current data gets preserved if something goes wrong during installation.
Regular backup schedules matter beyond updates. Weekly backups protect against everyday risks like device loss, theft, or hardware failure. Those who frequently take photos or receive important messages should back up every few days.
Both cloud backup and local backup methods serve different needs. Maintaining both types provides redundancy—if iCloud has sync issues, the computer backup remains available. Before major updates like iOS 26, creating both backup types takes minimal extra time but maximizes protection.
Choosing Your Backup Method: iCloud vs. Local Backup
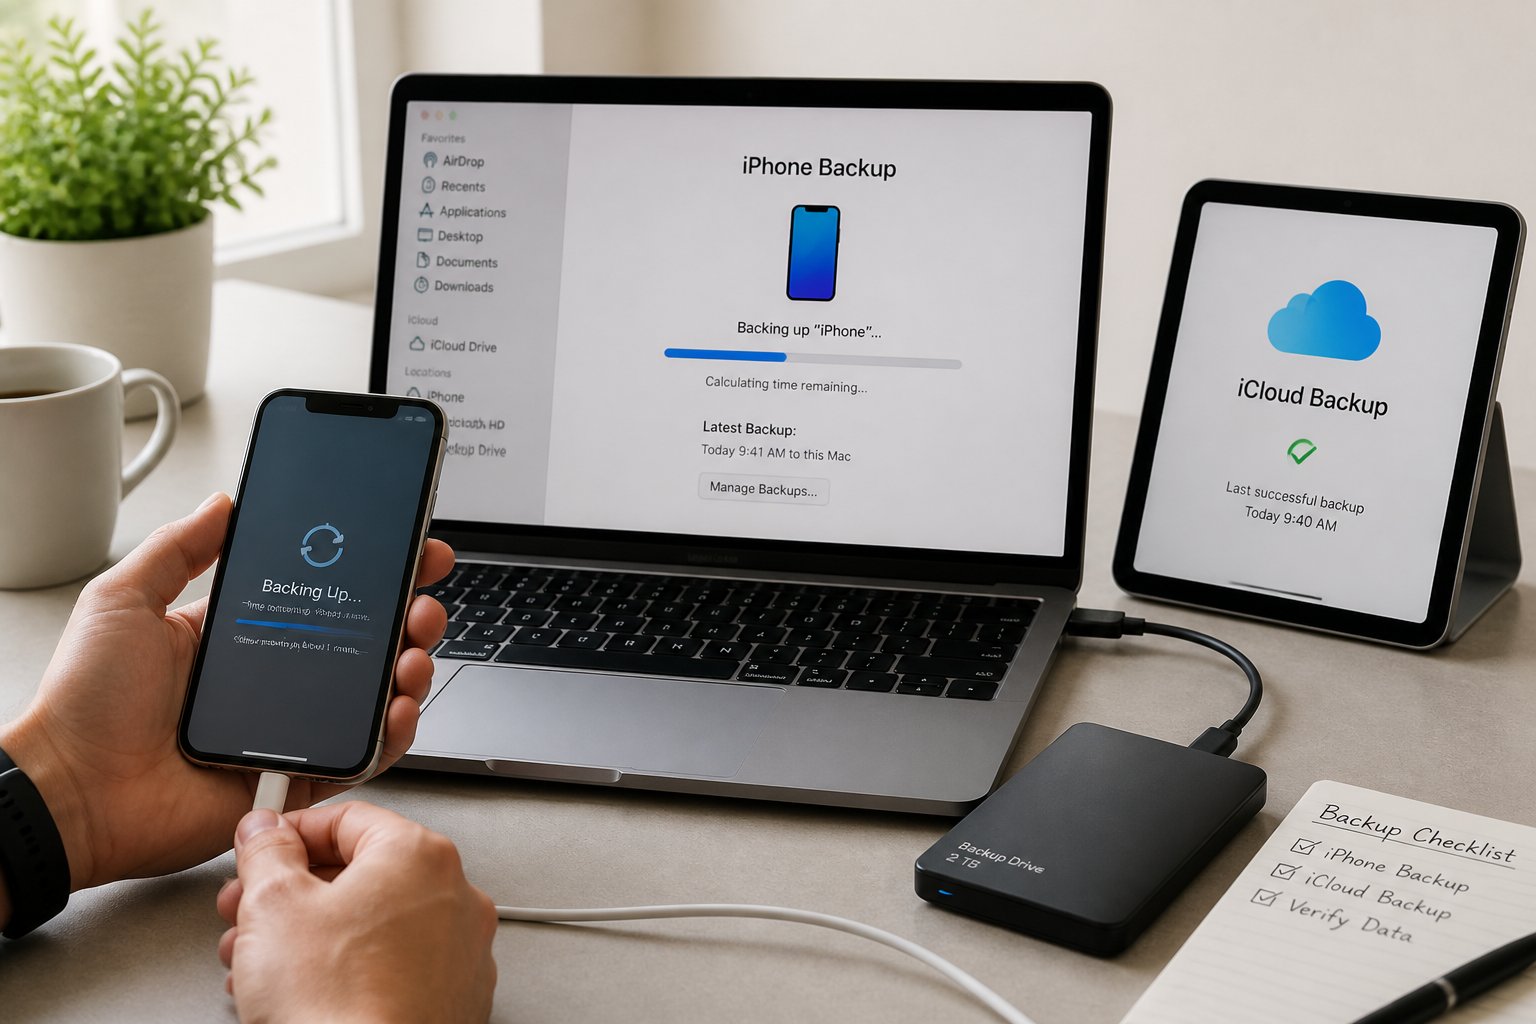
Apple offers two main approaches to protect iPhone data: iCloud backup stores everything in the cloud, while local backup saves a copy directly to a Mac or Windows computer. Both methods preserve photos, app data, settings, and messages, but they differ in storage limits, speed, and privacy controls.
iCloud Backup: Setup and Storage Considerations
iCloud backup happens automatically when the iPhone is connected to power, locked, and on Wi-Fi. Users get 5GB of free storage, which fills up quickly with photos and app data.
To enable iCloud backup, open Settings, tap the profile name at the top, select iCloud, then choose iCloud Backup and toggle it on. Tap Back Up Now to create an immediate backup.
Storage upgrades start at 50GB for $0.99 monthly, with 200GB and 2TB plans available. The backup doesn’t count purchased apps, music, or photos already in iCloud Photos against the storage limit.
Users can check backup status and manage what gets included by going to Settings > [Profile Name] > iCloud > Manage Storage > Backups. Excluding large apps or video files helps conserve iCloud storage space.
Cloud backup works best for users who switch devices frequently or want automatic protection without connecting to a computer.
How to Use Local Backup on Mac and Windows
Local backup creates a complete copy of iPhone data on a computer, using available hard drive space instead of cloud storage. This method often runs faster than cloud backup and doesn’t require an internet connection.
On Mac (macOS Catalina or later), connect the iPhone with a cable and open Finder. The device appears in the sidebar. Under the General tab, select Back up all of the data on your iPhone to this Mac and click Back Up Now.
On Windows, use the Apple Devices app (or iTunes on older Windows versions). Connect the iPhone, select it when it appears, choose This Computer under Backups, then click Back Up Now.
Local backups save to these locations by default:
| Operating System | Backup Location |
|---|---|
| Mac | ~/Library/Application Support/MobileSync/Backup/ |
| Windows 10/11 | \Users[Username]\AppData\Roaming\Apple Computer\MobileSync\Backup\ |
These backups include more data than iCloud versions, such as Health and Activity history when encrypted.
Encrypting Local Backups for Extra Security
Encrypted backups protect sensitive information like saved passwords, Wi-Fi settings, Health data, and website history. Without encryption, these items are excluded from local backups.
To enable encryption on Mac, check Encrypt local backup in Finder and create a password. On Windows, check Encrypt local backup in the Apple Devices app and set a password.
Store this password securely. Apple cannot recover encrypted backups if the password is lost. The encryption happens on the device before transfer, ensuring data remains private even if someone accesses the computer.
Encrypted backups take slightly longer to create but provide complete data protection. The encryption uses 256-bit AES standards, the same level used by banks and government systems.
Troubleshooting Common Backup Issues
If Back Up Now appears grayed out or fails, check the Wi-Fi connection strength and available iCloud storage. Low iPhone storage can also prevent backups from completing.
For local backup errors, ensure the computer has enough free disk space and the latest version of macOS or Windows. Restart both the iPhone and computer, then try a different USB cable or port.
When backups take too long, reduce backup size by excluding large apps in iCloud settings or removing them temporarily. Photos and videos consume the most space, so back up media separately to free up room.
If the backup process stops partway through, disable VPN connections and antivirus software temporarily. These can interfere with the data transfer between the device and computer or iCloud servers.
Testing Your Backup and Preparing for iOS Updates
After creating a backup, users need to confirm it completed successfully and prepare their device for installation. Adequate iPhone storage and proper verification steps prevent common update failures.
Verifying a Successful Backup
Users should check their most recent backup date and time to confirm the process completed. On iCloud, they can navigate to Settings > [their name] > iCloud > Manage Storage > Backups and select their device. The screen displays the backup size and timestamp.
For computer backups, Mac users running macOS Catalina or later open Finder and select their iPhone from the sidebar. The backup information appears under the General tab. Windows users and those with older Macs can verify through iTunes by clicking Edit > Preferences > Devices to view backup dates.
The backup should show today’s date with a reasonable file size. A successful iCloud backup typically ranges from 1 GB to several gigabytes depending on data volume. Users can tap on the backup to see which apps and data categories are included.
Freeing Up iPhone Storage for Updates
iOS updates require between 1.5 GB and 2 GB of available space, though the actual requirement varies by version. Users should check their current storage by opening Settings > General > iPhone Storage.
Temporary files, unused apps, and cached data often consume significant space. The iPhone Storage screen ranks apps by size and offers recommendations like offloading unused apps or reviewing large attachments. Users can delete apps they no longer use or offload them to remove the app while keeping its data.
Photos and videos typically occupy the most space. Enabling iCloud Photos with “Optimize iPhone Storage” replaces full-resolution media with smaller versions while keeping originals in iCloud. Users can also review and delete old conversations with large attachments in Messages.
Steps to Update Safely on iOS 26 and iOS 18
Before installing iOS 26 or iOS 18, users should charge their device to at least 50% battery or connect it to power. A stable Wi-Fi connection is required for downloading the update file.
They can check device compatibility first, as Apple typically discontinues support for older models with each major release. Users access the update by opening Settings > General > Software Update. The screen displays available updates with their file sizes.
During installation, the device restarts multiple times and displays a progress bar. Users should not interrupt this process or disconnect from power. The update typically takes 20 to 45 minutes depending on device speed and update size. After completion, the device prompts users to enter their passcode and review new features.
Restoring and Verifying Data After an Update
After completing an iOS update, users may need to restore their data from a backup if issues arise or if they performed a clean install. The restoration process differs depending on whether the backup is stored in iCloud or locally, and verification steps help confirm all data transferred correctly.
How to Restore a Backup on Your Device
To restore from iCloud backup, users should navigate to Settings > General > Transfer or Reset iPhone > Erase All Content and Settings. After the device restarts, they select “Restore from iCloud Backup” during the setup process and sign in with their Apple ID. The device displays available backups with dates and sizes, allowing selection of the most recent or preferred backup.
For local backup restoration through a Mac, users connect their iPhone via USB cable and open Finder. They select the device from the sidebar, click General, then choose “Restore Backup.” If the backup is encrypted, they must enter the password created during the backup process. Encrypted backups include sensitive data like saved passwords and Health data that standard backups exclude.
The restoration time varies based on backup size and connection speed. Users should keep their device connected to power and Wi-Fi throughout the process. The device will restart automatically when restoration completes.
Ensuring No Data Is Lost or Corrupted
After restoration completes, users should systematically check their data integrity. They can start by verifying photos in the Photos app, ensuring the count matches their pre-update library. Messages should display full conversation histories, and contacts should appear complete in the Phone app.
Apps may need time to download and reinstall from the App Store. Users should open key apps to confirm settings and in-app data restored properly. Health data appears in the Health app, while passwords can be verified in Settings > Passwords.
For documents and files, users should check the Files app and any cloud storage services. Music libraries in Apple Music should show all purchased and downloaded content. Call history, voicemails, and notes provide additional checkpoints for confirming successful restoration.
What to Do if Restore Backup Fails
If restoration fails, users should first ensure stable Wi-Fi connectivity and sufficient iCloud storage space for cloud-based restores. Checking available storage on the device itself prevents failures due to insufficient space for the backup contents.
Restarting both the iPhone and Mac (for local restores) often resolves temporary connection issues. Users experiencing repeated failures with iCloud should try restoring from a local backup instead, or vice versa. Apple Support can verify backup integrity if corruption is suspected.
For persistent issues, users can attempt restoring an earlier backup from the available list. This may result in losing recent data but ensures the device becomes functional. Turning off Find My iPhone in iCloud settings is required before factory restore attempts.
Final thoughts
Keeping software updates stress-free comes down to one habit: back up and verify. Create an iCloud or local (encrypted) backup within 24 hours before updating, confirm the backup completed and its date, free enough storage, and ensure your device is charged and on stable Wi‑Fi before installing. After the update, verify photos, messages, passwords, and key apps; restore from a verified backup if anything is missing. Regularly keeping both cloud and local backups gives you redundancy and peace of mind so updates add features, not headaches.