How to react with hand gestures on Mac | Apple Support

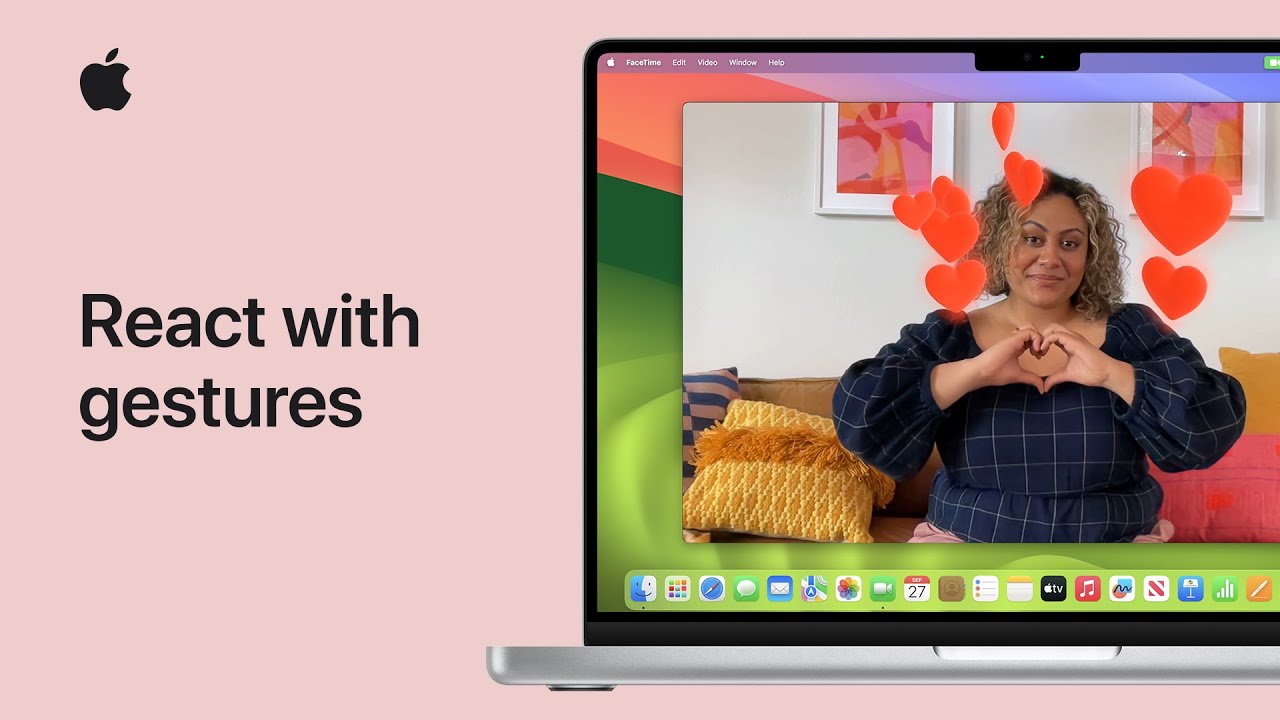
In macOS Sonoma, you can enhance your video calls with 3D effects using hand gestures if you have a Mac with Apple Silicon or are using Continuity Camera with an iPhone 12 or later. To use these effects in FaceTime, perform specific gestures: a thumbs up or down triggers bubble reactions, a heart shape shows affection, two thumbs up or down create fireworks or stormy weather, and a peace sign or two produces balloons or confetti. You can also use two “horns” signs to create laser effects. Explore these fun features to add excitement to your video calls.

Summary:
– macOS Sonoma introduces 3D effects for video calls via hand gestures.
– Available on Macs with Apple Silicon or with iPhone 12+ using Continuity Camera.
– In FaceTime, gestures trigger various effects: thumbs up/down for bubbles, heart shape for affection, two thumbs up/down for fireworks or stormy weather, peace sign for balloons, and two peace signs for confetti.
– Use two “horns” signs for laser effects.
Enhance your video calls with these fun, interactive gestures.

How to use the Mac Accessibility Assistant shortcut | Apple Support

To find the best accessibility features for your Mac, start by opening the Shortcuts app and clicking on the Gallery tab. Then, select the “Shortcuts for Accessibility” banner and choose “Mac Accessibility Assistant” to learn more about the shortcut. Add it to your All Shortcuts menu by clicking “Add Shortcut.” To use the shortcut, find it in the All Shortcuts menu or ask Siri, saying, “Hey Siri, Mac Accessibility Assistant.” Follow the prompts to choose and specify accessibility conditions, such as being a wheelchair user. When finished, the Notes app will open with a personalized note about relevant accessibility features and resources.

Summary:
– Open the Shortcuts app on your Mac and click the Gallery tab.
– Select “Shortcuts for Accessibility” and add “Mac Accessibility Assistant” to your All Shortcuts menu.
– To run the shortcut, find it in the All Shortcuts menu or use Siri with the command “Hey Siri, Mac Accessibility Assistant.”
– Choose your accessibility conditions or specify more as needed.
– The Notes app will open with a personalized note about relevant accessibility features and resources.

How to erase and reset your Mac to factory settings | Apple Support

To securely erase all data from your Mac, start by ensuring it’s backed up using Time Machine and connected to power and the internet. For macOS Ventura or later, go to the Apple menu, open System Settings, click on General, then Transfer or Reset, and select Erase All Content and Settings. Enter your administrator password, follow the prompts to sign out of Apple services, and confirm the erasure. For macOS Monterey, navigate similarly through System Preferences to Erase All Content and Settings, then complete the process. Your Mac will restart and display a progress bar, and if you’re keeping it, reconnect accessories and Wi-Fi to activate it.

Summary:
Backup and Preparation: Back up your Mac using Time Machine, and ensure it’s connected to power and the internet.
Erase in macOS Ventura or Later: Go to Apple menu > System Settings > General > Transfer or Reset > Erase All Content and Settings. Enter your admin password and follow the prompts.
Erase in macOS Monterey: Go to Apple menu > System Preferences > Erase All Content and Settings. Enter your admin password and follow the prompts.
Activation and Reconnection: After erasure, your Mac will restart. If keeping it, reconnect Bluetooth accessories and Wi-Fi.
Final Steps: Your Mac will be restored to factory settings, ready to be set up again.

How to schedule an email in Mail on your Mac | Apple Support

In macOS Ventura, you can schedule emails to be sent later using the Mail app. After composing your email, click the arrow next to the Send button and select “Send Later.” Choose the desired date and time for the email to be sent, then click “Schedule.” If you have sound notifications enabled, you might hear a sound indicating that the email is scheduled. To review or edit scheduled emails, click “Send Later” in the sidebar, check the date and time, and make changes if needed. You can reschedule or cancel as necessary before the email is sent.

Summary:
– Compose your email in the Mail app on macOS Ventura.
– Click the arrow next to the Send button and select “Send Later.”
– Choose the date and time for the email to be sent, then click “Schedule.”
– Find scheduled emails by clicking “Send Later” in the sidebar, and review or edit them as needed.
– You can reschedule or cancel the email before it is sent.

How to upgrade from macOS Monterey to macOS Ventura | Apple Support

To upgrade your Mac from macOS Monterey to macOS Ventura, first ensure your Mac is plugged in and connected to the internet, and back it up using Time Machine. Open the Apple menu, select System Preferences, and click Software Update. Install any available updates for macOS Monterey to make the Ventura download smaller and faster. Click “More info” under available updates, then “Install Now” and follow the prompts, accepting the terms and conditions and entering your administrator password if required. Click “Upgrade Now” to start the download and installation, which might take some time and include restarts. Once complete, log back in to use the latest features.

Summary:
– Ensure your Mac is plugged in, connected to the internet, and backed up using Time Machine.
– Open the Apple menu, select System Preferences, and click Software Update.
– Install any updates for macOS Monterey to speed up the macOS Ventura download.
– Click “Upgrade Now,” follow the prompts, and enter your administrator password if required.
– Wait for the installation to complete, which might include restarts, then log in to use macOS Ventura.

How to unsend an email in Mail on your Mac | Apple Support

In macOS Ventura, you can unsend an email in Mail on your Mac after sending it. Immediately after sending, a button labeled “Undo Send” will appear in the bottom left corner of the Mail app. By default, this button is available for 10 seconds, but you can adjust this setting in Mail preferences to extend it up to 30 seconds. To unsend, click the “Undo Send” button, and the original email will reappear for you to edit. After making any necessary changes, click “Send” again to resend the email or make further adjustments.

Summary:
– In macOS Ventura, after sending an email, a “Undo Send” button appears in the bottom left corner of Mail.
– By default, this button is available for 10 seconds, but you can extend it up to 30 seconds in Mail settings.
– To unsend an email, click “Undo Send” and the original email will reappear.
– You can then edit the email or make changes before resending.
– Once ready, click “Send” again to resend the email or make additional edits.

How to use the Ocean Band with your Apple Watch | Apple Support

To use The Ocean band with your Apple Watch for water activities, start by attaching the band to your watch by sliding the band parts into the slots on the top and bottom. Next, fit the adjustable loop, which comes in the box, to ensure a custom fit. Open and twist the loop, slide it through the tube on the band that best fits your wrist, and close it until you hear a click. Put on the watch, pull the tail end of the band through the buckle, and fasten it securely. For thicker wetsuits, use an extra long band extension and a second adjustable loop to manage excess band length.

Summary:
– Attach The Ocean band to your Apple Watch by sliding the band into the top and bottom slots.
– Fit the adjustable loop for a custom fit by twisting and sliding it through the band tube.
Secure the band on your wrist by pulling the tail through the buckle and fastening it.
– For thicker wetsuits, use an extra long band extension and a second adjustable loop to manage excess band length.
– Ensure the band is comfortable and secure before engaging in water activities.

How to use Apple Pay on your Apple Watch | Apple Support

To set up Apple Pay on your Apple Watch, first ensure your iPhone and Apple Watch are close together. Open the Apple Watch app on your iPhone, scroll down, and tap “Wallet & Apple Pay.” If you already use Apple Cash on your iPhone, it’s automatically enabled on your watch. To add a new card, tap “Add Card” or select a card you use on your iPhone. Follow the on-screen instructions to complete the process. Once added, the card will be your default payment option. To make a purchase, double-click the side button on your watch, select your card, and hold the watch near the contactless reader.

Summary:
– Ensure your iPhone and Apple Watch are close together.
– Open the Apple Watch app on your iPhone and go to “Wallet & Apple Pay.”
Add a new card or select an existing card from your iPhone.
– Follow on-screen instructions to complete the card setup.
– To pay, double-click the side button on your watch, choose the card if needed, and hold the watch near the contactless reader.

How to use live video in Keynote on Mac | Apple Support

To add live video to your Keynote presentation on your Mac, start by clicking “Media” in the toolbar and selecting “Live Video” from the menu. Adjust the video by clicking “Live Video” in the Format sidebar, where you can change the source camera, add a mask, or customize the background with options like no fill, a color gradient, or an image. For this example, we’ll add a mask. Drag the video to position it or resize it by dragging the handles. Click “Play” to view your presentation, and your camera will activate, showing live video of you during the presentation.

Summary:
– In Keynote on Mac, add live video by clicking “Media” and selecting “Live Video.”
– Adjust video settings in the Format sidebar, including changing the camera source, adding a mask, or customizing the background.
– Choose from options like no fill, a color gradient, or an image for the background.
– Position and resize the video by dragging it and adjusting the handles.
– Click “Play” to start the presentation; your camera will show live video during the selected slide.

How to set up alerts in Calendar on Mac | Apple Support

To enhance your calendar experience on Mac with alerts, first ensure that calendar notifications are enabled in System Settings. Open the Calendar app, double-click an event to view its details, click the event’s time, and access the alert options. You can select a notification based on time or location; if the event has an address and location services are enabled, you’ll see a “Time to Leave” option. To set up additional alerts, hover over the alert menu, click the add button, and choose a new alert type such as “Message with Sound” or “Email.” Customize the alert timing, and click OK to finalize your settings.

Summary:
– Ensure calendar notifications are enabled in System Settings on your Mac.
– Double-click an event in the Calendar app and click the event’s time to set an alert.
– Choose the “Time to Leave” option if the event has an address and location services are enabled.
– Add a second alert by clicking the add button and selecting a custom alert type like “Message with Sound” or “Email.”
– Set the alert time and finalize by clicking OK to receive notifications as configured.