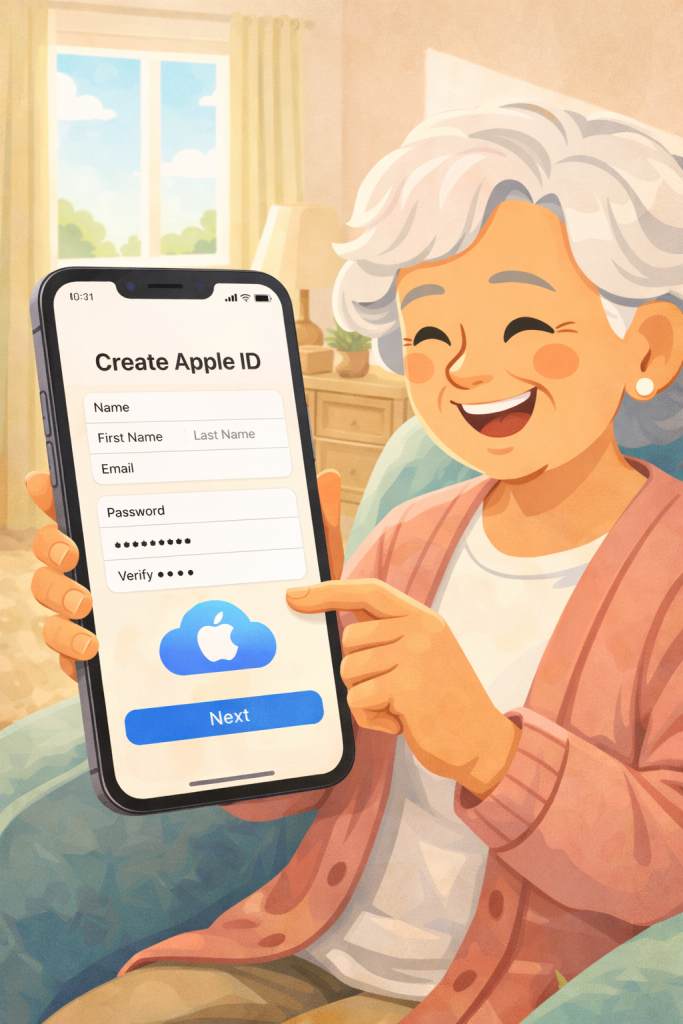
Your Apple Account unlocks access to all Apple services and devices using your email or phone number. It allows you to sync personal data like passwords, photos, and fitness activity across devices using iCloud, while enabling features like iMessage, FaceTime, and app purchases.
You can also stream content on Apple Music and TV+, play games on Apple Arcade, and locate lost devices with Find My.
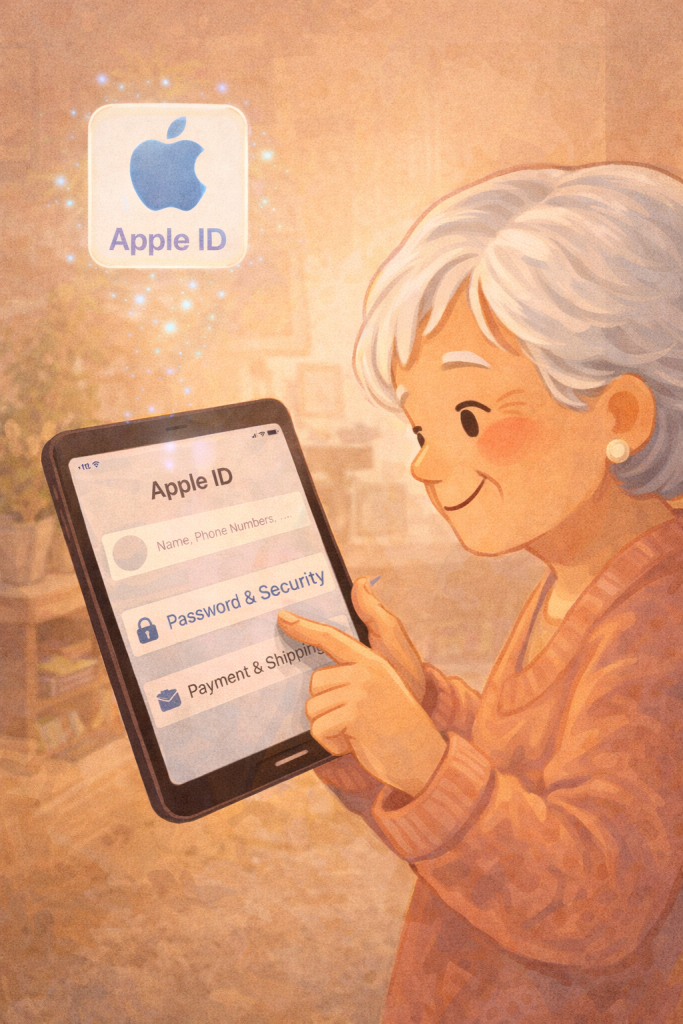
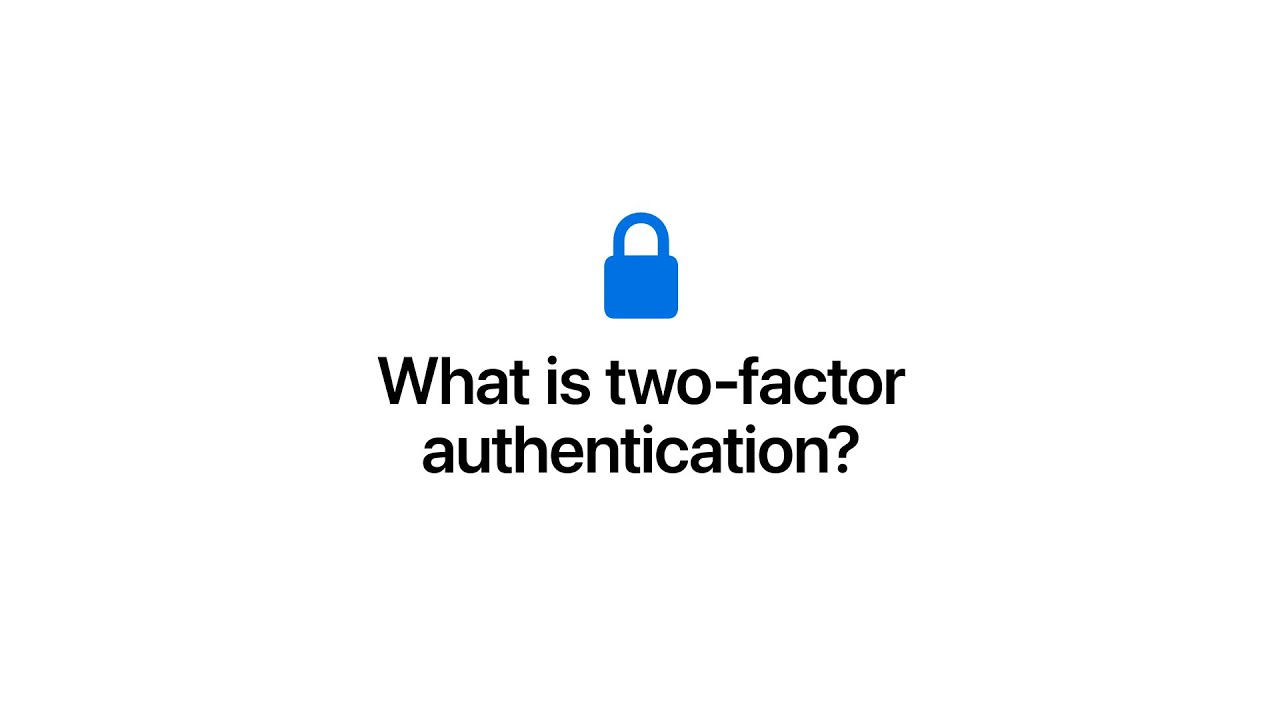
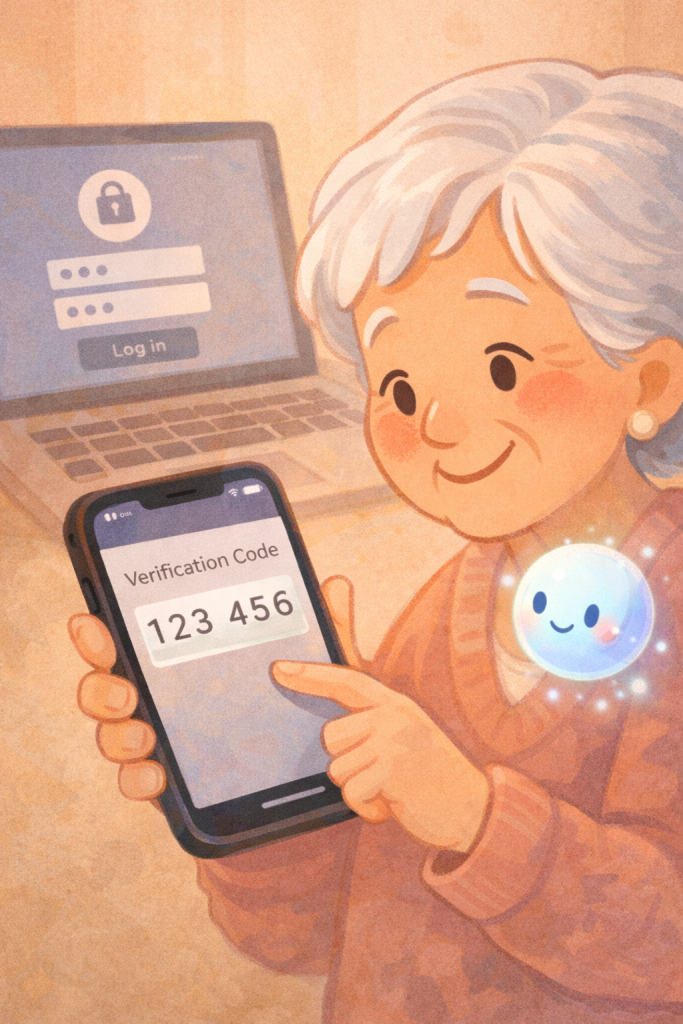
With Family Sharing, you can share subscriptions, purchases, and iCloud+ storage with loved ones while keeping your account secure through two-factor authentication and a strong password for privacy.
Summary:
– Your Apple Account provides access to all Apple services across devices.
– Syncs personal data like passwords, photos, and fitness activity via iCloud.
– Enables iMessage, FaceTime, app purchases, and media streaming on Apple platforms.
– Family Sharing allows sharing of subscriptions and iCloud+ features while maintaining privacy.
– Secured with two-factor authentication and a strong password for data protection.