To switch from Android to iPhone, ensure both devices are plugged in and have enough storage. Set up your iPhone, then download the “Move to iOS” app on your Android device. Follow on-screen prompts, including scanning a QR code, reviewing terms, and entering a one-time code. Select content to transfer, granting necessary permissions. Wait for the loading bar on your iPhone to finish before use. Finish setup on your iPhone, ensuring all content is transferred. Subscribe to Apple Support for more information.
Summary: – Before starting, ensure Wi-Fi is enabled on your Android device and both devices are charging. – Download the “Move to iOS” app from the Google Play Store on your Android device. – Follow prompts on your iPhone to begin setup and select “Move Data from Android” when prompted. – Scan the QR code displayed on your iPhone using the “Move to iOS” app on your Android device. – Select the content you wish to transfer and wait for the process to complete before finishing setup on your iPhone.
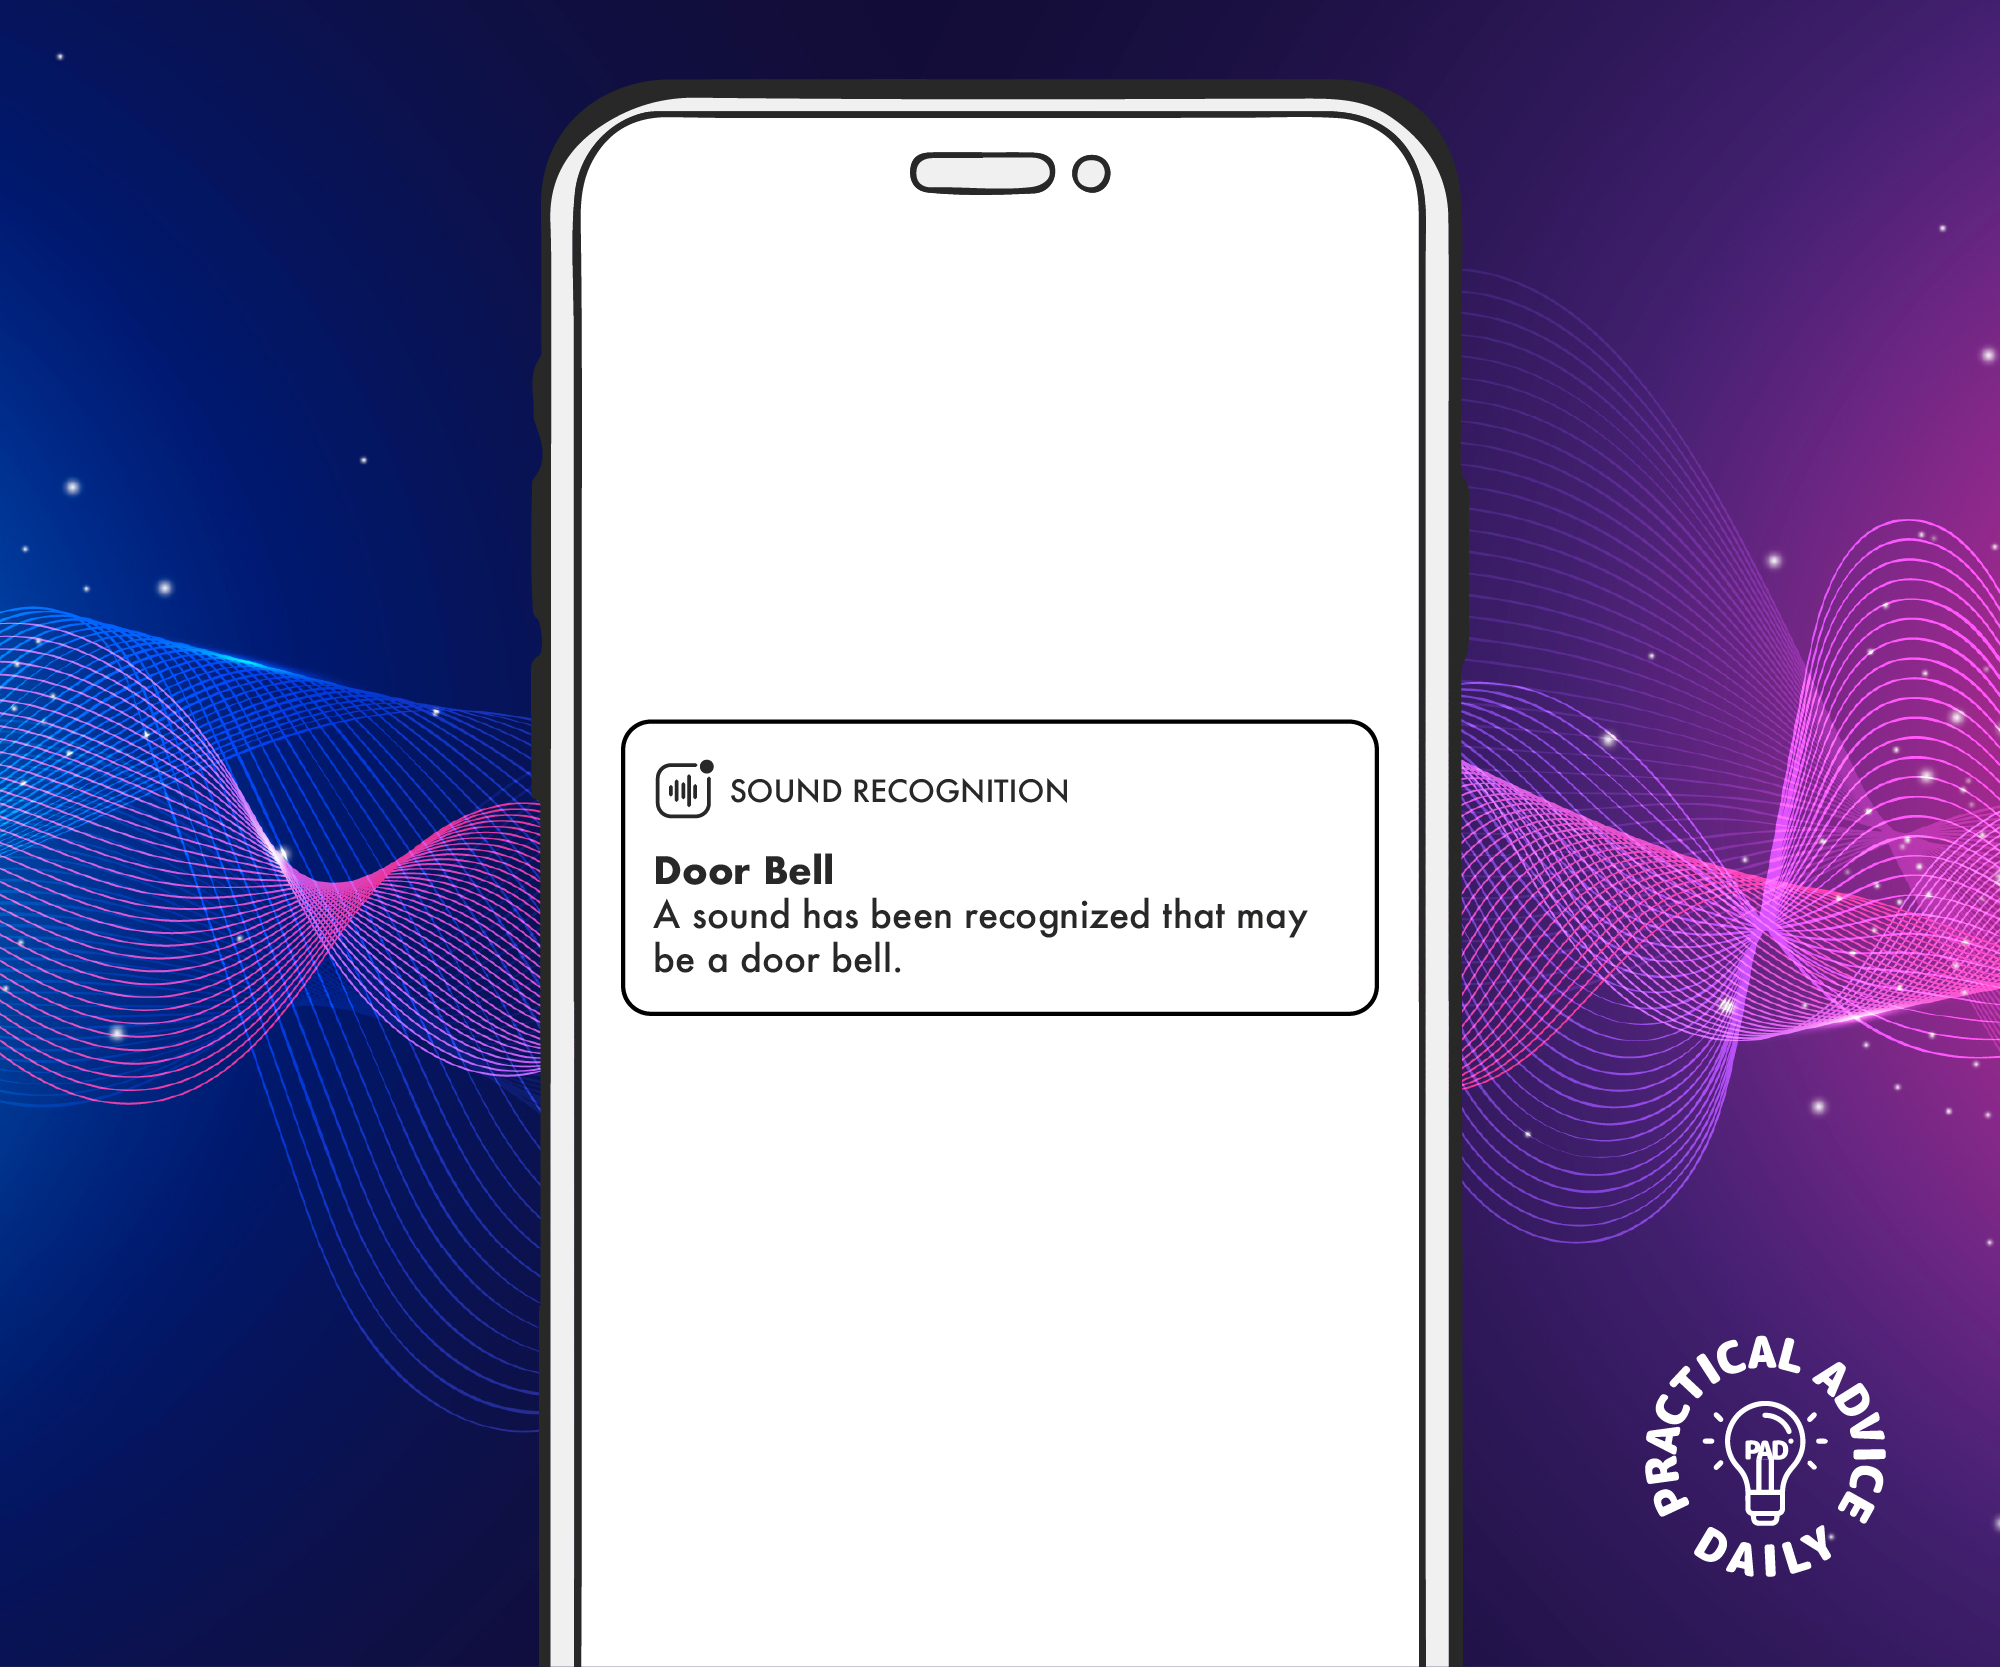
Your iPhone can help you stay aware of important sounds around you, like a fire alarm or a baby crying. This feature, called Sound Recognition, listens for specific sounds and sends you an alert when they are detected. It’s a helpful tool if you have hearing difficulties or simply want extra awareness of your environment.
Here’s how to turn on and customize Sound Recognition on your iPhone.
Sound Recognition is an Accessibility feature that allows your iPhone to listen for and identify specific sounds. When your iPhone detects these sounds, it sends you a notification. You can choose which sounds to track, like:
Fire alarms
Baby crying
Doorbells
Water running
This feature works even when your iPhone is on silent mode.
How to Enable Sound Recognition on iPhone
Follow these steps to activate Sound Recognition:
Open the Settings app on your iPhone.
Scroll down and tap Accessibility.
Under “Hearing,” select Sound Recognition.
Toggle the Sound Recognition switch to ON (it turns green).
Tap Sounds to choose which sounds you want your iPhone to detect.
Customizing Sound Recognition Alerts
Once you’ve turned on Sound Recognition, you can select which sounds to track and how you want to receive alerts.
To customize the sounds:
In the Sound Recognition menu, tap Sounds.
Browse the list and select the sounds you want to detect (e.g., “Smoke Alarm” or “Door Knock”).
Ensure the sounds you want to monitor are switched ON.
It’s best to keep your iPhone nearby so it can accurately detect sounds.
Final Thoughts
Sound Recognition on your iPhone is a powerful tool to keep you aware of important sounds like alarms or a baby crying. With just a few taps, you can enable and customize this feature for extra safety and peace of mind.
By following these steps, you’ll have your iPhone ready to alert you to the sounds that matter most.
If you forgot your iPhone passcode, you can reset it and restore from a backup. For iOS 17, tap “Forgot Passcode,” then “Start iPhone Reset,” erasing content. Enter your Apple ID, restore from a backup if available. For iOS 16 or earlier, tap “Erase iPhone,” enter Apple ID, restore backup. If wireless reset fails, use Recovery Mode. Hold side/top button, connect to computer. Follow on-screen prompts in Finder or iTunes to restore, update iOS. Confirm terms, wait for download. If longer than 15 mins, redo button presses. After restart, restore from backup if needed. Contact Apple Support if issues persist.
Summary: – Forgot iPhone passcode: Reset and restore from backup. – For iOS 17: Tap “Forgot Passcode,” erase content, restore backup. – For iOS 16 or earlier: Tap “Erase iPhone,” restore backup. – If wireless reset fails: Use Recovery Mode. – Follow prompts in Finder or iTunes, confirm terms, restore from backup if needed, contact Apple Support if issues persist.
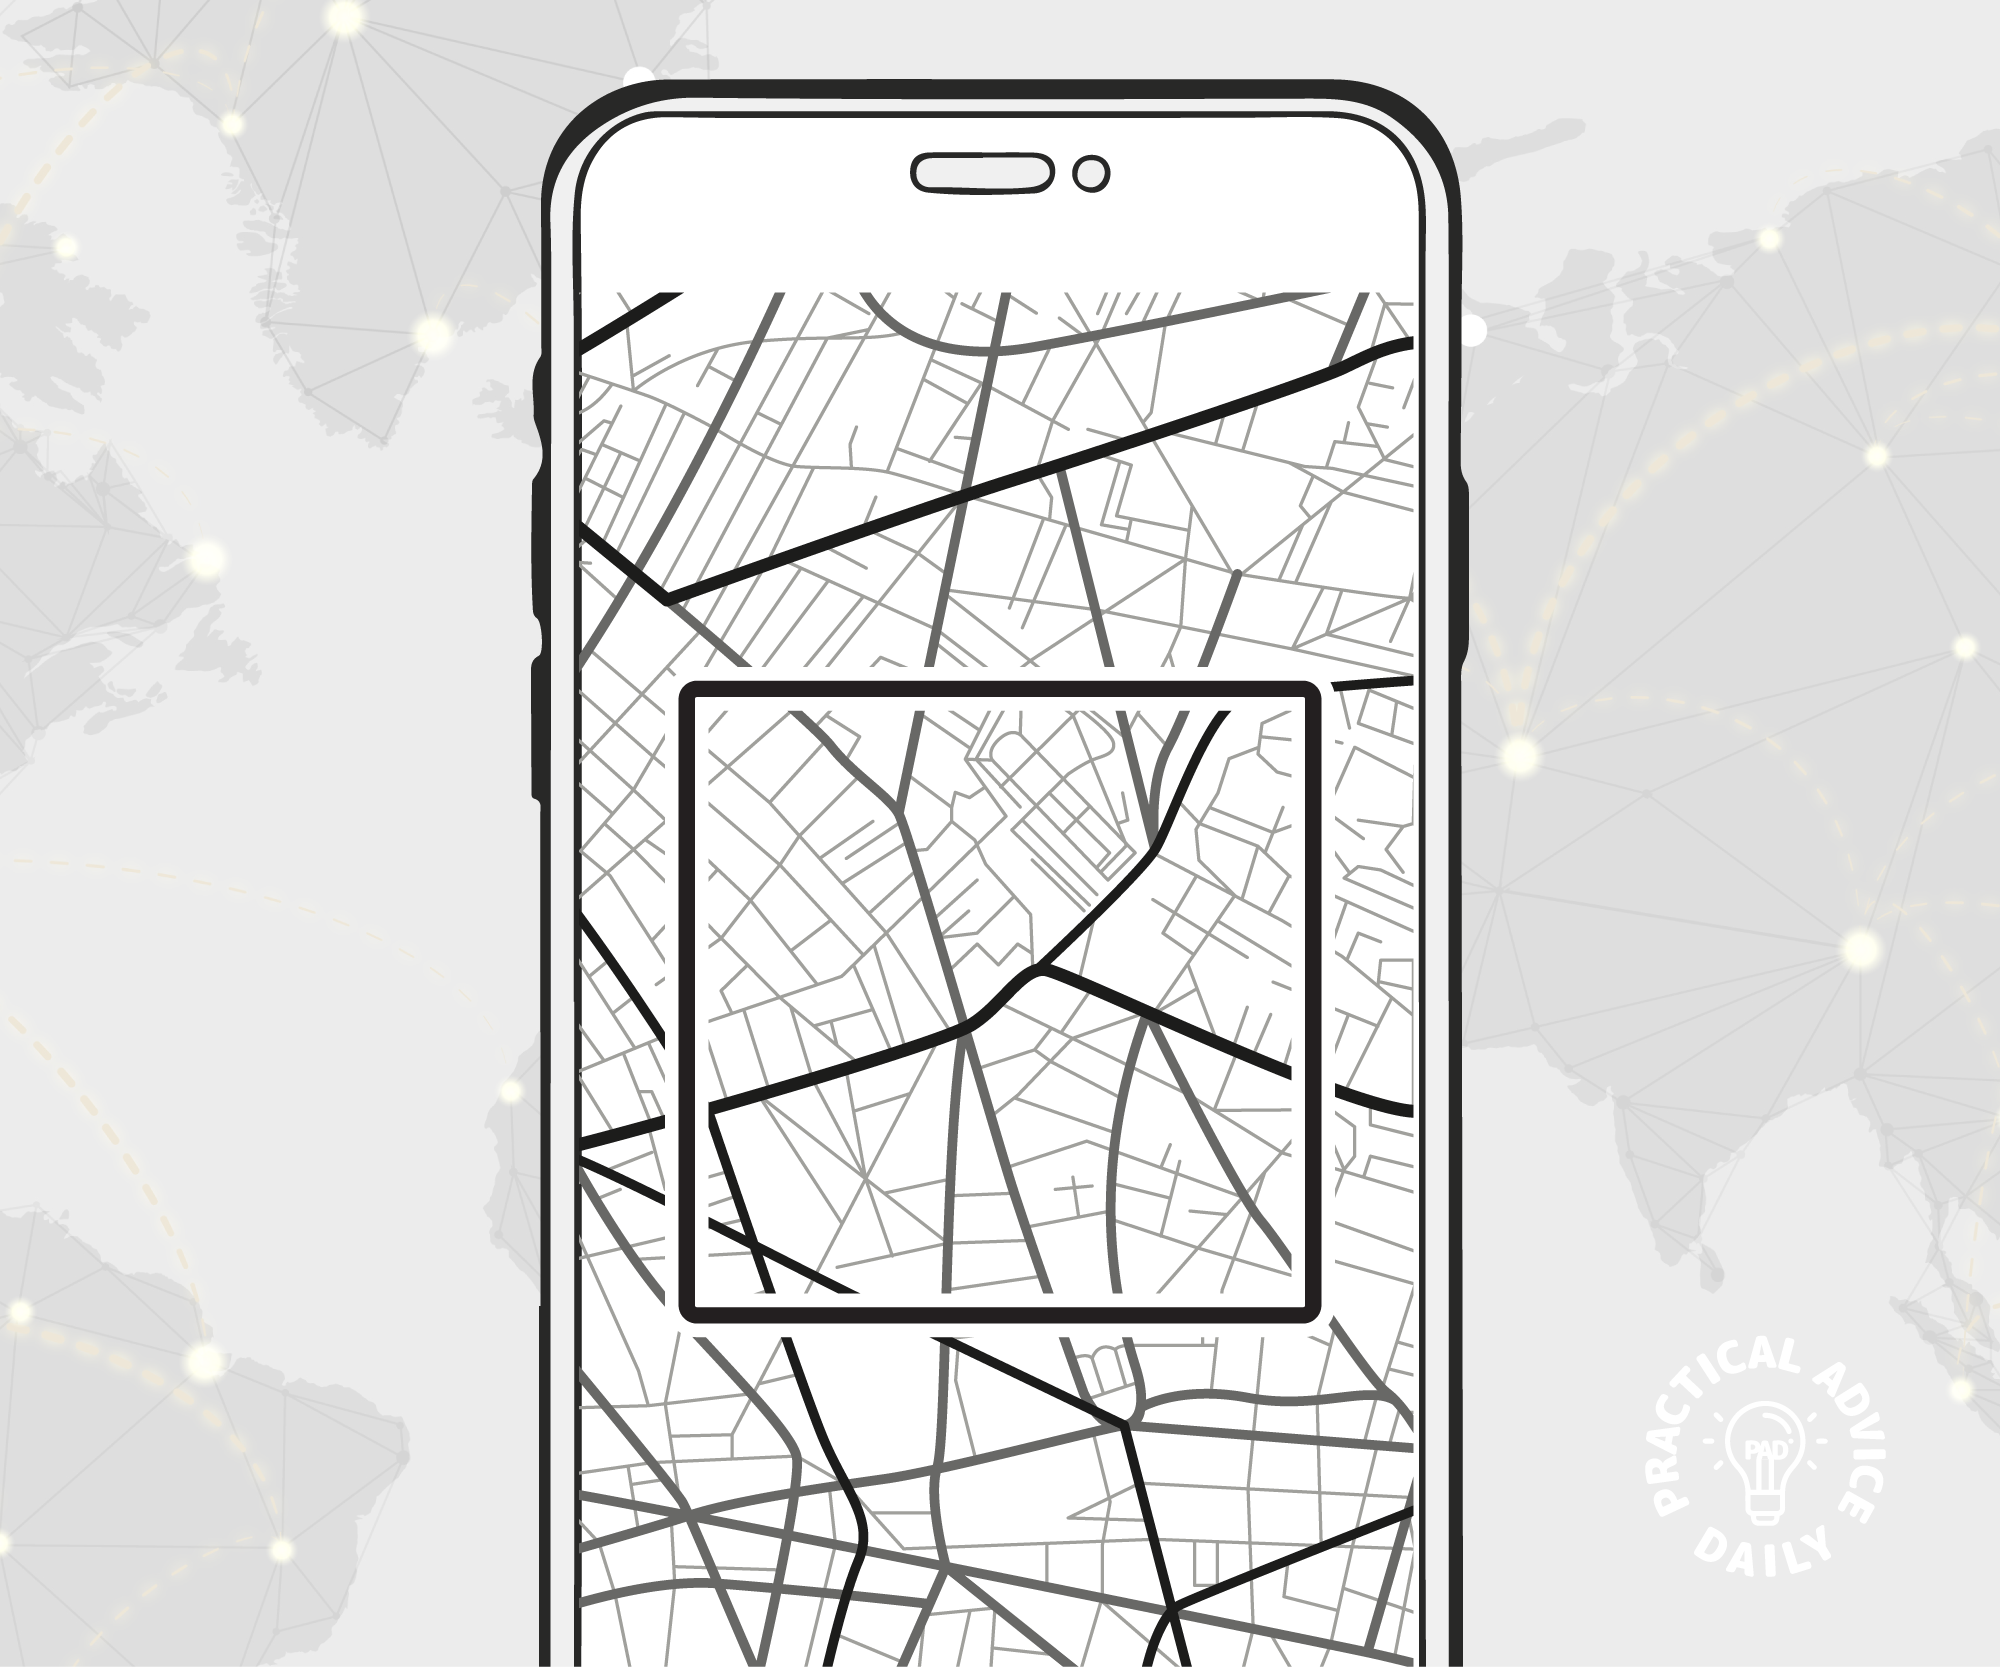
When you’re traveling or heading to areas with a weak signal, having offline maps on your iPhone can be a lifesaver. With offline maps, you can access directions without using the internet. This guide will show you how to download and use offline maps using both Apple Maps and Google Maps.
In Apple Maps, go to Offline Maps, swipe left on a map, and tap Delete.
In Google Maps, open Offline Maps, select the map, and tap Delete.
Final Tips for Using Offline Maps
Download Before You Go: Always save maps while connected to Wi-Fi.
Check Storage: Ensure your iPhone has enough space for downloaded maps.
Battery Life: Use Low Power Mode to conserve battery during long trips.
By following these steps, you’ll have reliable maps even when you don’t have an internet connection. Happy travels!
Frequently Asked Questions (FAQs)
1. Do offline maps use data? No, offline maps work without using mobile data once downloaded.
2. Can I get directions offline? Yes! Both Apple Maps and Google Maps provide turn-by-turn directions offline.
3. How long do offline maps stay on my phone? Offline maps stay on your phone until you delete them. Google Maps will notify you when updates are needed.
For iPhone 8 and later, to use the Emergency SOS on your iPhone press and hold the side button and one of the two volume buttons until the Emergency SOS appears. You will feel the phone vibrate. Either continue to hold down the buttons and an emergency call will be placed after a countdown and you let go of the buttons or you let go prior to the finish of the countdown and you can choose to make an emergency call.
You will find instructions on how to activate an emergency call and those are listed here:
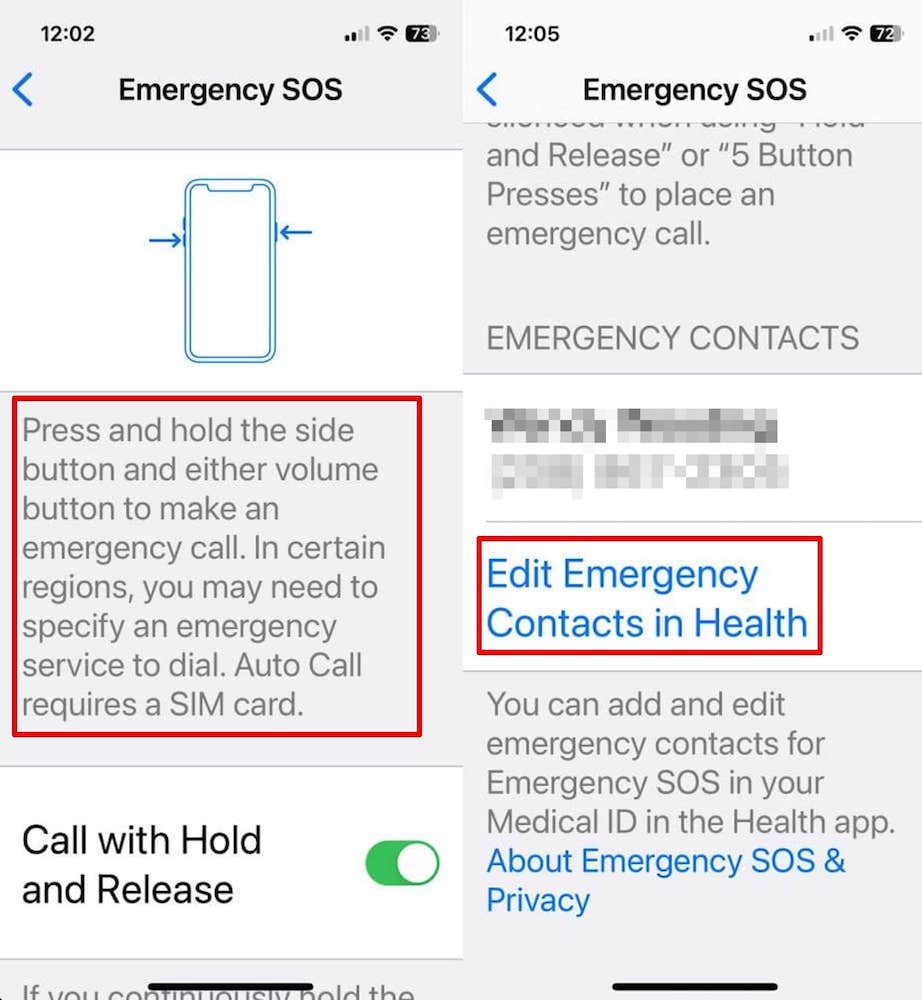
Press and hold the side buttons and either volume button to make an emergency call. In certain regions, you may need to specify an emergency service to dial. Auto Call requires a SIM card.
Call with Hold and Release
If enabled and you continuously hold the side button and either volume button, a countdown begins and an alarm sounds. After the countdown, if you release the buttons, iPhone will call emergency services.
Call with 5 Button Presses
If enabled and you rapidly press the side button five times a countdown begins and an alarm sounds. When the countdown ends, iPhone will call emergency services.
Call Quietly
If enabled, warning alarms, flashes, and VoiceOver audio will be silenced when using “Hold and Release” or “5 Button Presses” to place an emergency call.
Emergency Contacts
From here you can add an emergency contact by tapping on Edit Emergency Contacts in Health.
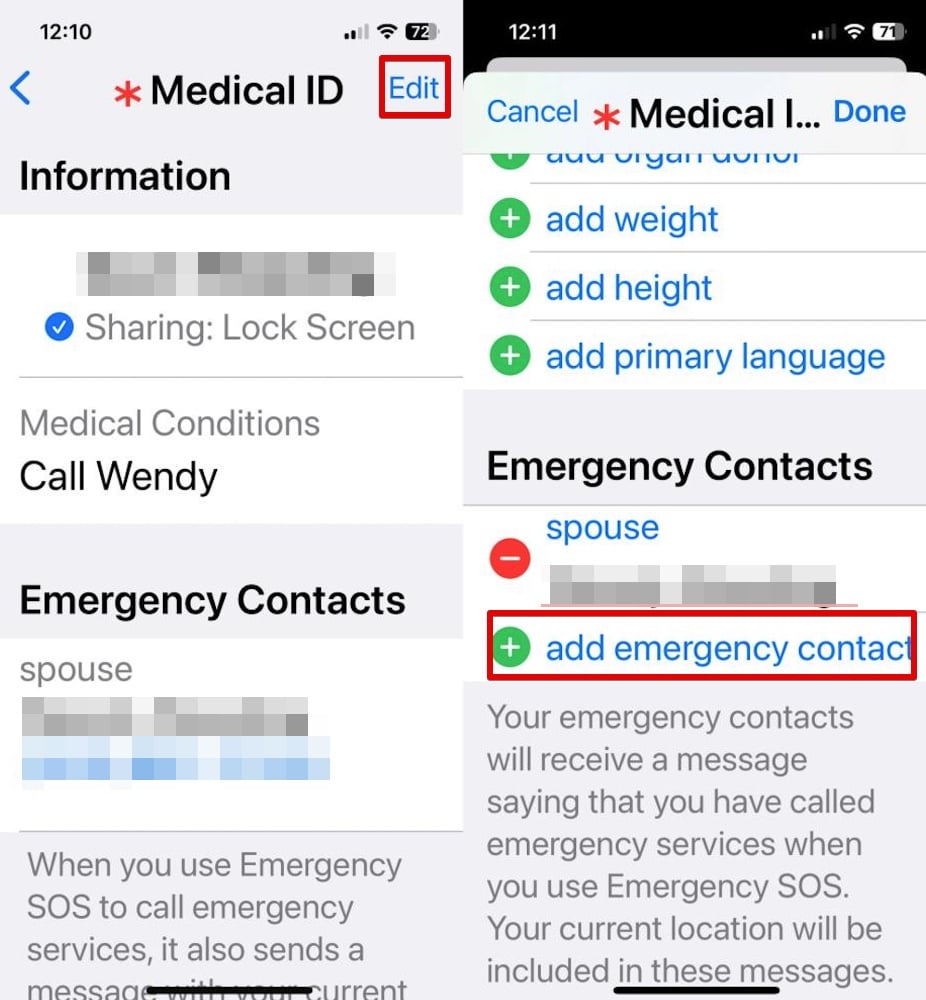
Emergency Contacts
After tapping Edit Emergency Contacts in Health, tap Edit in the upper right corner.
Scroll down to add emergency contact and tap.
Edit emergency contacts
Select the appropriate person. Select the relationship to you.
mother
father
parent
brother
sister
son
daughter
child
friend
spouse partner
assistant
manager
other
roommate
doctor
emergency
family member
teacher
caretaker
guardian
social worker
school
daycare
Tap Done.
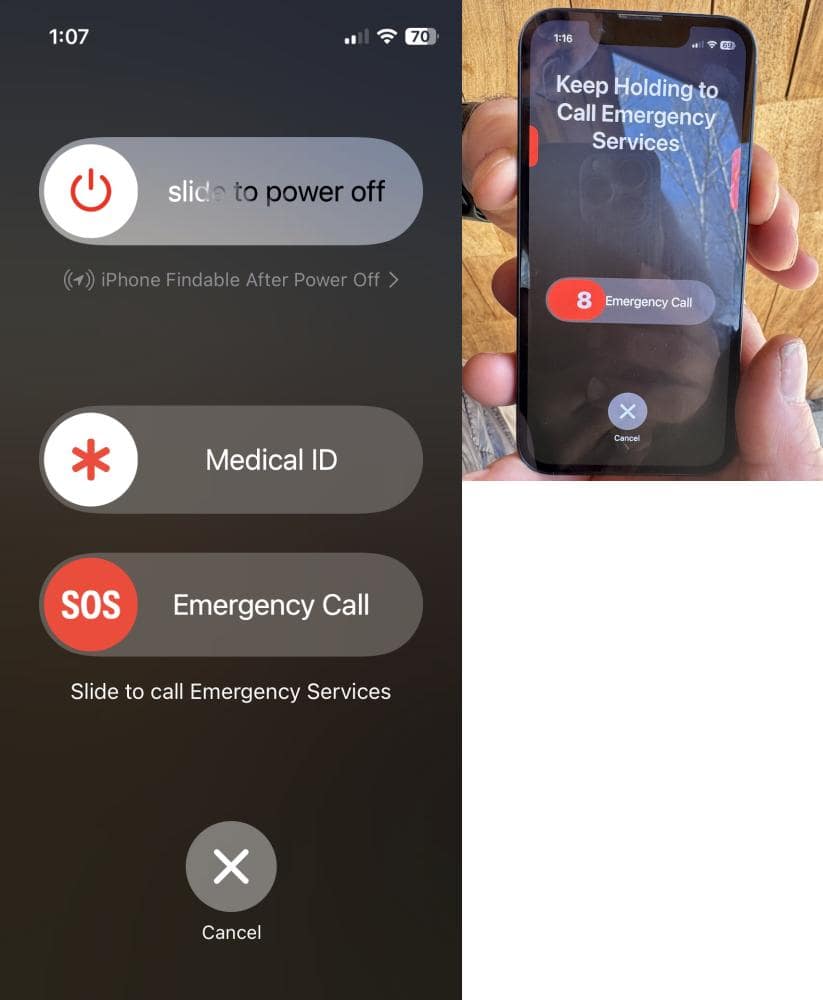
Make An Emergency Call
Make an emergency SOS call by holding the side button down on the right and holding down one of the two buttons on the left.
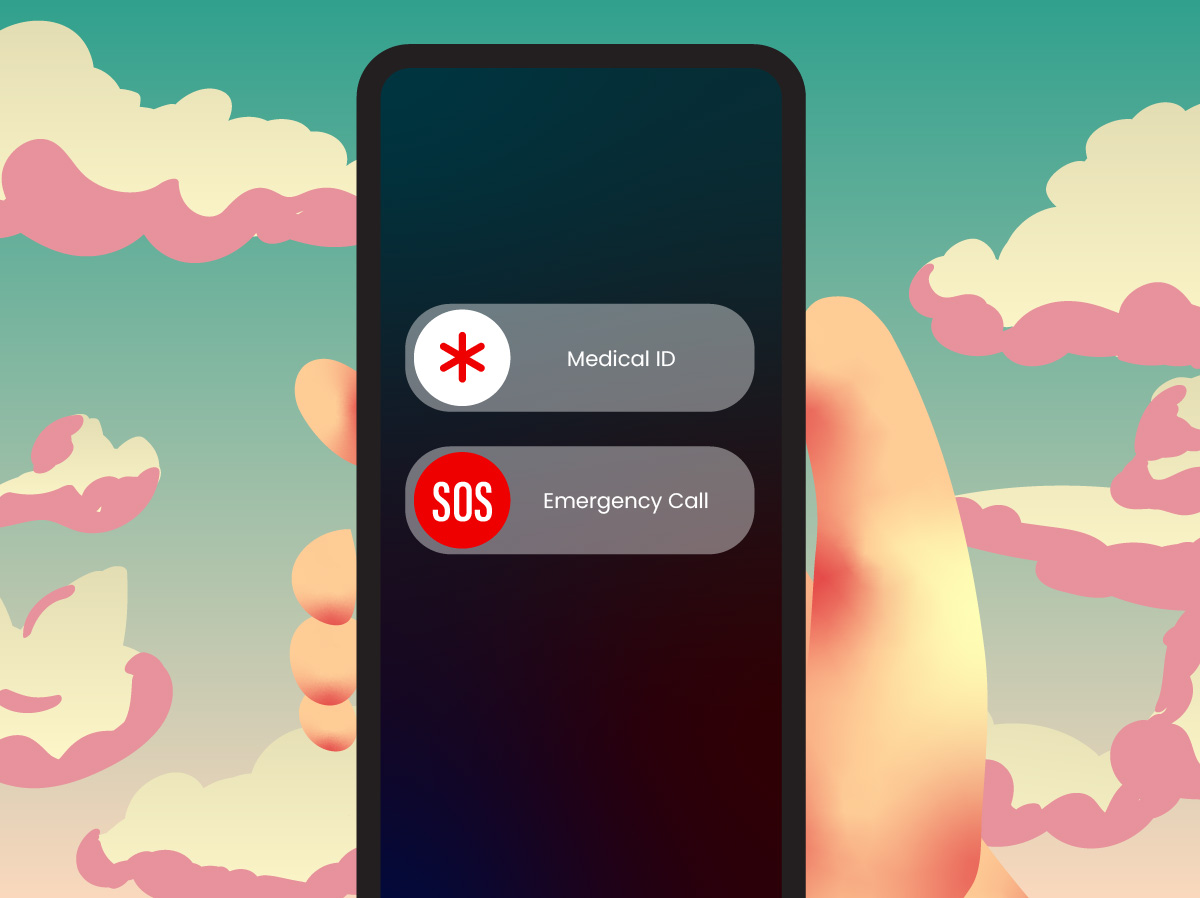
If you let go of the buttons after the SOS options appear, then you can select the SOS Emergency Call button.
If you continue to hold the buttons after the SOS options appear, then a countdown starts. Once the countdown expires and you let go of the buttons, the iPhone will make a SOS Emergency Call.
iPhone emergency SOS
What if you mistakenly make an SOS call?
Then stay on the line to inform the responder that you don’t need help.
Podcasts are a fantastic way to stay informed, entertained, and inspired. If you’re new to podcasts or want to get the most out of the Apple Podcasts app on your iPhone, this guide will walk you through everything you need to know, from finding shows to managing subscriptions and listening offline
Apple Podcasts is a free app that comes pre-installed on your iPhone. If you don’t see it on your home screen:
Swipe down from the middle of your screen and type “Podcasts” in the search bar.
If it’s not installed, download it from the App Store by searching “Apple Podcasts.”
How to Find and Subscribe to Podcasts
To discover new podcasts:
Open the Podcasts app.
Tap Browse (bottom right) to explore recommendations.
Use the Search tab (bottom right) to find a specific show.
Once you find a podcast you like, tap on it.
Hit + Follow to subscribe and receive new episodes automatically.
How to Play a Podcast Episode
Go to the Library tab (bottom left).
Select a podcast you’ve followed.
Tap an episode to start listening.
Use the playback controls at the bottom:
Play/Pause: Tap the play button to start or pause.
Skip Forward/Back: Tap 15s to jump ahead or rewind.
Playback Speed: Tap the 1x button to adjust speed (0.5x, 1x, 1.5x, 2x).
How to Download Episodes for Offline Listening
Want to listen without using Wi-Fi or mobile data? Download episodes in advance:
Find the episode you want to save.
Tap the three dots (…) next to the episode title.
Select Download.
Access your downloaded episodes in the Library > Downloaded section.
Managing Your Podcast Subscriptions
To keep your podcast list organized:
Unfollow a Podcast:
Go to Library and select the podcast.
Tap the three dots (…).
Choose Unfollow Show.
Set Automatic Downloads:
Open Settings > Podcasts.
Tap Download Episodes.
Choose All Unplayed or Only New Episodes.
Tips for a Better Podcast Experience
Use Siri: Say, “Hey Siri, play [Podcast Name]” to start listening hands-free.
Create Playlists: Tap Library > New Station to organize favorite episodes.
Set a Sleep Timer: Tap the moon icon in the player to stop playback after a set time.
Final thoughts
With these tips, you’ll be enjoying podcasts on your iPhone like a pro! Whether you’re catching up on news, learning something new, or just relaxing, Apple Podcasts makes it easy.
Do you need help concentrating or relaxing? Your iPhone has a built-in feature that plays soothing background sounds like white noise, rain, and ocean waves. These sounds can help you stay focused while working, or unwind and fall asleep more easily.
This guide will show you how to enable and customize background sounds on your iPhone in a simple, step-by-step way.
Background Sounds is an iPhone feature designed to minimize distractions and help with focus, relaxation, and sleep. You can choose from different calming sounds and adjust their volume to suit your needs.
How to Enable Background Sounds on iPhone
Follow these simple steps to turn on Background Sounds:
Open Settings on your iPhone.
Scroll down and tap “Accessibility.”
Under the “Hearing” section, tap “Audio/Visual.”
Select “Background Sounds.”
Toggle “Background Sounds” ON.
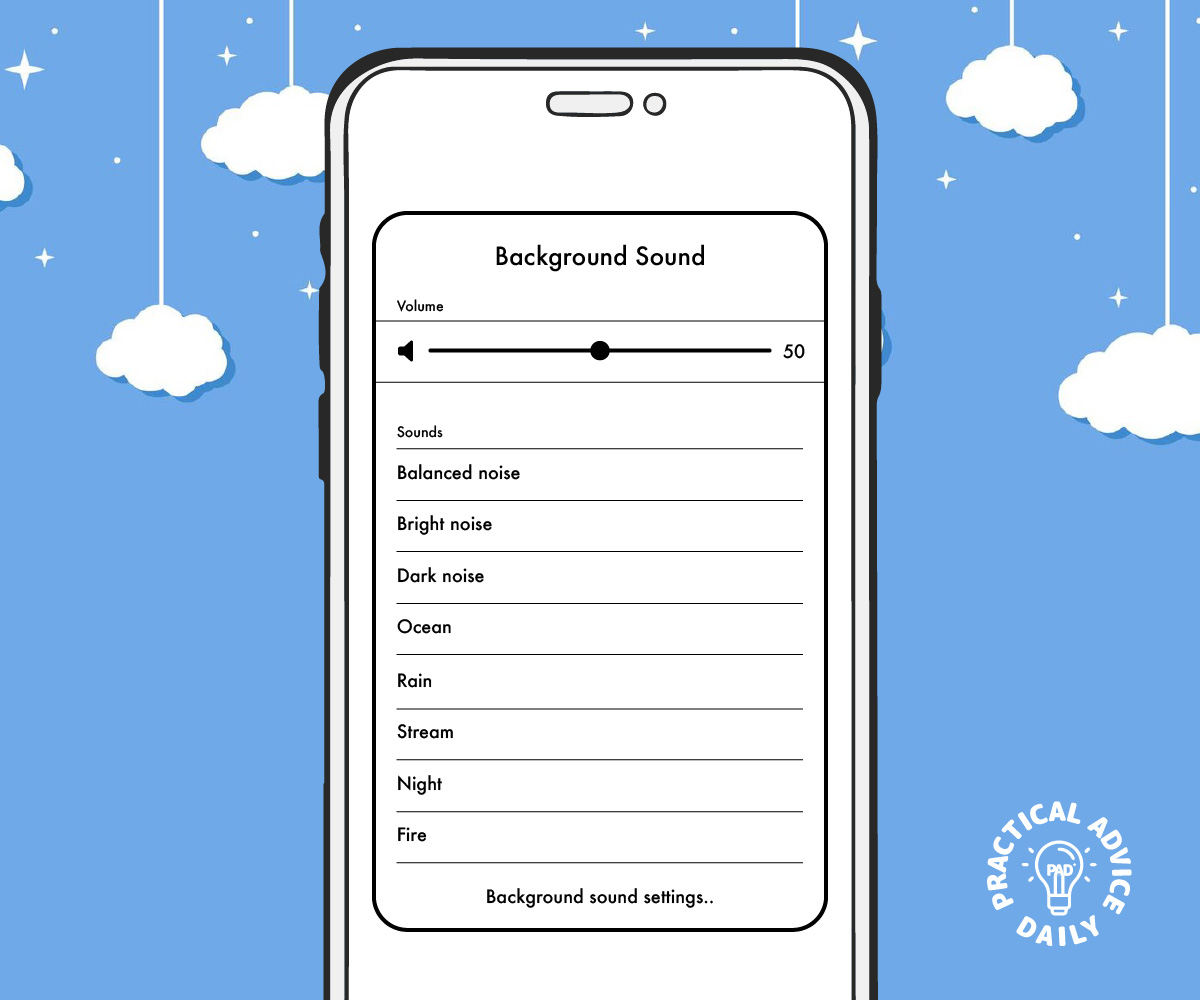
Tap “Sound” to choose from:
Balanced Noise
Bright Noise
Dark Noise
Ocean
Rain
Stream
Adjust the volume slider to set the loudness.
That’s it! Your chosen sound will now play in the background.
How to Customize Background Sounds
You can personalize your background sound settings for the best experience.
Adjust Volume When Media is Playing:
If you listen to music or watch videos, you can control how loud the background sound remains.
Toggle “Use When Media is Playing” ON.
Adjust the “Volume with Media” slider.
Turn Off Background Sounds Automatically:
If you only want sounds while using the iPhone, toggle “Stop Sounds When Locked” ON.
This stops background sounds when the screen turns off.
Use Background Sounds with Control Center for Quick Access:
Open Settings > Control Center.
Tap the “+” icon next to Hearing.
Now, swipe down from the top-right corner of your screen.
Tap the ear icon, then “Background Sounds” to quickly turn them on or off.
When to Use Background Sounds
Here are a few ways to make the most of this feature:
For Focus: Play white noise while working or studying to block distractions.
For Relaxation: Listen to ocean waves or rain sounds to unwind.
For Better Sleep: Use soothing background sounds to help you fall asleep faster.
For Stress Relief: Play calming sounds during meditation or deep breathing exercises.
Final Thoughts
Your iPhone’s Background Sounds feature is a simple but powerful tool to improve focus, relaxation, and sleep. With just a few taps, you can create a peaceful environment anytime, anywhere.
Give it a try and see how it helps you stay focused and relaxed!
Want to personalize your iPhone with a custom ringtone but don’t want to spend money on one? You’re in luck! In this guide, we’ll show you three free and easy ways to create your own ringtones using GarageBand, iTunes, or third-party apps. No technical expertise required—just follow these simple steps!
GarageBand is a free Apple app that allows you to create and set custom ringtones directly on your iPhone.
Download GarageBand from the App Store if you don’t already have it.
Open the app and start a new project by selecting any instrument (e.g., Keyboard).
Tap the Tracks View button (looks like a series of bars) in the top-left corner.
Import your audio file:
Tap the Loop icon in the top-right.
Go to the Files tab and select your desired song or sound.
Drag the file into the timeline.
Trim and adjust the audio to a 30-second section (maximum ringtone length).
Tap the Down Arrow > My Songs to save your project.
Press and hold your saved file, tap Share, then choose Ringtone.
Name your ringtone and tap Export.
Once done, go to Settings > Sounds & Haptics > Ringtone and select your custom ringtone!
Method 2: Using iTunes on a Computer
If you prefer using a computer, iTunes (or Finder on macOS Catalina and later) can help you create and sync custom ringtones.
Open iTunes on your computer and add the song you want to use.
Trim the audio:
Right-click the song, select Song Info, then go to the Options tab.
Set the Start and Stop time (must be 30 seconds or less).
Click OK.
Convert the file:
Select the song, go to File > Convert > Create AAC Version.
A new shortened file will appear.
Change the file extension:
Right-click the new file and choose Show in Finder (Mac) or Show in File Explorer (Windows).
Rename the file from .m4a to .m4r.
Sync to iPhone:
Connect your iPhone to the computer.
Drag and drop the .m4r file into the Tones section in Finder (Mac) or iTunes (Windows).
Go to Settings > Sounds & Haptics > Ringtone on your iPhone and select your new ringtone.
Final Thoughts
Creating your own iPhone ringtone doesn’t have to be complicated or costly! Whether you use GarageBand, iTunes, or a third-party app, you can set your favorite song or sound as your ringtone for free. Give it a try and make your iPhone truly yours!
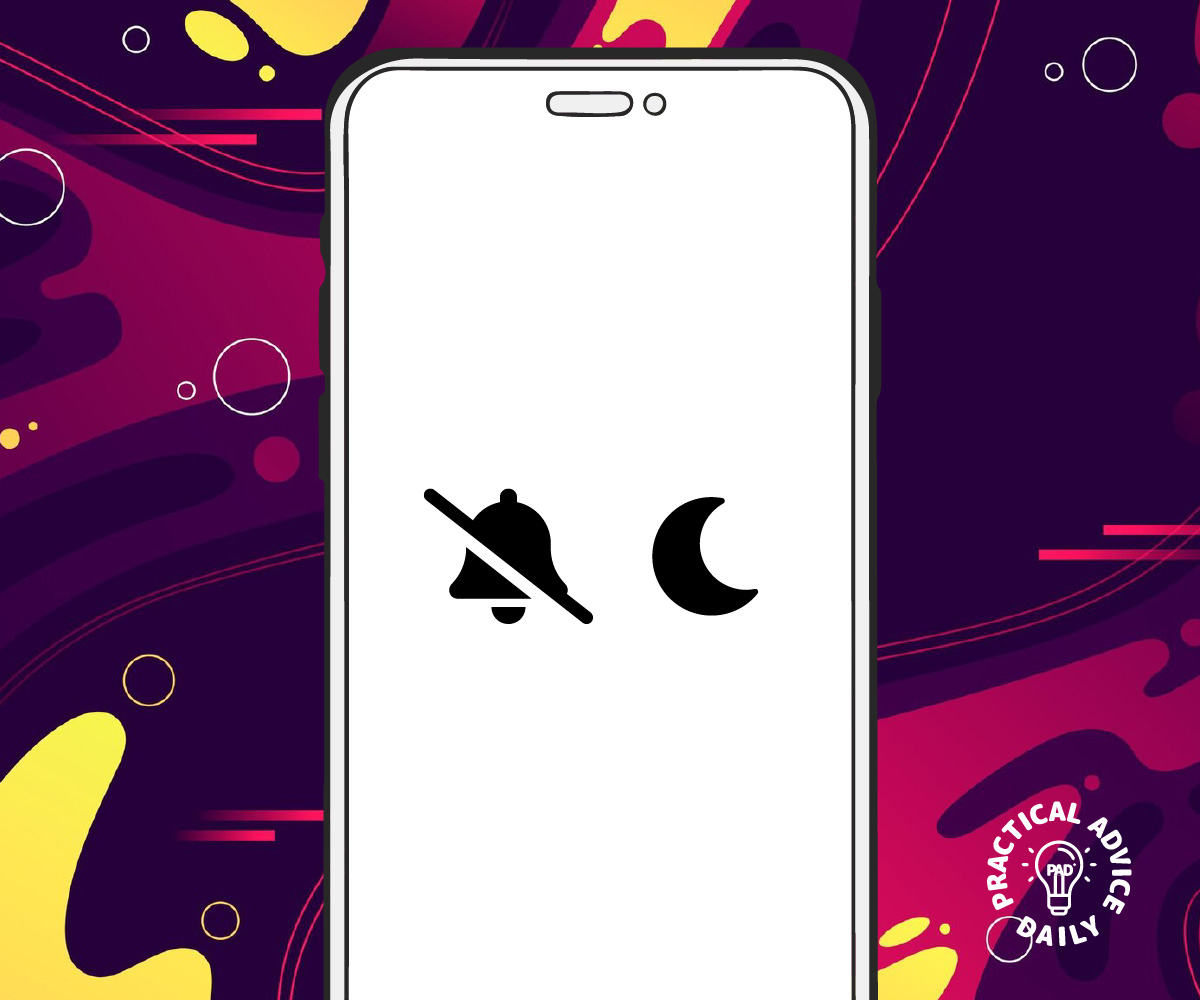
If you’re new to iPhones or just need a little more guidance on controlling notifications, you might have wondered about the difference between Silent Mode and Do Not Disturb. These two features may sound similar, but they serve different purposes. This guide will walk you through what each of them does, when to use them, and how to customize settings to make them work best for you.
What it does: Mutes all sounds, including ringtones, alarms, and notifications.
When to use it: When you want to silence your iPhone but still receive notifications and calls. It’s perfect when you’re in a meeting, at the movies, or just need some peace and quiet.
How to turn it on:
Find the Ring/Silent switch on the left side of your iPhone (above the volume buttons).
Slide the switch to the orange position to enable Silent Mode.
You will see a small bell icon with a line through it on your screen, showing that Silent Mode is on.
Do Not Disturb (DND):
What it does: Silences calls, notifications, and alerts. Unlike Silent Mode, DND can also prevent your phone from vibrating. It allows you to customize what gets through (like calls from certain people).
When to use it: When you need complete focus or rest, such as during naps, meetings, or at night while sleeping.
How to turn it on:
Go to Settings > Focus > Do Not Disturb.
Toggle the switch to on.
You’ll also see a moon icon in the status bar, indicating that DND is active.
When to Use Each:
Use Silent Mode:
When you’re in a social setting (like a dinner or movie) and don’t want your iPhone’s ringtones or alerts disturbing others.
When you want to silence calls but still see incoming notifications.
Use Do Not Disturb:
When you want to avoid distractions completely. DND mutes calls, notifications, and vibrations.
When you need time to focus, work, or sleep without interruptions.
When you need to ensure certain people (family or close friends) can still reach you, while everyone else is muted.
Customizing Silent Mode & Do Not Disturb:
Both features offer customization options to suit your needs.
Customizing Silent Mode: Unfortunately, Silent Mode doesn’t offer much customization beyond turning on or off. However, you can use Do Not Disturb or Focus modes to further personalize your experience.
Customizing Do Not Disturb:
Allow Calls from: You can choose to allow calls from certain people or groups (like favorites or specific contacts).
Scheduled DND: Set a schedule for when DND should automatically turn on and off. Perfect for maintaining your peace during sleep hours.
Apps Allowed: Choose whether notifications from apps can still come through while DND is on.
Tips for Better Control:
Set up a “Do Not Disturb While Driving” mode: If you prefer not to be distracted by calls or messages while driving, use the Driving Focus within the Focus settings to activate DND automatically when your iPhone detects you’re in the car.
Use Focus Modes for Specific Situations: You can create custom Focus modes, such as “Work” or “Sleep,” to control which notifications you receive based on your activity. This allows you to avoid unnecessary alerts while staying accessible for the important ones.
Conclusion:
Now you know the difference between Silent Mode and Do Not Disturb! By understanding these two features and customizing them to fit your needs, you can ensure that your iPhone helps you stay connected while allowing you to control when and how you’re interrupted. Whether you need quiet or focus, these settings are there to help you manage your notifications and improve your iPhone experience.
Did you know your iPhone has hidden gestures that can make navigation and multitasking faster and easier? Whether you’re new to iPhones or just looking to improve your efficiency, these simple gestures can save you time and effort. Let’s dive into some handy iPhone gestures that you’re probably not using—but should be!