To create a screen recording on your iPhone or iPad, first add the Screen Recording control to your Control Center by swiping down from the top-right corner, tapping Add Controls, and selecting Screen Recording.
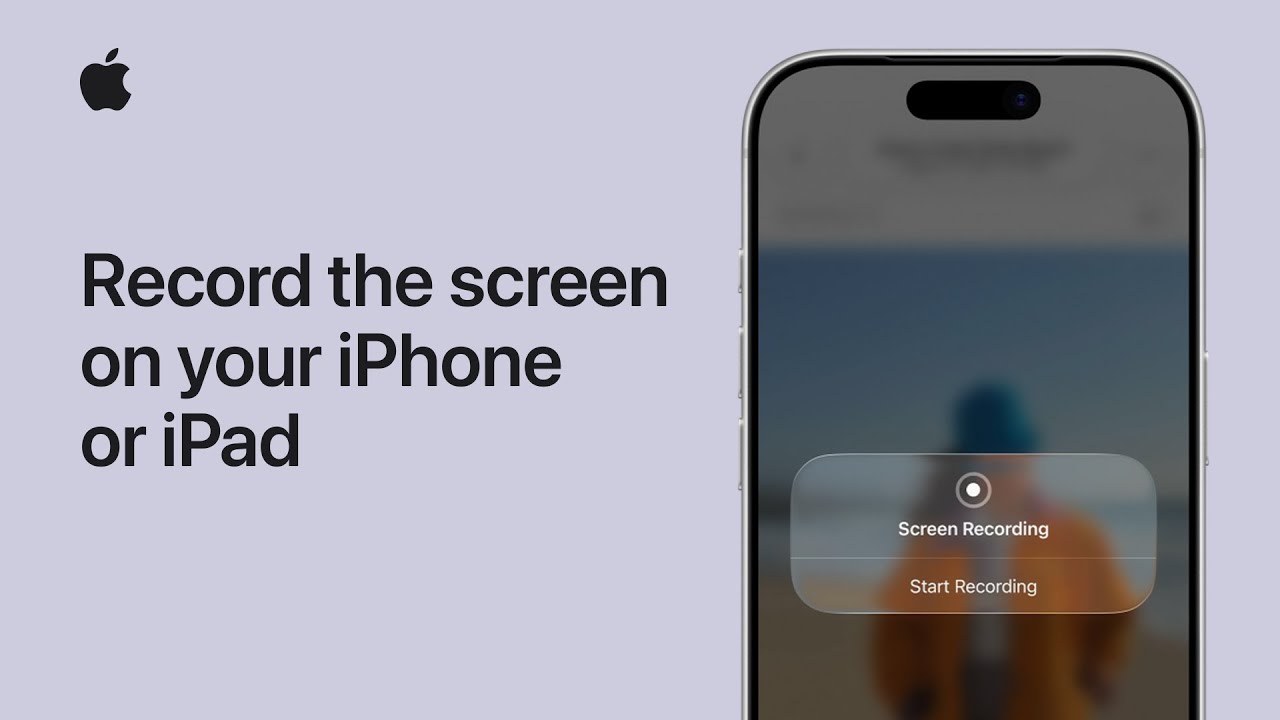
When ready, open Control Center and tap the gray Record button to start immediately or press and hold it for options like recording your voice by enabling the Microphone.
After a three-second countdown, the recording begins. To stop, tap the red Screen Recording icon at the top and select Stop, or open Control Center and tap the red button.
The video saves automatically to Photos, where you can edit and share it.

- First, add the Screen Recording control to your Control Center by swiping down from the top-right, tapping “Add Controls,” and selecting the Screen Recording icon.
- To start, open the Control Center and tap the gray Record button; for extra options like recording your voice, press and hold the button to enable the Microphone.
- Once you tap Start Recording, a three-second countdown will begin before the phone starts capturing everything on your screen.
- When you are finished, tap the red Recording button at the top of your screen and select Stop, or return to the Control Center and tap the red Record button.
- Your recording is automatically saved to the Photos app, where you can use editing tools to trim the video or share it with friends and family.