Alright, let’s dive into setting up Apple Cash. First, ensure you have a compatible iPhone with the latest iOS version and two-factor authentication enabled for your Apple ID. Make sure all devices you want to use for sending and receiving money are signed in to iCloud with the same Apple ID. If you plan to add funds, have an eligible debit card in Wallet.
To set up Apple Cash, open Wallet or go to Settings > Wallet & Apple Pay, then turn on Apple Cash. Enter your Apple ID password, sign in, and authenticate with Face ID, Touch ID, or passcode. Review and accept terms and conditions, then tap continue and add a card if needed. Now you’re ready to send or request money via Messages.
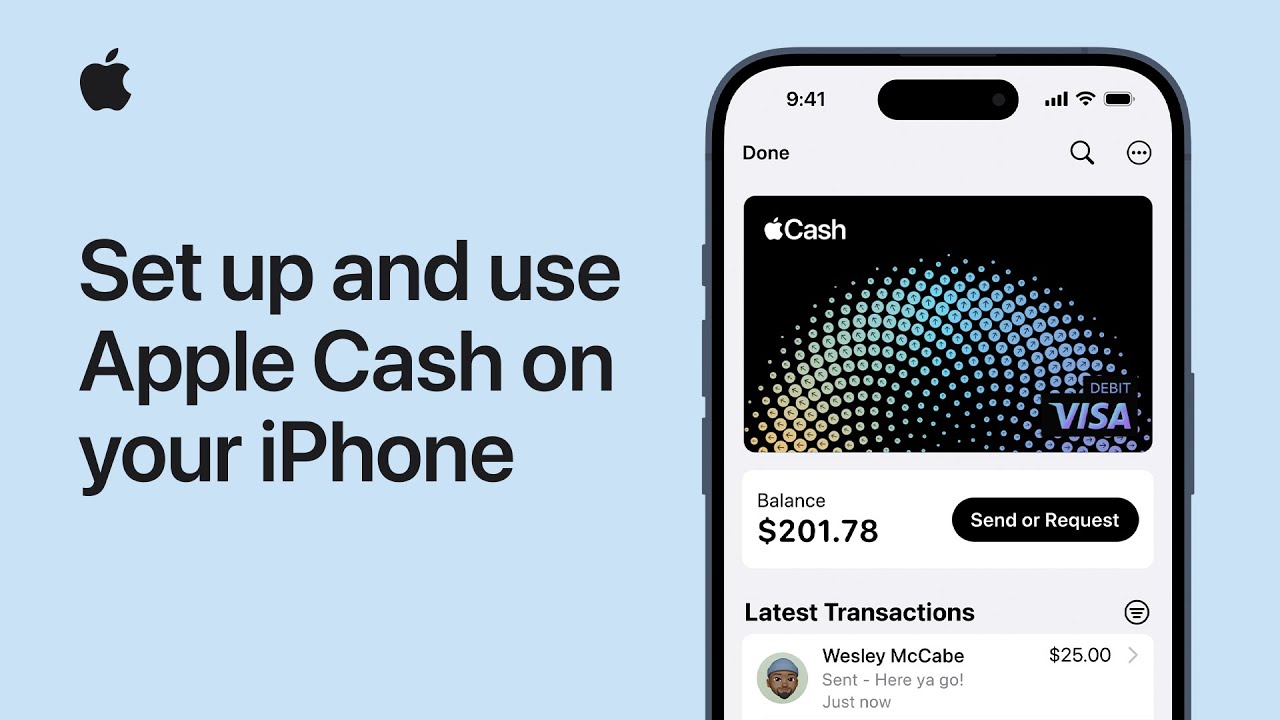
In a conversation, tap the plus button, select Apple Cash, enter the amount, add a comment if needed, and send. To add funds, tap your Apple Cash card in Wallet, tap the more button, select add money, enter the amount, and authenticate. That’s it! You’re all set up to use Apple Cash for payments and more.
For further assistance, subscribe to the Apple Support YouTube channel or explore more tutorials. Remember, Apple Cash services are provided by Greenbank and available in the US only. Terms and conditions apply.
Summary:
– Ensure iPhone compatibility and two-factor authentication for Apple ID.
– Open Wallet or Settings to enable Apple Cash, authenticate, and accept terms.
– Add a debit card if necessary for funds.
– Use Messages to send or request money, specifying amount and adding a comment if desired.
– To add funds, access Wallet, tap Apple Cash, select “more,” choose “add money,” enter amount, and authenticate.