Voice Memos is a handy app on the iPhone that lets you capture audio, whether it’s recording a reminder, preserving a memory, or sharing thoughts with someone. In this guide, we’ll go through how to use Voice Memos to record, edit, and share audio, step-by-step. So let’s dive in—no tech experience needed!
Table of Contents
Step 1: Open the Voice Memos App
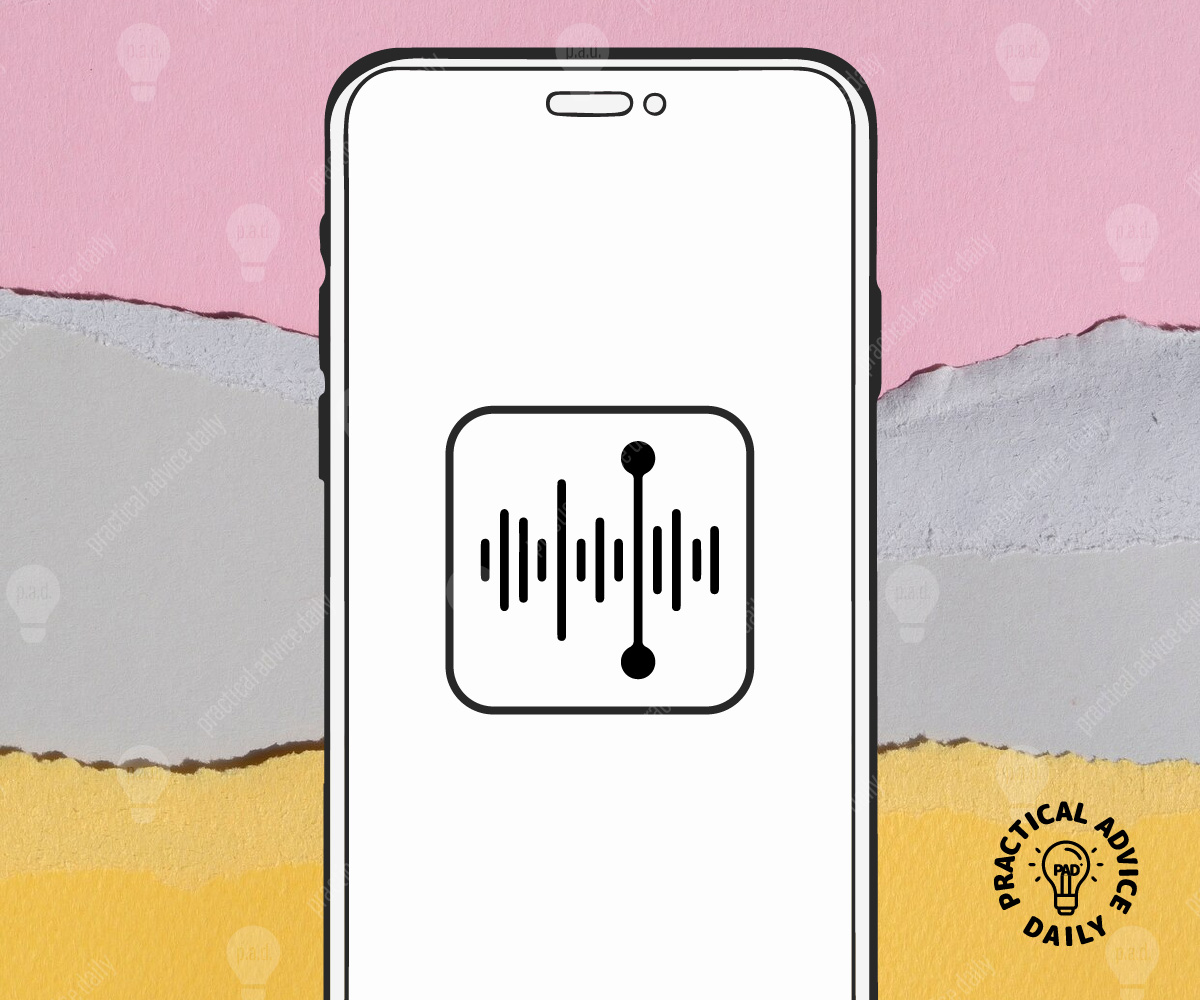
- Find the App: Look for the Voice Memos app, which usually looks like a white square with black lines representing audio waves. You can find it by swiping down from the middle of your Home screen and typing “Voice Memos” into the search bar.
- Tap to Open: Once you see it, tap to open the app.
Step 2: Start Recording
- Prepare to Record: When the app opens, you’ll see a big red Record button at the bottom. Before you start recording, make sure you’re in a quiet place if you want clear audio.
- Press Record: Tap the red Record button to start recording. Speak clearly and keep the iPhone’s microphone (located near the bottom edge of your phone) pointed toward you for the best quality.
- Pause or Stop:
- If you need to pause, tap the Pause button (two small lines) that appears in place of the record button. Tap it again to continue recording.
- When you’re done, tap the Stop button (a square inside a circle) to finish your recording.
Your recording will automatically save with the name New Recording or the location name. You can rename it later to make it easier to find.
Step 3: Rename Your Recording (Optional)
- Find Your Recording: You’ll see your recording appear in a list under the main screen. Tap on it to select.
- Rename It: Tap on the title (for example, New Recording) to edit it. Type a new name that makes it easy to remember and then tap Done on the keyboard.
Step 4: Edit Your Recording
If you’d like to make your recording shorter or delete any extra bits, here’s how to edit it:
- Select the Recording: Tap on your recording in the list.
- Tap the Three Dots: Look for three dots (⋯) next to the recording’s name and tap it, then choose Edit Recording from the menu.
- Trim or Cut Parts:
- To Trim the Ends: Slide the small yellow lines at the beginning or end of the sound wave to choose the start and end points.
- To Delete a Section: Tap Trim and choose the part you want to keep. Then, tap Save to save the changes.
- Save Your Edits: When you’re happy with the edited version, tap Save.
Step 5: Share Your Recording
Once you’re ready to share, you can easily send your Voice Memo to others through text, email, or other apps.
- Select the Recording: Tap on the recording you’d like to share.
- Tap the Share Button: You’ll see a square with an arrow pointing up (the share icon). Tap on it to open the sharing options.
- Choose How to Share: A list of apps and methods will appear—select your preferred option, like Messages, Mail, or AirDrop (if sharing to another iPhone nearby). Just follow the instructions for that option, and your recording will be sent.
Tips for Using Voice Memos
- Keep Recordings Organized: Give each recording a specific name, especially if you’re making lots of recordings.
- Backup Important Recordings: Consider saving important recordings to iCloud or Files to keep a copy in case you delete them by accident.
- Use Voice Memos for Reminders: You can make quick reminders for yourself. Just record and label them to play back when needed.

Final Thoughts
Using Voice Memos on your iPhone is an easy and effective way to record anything you want to remember, share, or save for later. With these simple steps, you’re well on your way to mastering this handy app. Enjoy capturing your thoughts, memories, and more with ease!