If you’re looking to keep track of how much time you spend on certain apps or want to limit usage, Apple’s Screen Time feature can help. Screen Time is a built-in tool on the iPhone that lets you monitor and manage app usage, set time limits, and even restrict certain apps when needed. This guide will walk you through setting it up in a few easy steps, so you can take control of your screen time.
Table of Contents
Step 1: Open Screen Time in Settings
To get started, you’ll need to open the Screen Time settings on your iPhone:
- Go to Settings: Find and open the Settings app on your iPhone—it’s the icon with gray gears.
- Find Screen Time: Scroll down a little, and you’ll see an option called Screen Time. Tap on it to enter the Screen Time settings.
Step 2: Turn on Screen Time
If you haven’t used Screen Time before, you’ll need to enable it:
- Tap “Turn On Screen Time”: Once in the Screen Time menu, tap Turn On Screen Time.
- Read the Introduction: Apple provides a brief overview of what Screen Time can do. Tap Continue to proceed.
- Choose “This is My iPhone”: If the iPhone is for personal use, select This is My iPhone. (If setting up for a child, choose This is My Child’s iPhone for additional parental controls.)
Step 3: Set Daily App Limits
Setting daily limits helps you control how much time you spend on specific apps or categories of apps, like social media, games, or entertainment.
- Tap on App Limits: In the Screen Time menu, tap App Limits and then Add Limit.
- Choose App Categories: A list of app categories will appear (e.g., Social, Games, Entertainment). Tap the checkbox next to any category or specific app you want to limit.
- Set a Time Limit: After selecting the apps or categories, tap Next to set the time limit. You can choose hours and minutes for daily usage. Tap Add when you’re done.
Step 4: Set Downtime (Optional)
Downtime is a feature that restricts access to most apps during a specific time period, like during the night or a designated break time.
- Tap on Downtime: In the Screen Time menu, tap Downtime.
- Turn on Downtime: Toggle the switch to turn it on. Then, set the start and end times for when you want Downtime to be active. During this time, only apps you choose to allow will be accessible.
Step 5: Add Always Allowed Apps
You may want to keep certain apps accessible even during Downtime or after your app limits are reached. For example, you might want to keep calling or messaging apps available at all times.
- Go to Always Allowed: In the Screen Time menu, tap Always Allowed.
- Select Your Apps: You’ll see a list of all apps. Tap the green plus (+) sign next to any app you want to keep available at all times, even when limits are in place.
Step 6: Set a Screen Time Passcode (Optional but Recommended)
Adding a passcode to Screen Time settings helps ensure that only you can change or turn off your settings.
- Tap Use Screen Time Passcode: Back in the Screen Time menu, tap Use Screen Time Passcode.
- Enter a Passcode: Set a four-digit passcode. Be sure to remember it, as you’ll need this code to make changes to your Screen Time settings in the future.
- Confirm the Passcode: Enter the passcode again to confirm it.
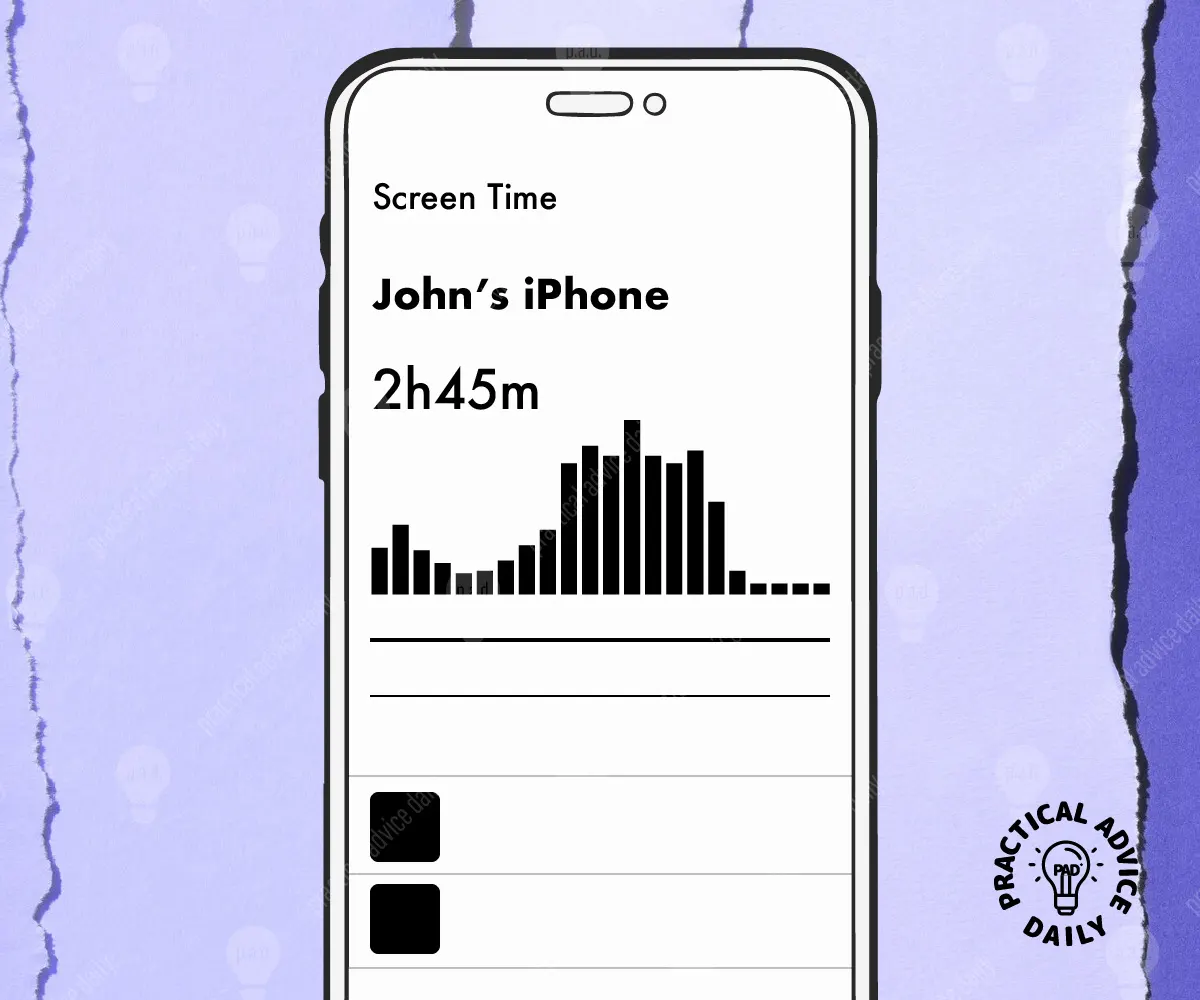
Step 7: Review Your Screen Time Report
Once Screen Time is set up, you can review a report showing your daily and weekly app usage. This can help you stay aware of where you’re spending the most time.
- Open Screen Time Report: Go back to the main Screen Time menu. Here, you’ll see a summary of your app usage.
- Tap “See All Activity” for Details: To get more information, tap See All Activity. You’ll find a breakdown of your most-used apps and the times you’ve spent on each.