Keeping your iPhone secure is more important than ever. One of the best ways to protect your personal information is by setting up Two-Factor Authentication (2FA). This extra layer of security ensures that even if someone knows your password, they can’t access your account without a second verification step. Don’t worry if you’re not familiar with this – we’ll walk you through it step by step!
Table of Contents
What is Two-Factor Authentication?
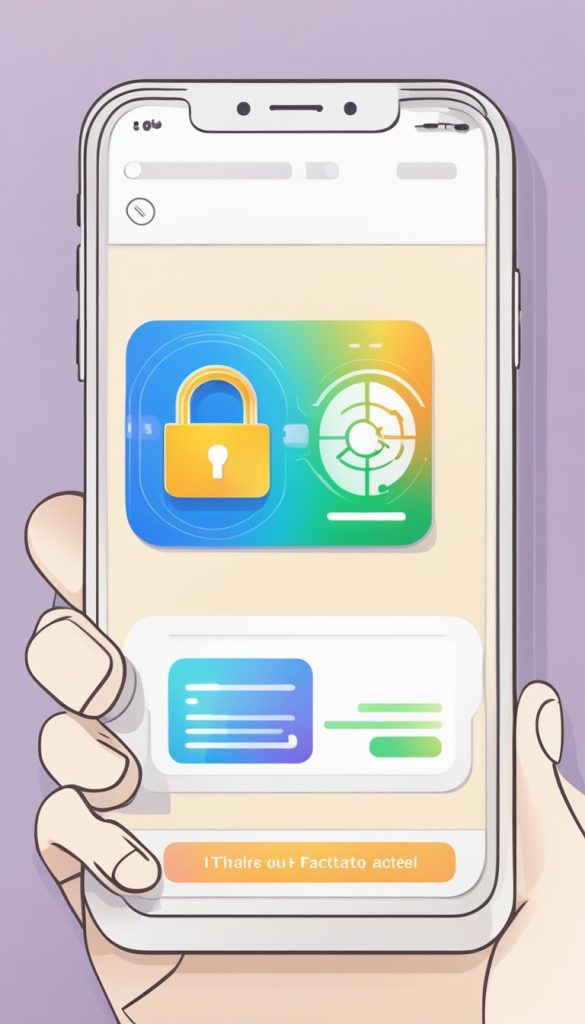
Two-Factor Authentication (2FA) is a security feature that adds an extra layer of protection to your accounts. When you enable 2FA on your iPhone, you’ll need two things to log in:
- Your password
- A second code that is sent to you via a text message or an app
This makes it harder for anyone to access your account, even if they know your password.

Why Should You Use Two-Factor Authentication?
The simple answer: It keeps your information safer. 2FA helps protect sensitive data, such as your contacts, messages, photos, and financial details, by requiring an extra step to confirm it’s really you trying to log in.
Now, let’s go over how to set it up!
Step-by-Step Guide to Set Up Two-Factor Authentication on Your iPhone
- Open Settings
First, unlock your iPhone and tap on the Settings app, which is represented by a gear icon. - Go to Your Apple ID
At the top of the Settings menu, you’ll see your name. Tap on it to open your Apple ID settings. - Select Password & Security
Once you’re in the Apple ID section, scroll down and tap Password & Security. This is where you’ll find the options to secure your account. - Turn on Two-Factor Authentication
You’ll see an option for Two-Factor Authentication. Tap on it, and then select Turn On. - Verify Your Identity
To proceed, you may need to enter your Apple ID password. Type it in and tap OK. - Choose How You Want to Receive the Code
Apple will ask how you’d like to receive the verification code: via text message or through an authentication app like Google Authenticator. Choose the option that’s easiest for you. - Enter the Verification Code
You’ll receive a six-digit code either by text or in the app you selected. Enter the code into the prompt on your iPhone. - Finish Setup
Once you’ve entered the code, tap Next. You’re all set! Two-Factor Authentication is now enabled, making your iPhone more secure.
What to Do If You Lose Access to Your Trusted Phone Number
If you ever lose access to the phone number linked to your 2FA, don’t worry. Apple allows you to set up trusted devices or even change your phone number in the Apple ID settings. You’ll just need to follow the prompts on your device to recover access.
Tips for Managing Two-Factor Authentication
- Keep your trusted phone number updated: If you change your phone number, be sure to update it in your Apple ID settings.
- Use trusted devices: Devices like your iPad or MacBook can also be set up to receive verification codes, so you don’t always need your phone on hand.
Final Thoughts
Setting up Two-Factor Authentication on your iPhone is a simple yet powerful way to protect your personal information. By following these steps, you’ve added an extra layer of security that helps ensure your data stays safe. Stay confident knowing that your iPhone is better protected from potential threats!
If you ever have any trouble or need further assistance, Apple’s support is just a tap away. You’re doing great, and your iPhone is now more secure than ever!
