Checklist for New iPhone Users: Step-by-Step Setup and Essential Adjustments

So, you’ve got a new iPhone—exciting, right? Whether it’s your first iPhone or you’re upgrading, this checklist will guide you through the setup process and help you make the essential adjustments for a smooth start. Don’t worry if you’re not a tech whiz; we’ll take it one step at a time!

Table of Contents

1. Power On and Begin Setup

  • Press and hold the power button on the side until the Apple logo appears.
  • Follow the on-screen instructions to select your language, country, and Wi-Fi network.
  • If you have an older phone, use the Quick Start option to transfer data by holding it near your new iPhone. If not, choose “Set Up Manually.”

2. Sign in with Your Apple ID

Your Apple ID is the account that lets you download apps, sync photos, and use features like iCloud.

  • Enter your Apple ID email and password.
  • If you don’t have one, tap “Forgot password or don’t have an Apple ID?” and follow the prompts to create a new account.

3. Set Up Face ID or Touch ID

This feature makes unlocking your iPhone and approving purchases easier.

  • Follow the instructions to scan your face or fingerprint.
  • You can skip this step if you prefer but setting it up adds convenience and security.

4. Choose a Passcode

A passcode keeps your phone secure.

  • Create a six-digit passcode (or tap “Passcode Options” for a four-digit one).
  • Remember it, as you’ll use it frequently!

5. Connect to iCloud

iCloud stores your photos, contacts, and other important data safely online.

  • Ensure iCloud is enabled during setup.
  • If you skipped this earlier, go to Settings > [Your Name] > iCloud to turn it on.

6. Update Your iPhone

7. Install Essential Apps

Visit the App Store to download apps you’ll need for daily use, such as messaging, email, navigation, or social media.

  • Tap the App Store icon, search for an app, and tap “Get” to download it.
8. Adjust Key Settings

Here’s how to personalize your iPhone:

  • Display: Adjust brightness and enable Night Shift for eye comfort (Settings > Display & Brightness).
  • Sounds: Customize ringtones and notifications (Settings > Sounds & Haptics).
  • Do Not Disturb: Silence notifications at bedtime or during meetings (Settings > Focus > Do Not Disturb).

9. Set Up Emergency SOS

Ensure your safety features are in place.

10. Backup Your iPhone

A backup saves your data in case you ever lose or damage your phone.

  • Go to Settings > [Your Name] > iCloud > iCloud Backup and turn it on.
  • Alternatively, connect your iPhone to a computer and back it up via iTunes or Finder.

11. Learn Basic Gestures and Features

If your iPhone has no home button, get familiar with these gestures:

  • Swipe up from the bottom to go home.
  • Swipe down from the top-right for Control Center.
  • Swipe down from the middle for notifications.

12. Explore Your iPhone’s Camera

Take a moment to open the Camera app and experiment with features like Portrait mode, video recording, and zoom. It’s a great way to capture memories!
How to Set Up Screen Time on iPhone to Manage App Usage

If you’re looking to keep track of how much time you spend on certain apps or want to limit usage, Apple’s Screen Time feature can help. Screen Time is a built-in tool on the iPhone that lets you monitor and manage app usage, set time limits, and even restrict certain apps when needed. This guide will walk you through setting it up in a few easy steps, so you can take control of your screen time.

Table of Contents

Step 1: Open Screen Time in Settings

To get started, you’ll need to open the Screen Time settings on your iPhone:

  1. Go to Settings: Find and open the Settings app on your iPhone—it’s the icon with gray gears.
  2. Find Screen Time: Scroll down a little, and you’ll see an option called Screen Time. Tap on it to enter the Screen Time settings.

Step 2: Turn on Screen Time

If you haven’t used Screen Time before, you’ll need to enable it:

  1. Tap “Turn On Screen Time”: Once in the Screen Time menu, tap Turn On Screen Time.
  2. Read the Introduction: Apple provides a brief overview of what Screen Time can do. Tap Continue to proceed.
  3. Choose “This is My iPhone”: If the iPhone is for personal use, select This is My iPhone. (If setting up for a child, choose This is My Child’s iPhone for additional parental controls.)

Step 3: Set Daily App Limits

Setting daily limits helps you control how much time you spend on specific apps or categories of apps, like social media, games, or entertainment.

  1. Tap on App Limits: In the Screen Time menu, tap App Limits and then Add Limit.
  2. Choose App Categories: A list of app categories will appear (e.g., Social, Games, Entertainment). Tap the checkbox next to any category or specific app you want to limit.
  3. Set a Time Limit: After selecting the apps or categories, tap Next to set the time limit. You can choose hours and minutes for daily usage. Tap Add when you’re done.

Step 4: Set Downtime (Optional)

Downtime is a feature that restricts access to most apps during a specific time period, like during the night or a designated break time.

  1. Tap on Downtime: In the Screen Time menu, tap Downtime.
  2. Turn on Downtime: Toggle the switch to turn it on. Then, set the start and end times for when you want Downtime to be active. During this time, only apps you choose to allow will be accessible.

Step 5: Add Always Allowed Apps

You may want to keep certain apps accessible even during Downtime or after your app limits are reached. For example, you might want to keep calling or messaging apps available at all times.

  1. Go to Always Allowed: In the Screen Time menu, tap Always Allowed.
  2. Select Your Apps: You’ll see a list of all apps. Tap the green plus (+) sign next to any app you want to keep available at all times, even when limits are in place.


Adding a passcode to Screen Time settings helps ensure that only you can change or turn off your settings.

  1. Tap Use Screen Time Passcode: Back in the Screen Time menu, tap Use Screen Time Passcode.
  2. Enter a Passcode: Set a four-digit passcode. Be sure to remember it, as you’ll need this code to make changes to your Screen Time settings in the future.
  3. Confirm the Passcode: Enter the passcode again to confirm it.

Step 7: Review Your Screen Time Report

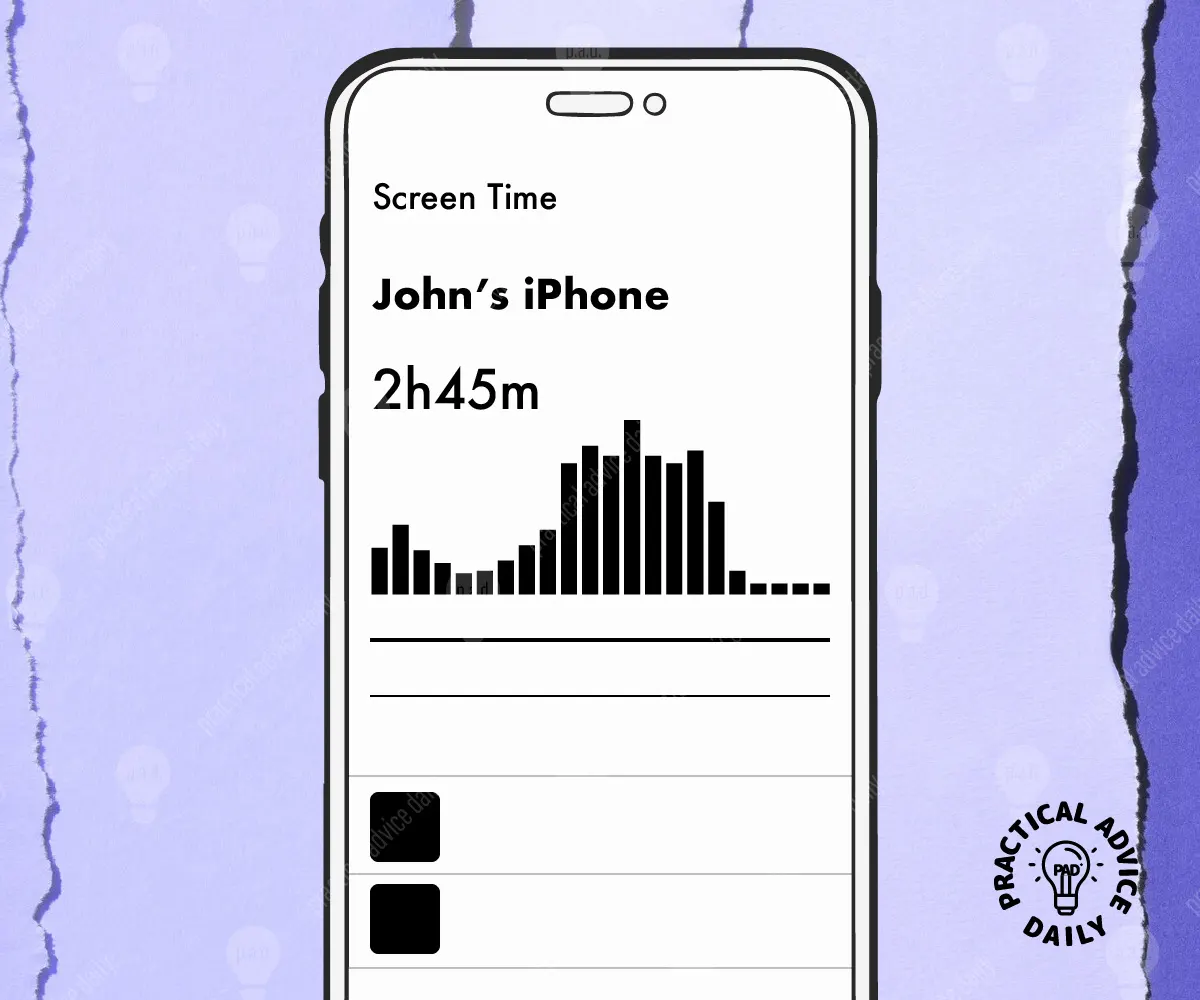
Once Screen Time is set up, you can review a report showing your daily and weekly app usage. This can help you stay aware of where you’re spending the most time.

  1. Open Screen Time Report: Go back to the main Screen Time menu. Here, you’ll see a summary of your app usage.
  2. Tap “See All Activity” for Details: To get more information, tap See All Activity. You’ll find a breakdown of your most-used apps and the times you’ve spent on each.

How to Organize Your iPhone Home Screen with Widgets

Is your iPhone home screen feeling cluttered or hard to navigate? Adding widgets is a quick way to personalize your screen and make it easier to find what you need. Widgets are like mini-displays for your favorite apps, giving you quick information at a glance—such as weather, calendar events, or photos—without having to open each app. This guide will walk you through the steps to set up widgets, rearrange icons, and organize your screen so it feels like it was made just for you!

Table of Contents

Step 1: Decide Which Widgets You Want

Think about which apps you check most often or which information you want to see quickly. Some popular widget choices are:

Step 2: Add a Widget to Your Home Screen

Here’s how to start adding widgets to your home screen:

  1. Press and Hold: Find an empty spot on your home screen, then press and hold until the app icons start to “wiggle.”
  2. Tap the Plus (+) Button: In the top left corner of the screen, you’ll see a plus (+) button. Tap it to open the widget selection.
  3. Choose Your Widget: Scroll through the list of widgets or use the search bar at the top to find specific ones, like “Weather” or “Photos.”
  4. Select a Widget Size: Widgets usually come in different sizes—small, medium, and large. Pick the size that works best for you, depending on how much information you want to see.
  5. Add the Widget: Tap Add Widget at the bottom of the screen. Your new widget will appear on your home screen.

Step 3: Arrange Your Widgets and Apps

Now that you’ve added widgets, you can organize them alongside your apps to create a layout that’s both useful and easy to navigate.

  1. Move Widgets and Apps: Press and hold any widget or app until it starts to wiggle. Then, drag it to the spot where you’d like it to stay. You can place widgets next to or above apps for a balanced look.
  2. Create a Stack of Widgets: To save space, you can “stack” widgets on top of each other. Drag one widget on top of another (they need to be the same size), and they’ll form a “stack” you can swipe through. This is helpful if you want several widgets but don’t want them taking up too much space.

Step 4: Use App Library to Organize Apps

If you don’t need every app on your home screen, you can remove some and find them in your App Library instead. This makes your home screen feel more organized and less cluttered.

  1. Remove Unneeded Apps from Home Screen: Press and hold an app icon until a menu appears. Tap Remove from Home Screen to keep the app but take it off the main screen. You’ll still find it in the App Library.
  2. Access the App Library: Swipe to the last page of your home screen, and you’ll see the App Library, which automatically organizes apps into categories like Social, Productivity, and Entertainment.

Step 5: Customize Your Home Screen Background

You can make your home screen feel even more personal by changing your background. A simple background can also make your widgets and apps easier to see.

  1. Open Settings: Go to your iPhone’s Settings app.
  2. Choose Wallpaper: Tap Wallpaper and then Choose a New Wallpaper.
  3. Pick a Background: You can choose a picture from your photos or pick from Apple’s built-in options.
  4. Set Your Wallpaper: Tap Set and choose whether you want the wallpaper for just your home screen, just your lock screen, or both.

By following these steps, you’ll have an organized, custom home screen that shows you exactly what you need at a glance. Adding widgets, arranging apps, and simplifying your layout can make your iPhone easier and more enjoyable to use. Enjoy your new setup!

Using iPhone Voice Memos: How to Record, Edit, and Share Audio

Voice Memos is a handy app on the iPhone that lets you capture audio, whether it’s recording a reminder, preserving a memory, or sharing thoughts with someone. In this guide, we’ll go through how to use Voice Memos to record, edit, and share audio, step-by-step. So let’s dive in—no tech experience needed!

Table of Contents

Step 1: Open the Voice Memos App

  1. Find the App: Look for the Voice Memos app, which usually looks like a white square with black lines representing audio waves. You can find it by swiping down from the middle of your Home screen and typing “Voice Memos” into the search bar.
  2. Tap to Open: Once you see it, tap to open the app.

Step 2: Start Recording

  1. Prepare to Record: When the app opens, you’ll see a big red Record button at the bottom. Before you start recording, make sure you’re in a quiet place if you want clear audio.
  2. Press Record: Tap the red Record button to start recording. Speak clearly and keep the iPhone’s microphone (located near the bottom edge of your phone) pointed toward you for the best quality.
  3. Pause or Stop:
    • If you need to pause, tap the Pause button (two small lines) that appears in place of the record button. Tap it again to continue recording.
    • When you’re done, tap the Stop button (a square inside a circle) to finish your recording.

Your recording will automatically save with the name New Recording or the location name. You can rename it later to make it easier to find.

Step 3: Rename Your Recording (Optional)

  1. Find Your Recording: You’ll see your recording appear in a list under the main screen. Tap on it to select.
  2. Rename It: Tap on the title (for example, New Recording) to edit it. Type a new name that makes it easy to remember and then tap Done on the keyboard.

Step 4: Edit Your Recording

If you’d like to make your recording shorter or delete any extra bits, here’s how to edit it:

  1. Select the Recording: Tap on your recording in the list.
  2. Tap the Three Dots: Look for three dots (⋯) next to the recording’s name and tap it, then choose Edit Recording from the menu.
  3. Trim or Cut Parts:
    • To Trim the Ends: Slide the small yellow lines at the beginning or end of the sound wave to choose the start and end points.
    • To Delete a Section: Tap Trim and choose the part you want to keep. Then, tap Save to save the changes.
  4. Save Your Edits: When you’re happy with the edited version, tap Save.

Step 5: Share Your Recording

Once you’re ready to share, you can easily send your Voice Memo to others through text, email, or other apps.

  1. Select the Recording: Tap on the recording you’d like to share.
  2. Tap the Share Button: You’ll see a square with an arrow pointing up (the share icon). Tap on it to open the sharing options.
  3. Choose How to Share: A list of apps and methods will appear—select your preferred option, like Messages, Mail, or AirDrop (if sharing to another iPhone nearby). Just follow the instructions for that option, and your recording will be sent.

Tips for Using Voice Memos

  • Keep Recordings Organized: Give each recording a specific name, especially if you’re making lots of recordings.
  • Backup Important Recordings: Consider saving important recordings to iCloud or Files to keep a copy in case you delete them by accident.
  • Use Voice Memos for Reminders: You can make quick reminders for yourself. Just record and label them to play back when needed.

Final Thoughts

Using Voice Memos on your iPhone is an easy and effective way to record anything you want to remember, share, or save for later. With these simple steps, you’re well on your way to mastering this handy app. Enjoy capturing your thoughts, memories, and more with ease!

How to Use the iPhone Measure App to Take Quick Measurements

Have you ever needed a quick way to measure something but didn’t have a tape measure on hand? The iPhone Measure app is here to help! With just a few taps, you can measure objects, furniture, or even the space in a room using your phone’s camera. Follow these simple steps to learn how to use this handy tool, and you’ll be measuring in no time.

Table of Contents

Step 1: Open the Measure App

  1. Locate the Measure App: Find the Measure app on your iPhone. If you’re not sure where it is, swipe down from the middle of your screen and type “Measure” in the search bar.
  2. Tap to Open: Once you find the app, tap on it to open. You’ll see a screen with your camera view, which is where the measuring magic happens.

Step 2: Position the iPhone

  1. Stand Steady: Hold your iPhone steady in front of the object you want to measure. Make sure there’s enough light and a clear view of the object.
  2. Move Slowly: Gently move your iPhone around to let it scan the area. You may see a dot or a small white circle on the screen—this is where you’ll start measuring.

Step 3: Start Measuring

  1. Find the Start Point: Point your iPhone camera at one end of the item or space you want to measure.
  2. Tap the Plus (+) Button: When you’re ready, tap the small plus (+) button that appears on the screen. This will mark the starting point of your measurement.
  3. Move to the End Point: Slowly move your iPhone to the other end of the item, keeping the dot or circle on the screen aligned with where you want the measurement to end.

Step 4: Complete the Measurement

  1. Tap the Plus (+) Button Again: Once you reach the endpoint, tap the plus (+) button again to finish the measurement. The app will show the distance in your selected unit, such as inches or centimeters.
  2. Adjust if Needed: If it doesn’t look quite right, you can tap and drag the points to fine-tune the measurement.

Step 5: View and Save Measurements

  1. View the Measurement: After marking the points, the app will show you the total measurement right on the screen. You can move your phone slightly to view it from different angles.
  2. Take a Snapshot (Optional): If you want to save your measurement for later, tap the camera icon in the top-right corner of the screen. This takes a photo of your measurement, which saves to your Photos app.

Bonus Tip: Using the Level Tool

The Measure app also includes a Level tool, which can help you see if a surface is perfectly straight or balanced. Here’s how to access it:

  1. Tap on Level: While in the Measure app, tap the “Level” option at the bottom of the screen.
  2. Use the Level: Hold your iPhone against the surface you want to check. The screen will show you when it’s level by displaying green and 0° if it’s perfectly balanced.

Final Thoughts

The iPhone Measure app is a convenient and surprisingly accurate tool for quick measurements. Once you’ve practiced a few times, measuring objects and spaces will become second nature. Remember, it’s okay to go slow, take your time, and double-check. With this guide, you’ll soon be using your iPhone as a measuring tool confidently.

6 Simple Security Tips to Keep Your iPhone Safe

Your iPhone is more than just a phone; it’s a tool that helps you connect with friends and family, access important information, and capture memories. Just like you lock your front door to keep your home safe, it’s essential to protect your iPhone too! Here are six easy tips to help you keep your device secure and your information private.

Table of Contents

1. Set a Strong Passcode

One of the simplest ways to protect your iPhone is by setting a strong passcode. Here’s how to do it:

  • Open the Settings app: Look for the gear icon on your home screen and tap it.
  • Scroll down and tap on “Face ID & Passcode” or “Touch ID & Passcode”: This option will depend on whether your iPhone uses Face ID (face recognition) or Touch ID (fingerprint).
  • Tap “Turn Passcode On”: Follow the prompts to create a passcode. Choose something that is easy for you to remember but hard for others to guess. A mix of numbers and letters is best!

Setting a strong passcode helps keep your personal information safe if someone finds or steals your phone.

2. Enable Face ID or Touch ID

Face ID or Touch ID makes it even easier to unlock your phone securely without having to type in your passcode each time.

  • Still in the Settings app, tap on “Face ID & Passcode” or “Touch ID & Passcode.”
  • Follow the prompts to set up Face ID or Touch ID if you haven’t already. This way, you can use your face or fingerprint to unlock your phone quickly and securely.

3. Keep Your Software Up to Date

Just like keeping your car serviced, keeping your iPhone’s software updated is crucial for its security. Software updates often include important fixes for any vulnerabilities.

  • Open the Settings app and tap on “General.”
  • Tap on “Software Update.” If an update is available, tap “Download and Install.” Follow the prompts to complete the update.

Try to check for updates regularly. This helps your iPhone run smoothly and keeps your information safer.

4. Be Cautious with Apps

Apps are fantastic for adding new features to your iPhone, but it’s important to be careful about which ones you download.

  • Only download apps from the App Store: The App Store checks apps for safety. Avoid downloading apps from unknown sources or websites.
  • Check app reviews: Before downloading, look at the reviews to see what other users have said about the app. If many users report problems, it’s best to steer clear.

Being selective about your apps helps protect your personal information and keeps your iPhone running smoothly.

5. Use Two-Factor Authentication


Two-factor authentication adds an extra layer of security to your accounts. This means that even if someone has your password, they can’t access your account without another piece of information.

  • Go to Settings and tap on your name at the top.
  • Select “Password & Security.”
  • Tap “Two-Factor Authentication” and follow the prompts to set it up for your Apple ID.

This way, you’ll be notified if someone tries to access your account, keeping your information even safer.

6. Be Wary of Public Wi-Fi

Using public Wi-Fi is convenient, but it can also expose your information to risks. Whenever possible, try to avoid logging into sensitive accounts, like online banking, while on public Wi-Fi.

  • If you must use public Wi-Fi, consider using a VPN (Virtual Private Network). This adds extra protection by encrypting your internet connection, making it harder for anyone to access your data.

Final Thoughts

Taking these simple steps can greatly enhance the security of your iPhone and protect your personal information. Remember, it’s about creating habits that keep you safe while you enjoy the benefits of technology. If you ever feel uncertain, don’t hesitate to ask a family member or friend for help! Your iPhone is a powerful tool—let’s keep it that way.

iPhone Calendar Tips: Managing Events and Appointments

The iPhone Calendar app is a helpful tool that can keep your life organized and make sure you never miss an important event or appointment. Whether it’s a family gathering, a doctor’s visit, or a friend’s birthday, using your Calendar can simplify your scheduling. Here are some easy-to-follow tips for managing your events and appointments with the iPhone Calendar app.

Table of Contents

1. Open the Calendar App

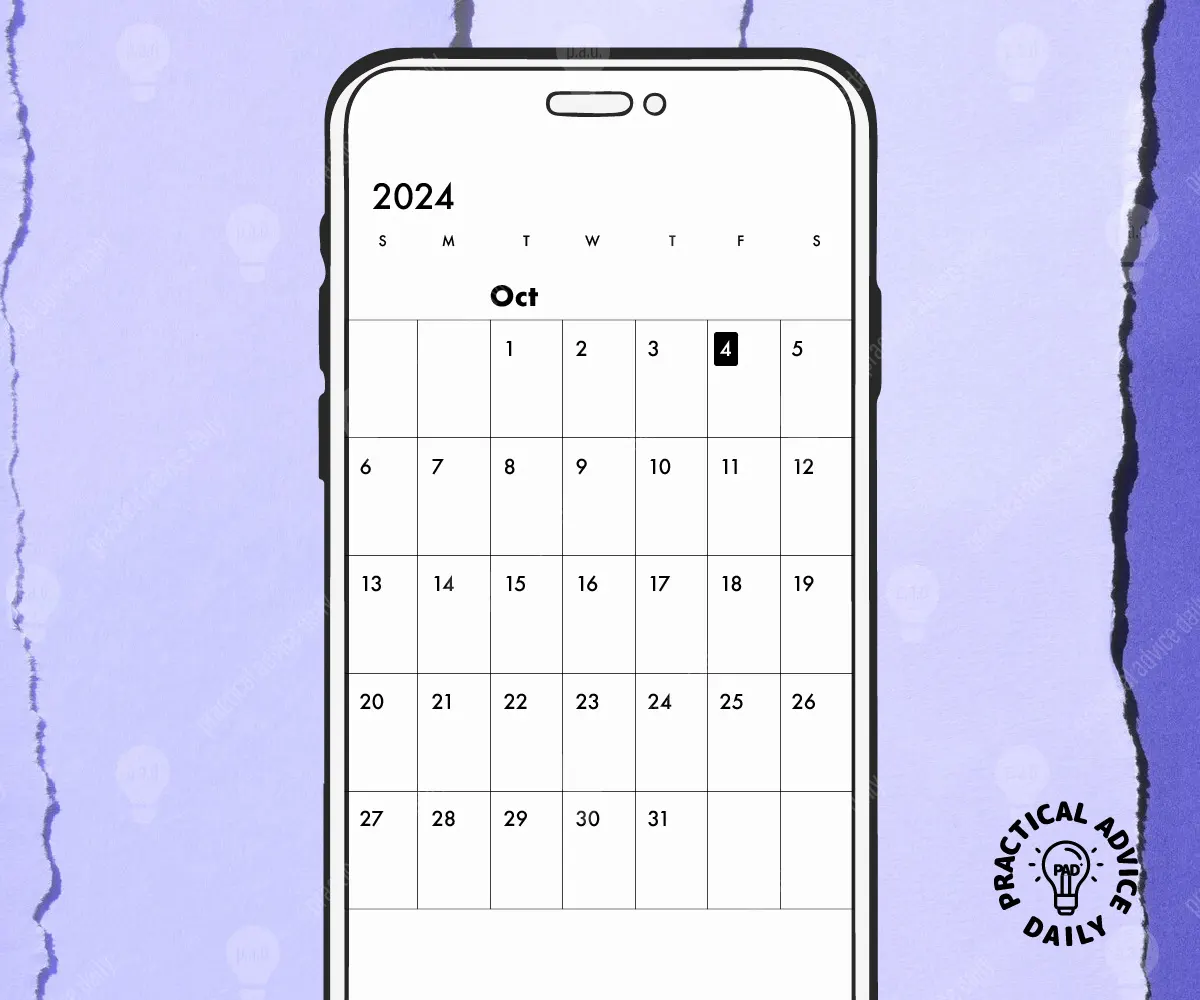
First things first, let’s get started by opening your Calendar app. Look for the icon on your home screen; it looks like a calendar page. Tap it, and you’ll see your calendar view, which can be in a monthly, weekly, or daily layout.

Tip:

You can switch between views by tapping the buttons at the top of the screen that say “Month,” “Week,” or “Day.”

2. Adding an Event

To add a new event, follow these steps:

  1. Tap the “+” Button: Look for the plus sign (+) usually located in the top right corner of the screen. This will open a new event window.
  2. Enter Event Details:
    • Title: Write a short name for your event, like “Doctor Appointment” or “Dinner with Family.”
    • Location: If you want, you can add where the event will take place.
    • Date and Time: Select the date and time for your event. Just tap on the date and time fields to change them.
    • Notes (Optional): You can add any extra information you want to remember, like what you need to bring or who is attending.
  3. Set an Alert (Optional): If you want a reminder before the event, you can set an alert. Tap on “Alert” and choose how far in advance you want to be reminded—like 15 minutes or a day before.
  4. Save Your Event: Once everything looks good, tap “Add” in the upper right corner to save your event.

Tip:

If you have recurring events (like weekly meetings or monthly family dinners), you can tap on “Repeat” and choose how often it happens.

3. Viewing Your Events

To see what you have coming up, go back to your calendar view. You can easily navigate by tapping the arrows at the top to move to different months or days. If you tap on a specific day, you’ll see all the events scheduled for that day.

Tip:

Using the “Today” button (often at the bottom left) will bring you back to the current date quickly.

4. Editing or Deleting an Event


If you need to change or remove an event, here’s how:

  1. Find the Event: Navigate to the day of the event you want to change.
  2. Tap the Event: This will open up the event details.
  3. Edit or Delete:
    • To edit, just change any details you want, and then tap “Add” to save.
    • To delete, scroll down and tap “Delete Event.” Confirm when asked.

Tip:

You can also move an event to a different time or date by tapping and holding on the event, then dragging it to the new time slot.

5. Sharing Your Calendar

If you want to share your calendar with a family member or friend, follow these steps:

  1. Go to Settings: Tap on the “Settings” app (the gear icon) on your home screen.
  2. Scroll Down to Calendar: Tap on “Calendar,” then tap “Accounts.”
  3. Add an Account: Tap “Add Account” to share with someone. You can choose to add their email address.
  4. Invite Them to Events: When you create or edit an event, there’s an option to invite people. Just add their email in the “Invitees” section.

Tip:

This way, everyone can see the same events and appointments!

6. Using Siri to Manage Your Calendar

Did you know you can ask Siri to help you manage your calendar? Just say, “Hey Siri,” followed by your request, like “Schedule a meeting for tomorrow at 2 PM” or “What’s on my calendar for today?” It’s a simple and fast way to get things done.

Conclusion

Using the iPhone Calendar app doesn’t have to be overwhelming. With these easy tips, you can manage your events and appointments confidently. Take your time to explore the features, and soon you’ll find that keeping track of your schedule can be a breeze. Happy organizing!

iPhone Alarm and Timer: How to Set and Customize Alerts

Are you ready to master the art of alarms and timers on your iPhone? Whether you need to wake up in the morning, remind yourself of an appointment, or time your cooking perfectly, your iPhone has you covered! Let’s take a step-by-step look at how to set and customize these alerts in a simple and friendly way.

Table of Contents

Getting Started

First, let’s find the Clock app on your iPhone. It’s usually represented by a clock icon and can be found on your home screen. If you can’t find it, swipe down on your home screen and type “Clock” in the search bar.

Setting an Alarm

  1. Open the Clock App: Tap the Clock app icon to open it.
  2. Select the Alarm Tab: At the bottom of the screen, you’ll see several options. Tap on the “Alarm” tab, which looks like an alarm clock.
  3. Add a New Alarm: You’ll see a plus sign (+) in the top right corner. Tap on it to create a new alarm.
  4. Choose the Time: A clock will appear. Use the wheels to select the hour and minutes for your alarm. Don’t forget to choose whether it’s morning (AM) or evening (PM).
  5. Customize Your Alarm: After selecting the time, you can customize your alarm. Here’s how:
    • Label: Tap on the “Label” field to give your alarm a name, like “Wake Up” or “Doctor’s Appointment.” This helps you remember what the alarm is for!
    • Sound: Tap on “Sound” to choose how your alarm will sound. You can select a tone that you like or even a song from your music library.
    • Snooze Option: You can also toggle the “Snooze” option on or off. If it’s on, you can tap snooze when the alarm goes off to get a few extra minutes of sleep.
  6. Save Your Alarm: Once you’re happy with your settings, tap “Save” in the top right corner.

Turning Your Alarm On or Off

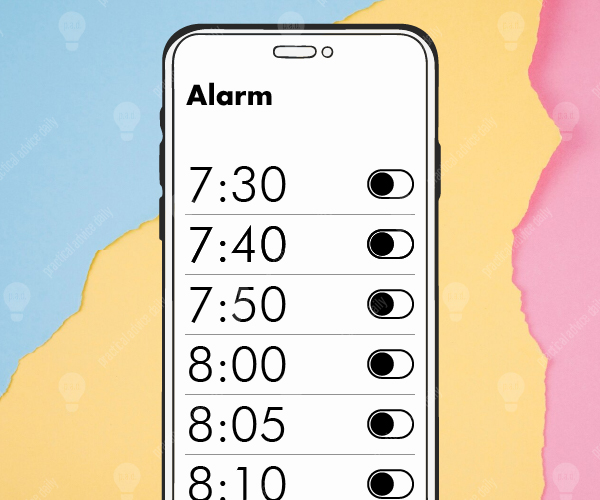
  • To turn your alarm on or off, simply toggle the switch next to the alarm time. If it’s green, your alarm is on! If it’s gray, it’s off.

Editing an Alarm

If you need to make changes to your alarm:

  1. Go back to the Alarm tab.
  2. Tap on the alarm you want to edit.
  3. Adjust any settings you need to change and then tap “Save.”

Deleting an Alarm

To remove an alarm that you no longer need:

  1. Go to the Alarm tab.
  2. Tap Edit in the top left corner.
  3. Select the alarm you want to delete.
  4. Tap Delete and then confirm by tapping Delete Alarm.

Using the Timer


Now that you’re an alarm pro, let’s check out how to set a timer!

  1. Open the Clock App: You’re already there!
  2. Select the Timer Tab: At the bottom of the screen, tap on the “Timer” tab.
  3. Set the Duration: Use the wheels to set how long you want the timer to run. You can select hours, minutes, and seconds.
  4. Choose a Sound: Tap on “When Timer Ends” to select a sound that will play when your timer goes off. You can choose from ringtones or even your music.
  5. Start the Timer: Once you’ve set your duration and sound, tap “Start.” Your timer will begin counting down!

Stopping or Canceling the Timer

  • If you need to stop the timer early, tap “Pause.” To cancel it completely, tap “Cancel.”

Checking Your Timer

If you want to see how much time is left, just open the Clock app and go to the Timer tab. You’ll see how much time remains.

Final Tips

  • Volume Matters: Make sure your iPhone’s volume is turned up so you can hear your alarms and timers! You can adjust the volume using the buttons on the side of your iPhone.
  • Stay Organized: Consider using different labels for your alarms to help keep track of your day.

How to Use Focus Mode on iPhone to Minimize Distractions

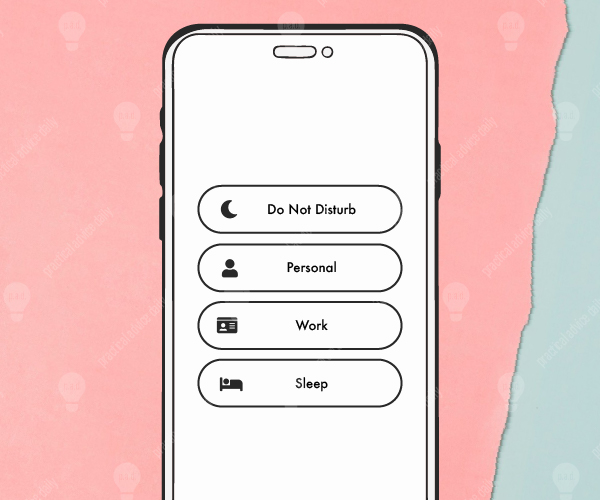
Ever get distracted by notifications when you’re trying to relax, work, or even sleep? Your iPhone has two great features—Do Not Disturb and Focus Modes—to help you reduce these interruptions.

Table of Contents

Key Takeaways:

  • Do Not Disturb: Mutes all notifications and calls when activated.
  • Focus Modes: Allows you to customize which notifications come through, based on what you’re doing.
  • Both features can be automated, so they turn on and off without you needing to remember.

Here’s a quick guide on how to use them.

Do Not Disturb: A Simple Way to Silence Notifications


Do Not Disturb is like putting a “quiet” sign on your phone. It stops notifications and calls so you can focus on what you’re doing without interruptions. Here’s how to turn it on:

  1. Open Control Center: Swipe down from the top-right corner of your screen.
  2. Tap the crescent moon icon: This activates Do Not Disturb instantly. You’ll see a little moon symbol at the top of your screen, letting you know it’s on.
  3. Set it on a schedule: Go to Settings > Focus > Do Not Disturb. You can schedule it to turn on automatically, like at bedtime, and choose which contacts or apps can still notify you.

Focus Modes: Customize What Interrupts You

Focus Modes are like a more personalized version of Do Not Disturb. Instead of silencing everything, you can allow certain notifications based on what you’re doing. Here’s how:

  1. Go to Settings > Focus.
  2. Choose or create a Focus Mode: You’ll see options like Work, Personal, or Sleep. You can pick which contacts or apps can reach you during these times.
  3. Automate it: You can schedule Focus Modes to turn on automatically at certain times, like when you’re working or relaxing.

Example: Sleep Mode

Let’s say you want to sleep peacefully. With Sleep Focus, you can allow only calls from close family members and turn off everything else. Just set it once, and it’ll turn on and off by itself each night.

Final Thoughts

These features are great for staying focused or relaxing without constant distractions. Once you set them up, they’ll make your iPhone much easier to use without the constant buzz of notifications.

Give them a try and enjoy fewer interruptions!

Setting Up Medical ID on Your iPhone for Emergencies

Imagine being in an emergency where you can’t speak or share your medical information. Your iPhone’s Medical ID can be a lifesaver in these moments. It stores essential health details that first responders can access even when your phone is locked.

In just a few simple steps, you can set up your Medical ID, making sure your vital information is always available when needed.

Table of Contents

What Is Medical ID, and Why Does It Matter?

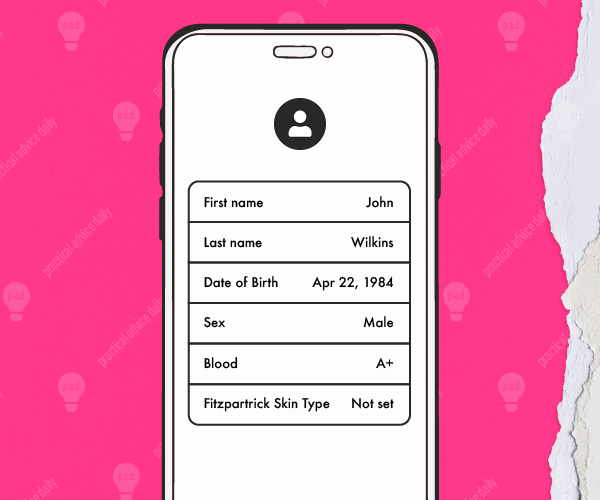
The Medical ID feature lets you enter important details like:

  • Your name and date of birth
  • Medical conditions, allergies, and medications
  • Emergency contact information
  • Blood type and organ donor status

This information can be accessed from your phone’s lock screen, allowing medical personnel to act quickly in an emergency.

Does the Process Differ Between iPhones?


The process for setting up Medical ID is mostly the same across all iPhones. However, there might be minor differences depending on your iOS version:

  • iOS 13 and Later: The Health app looks a bit different, but the steps remain the same.
  • Older iPhones: For those using iOS 12 or earlier, the layout is simpler, but you’ll follow the same steps.

No matter the iPhone model or iOS version, the setup is quick and easy.

How to Set Up Your Medical ID

Here’s a step-by-step guide:

  1. Open the Health App: Find the Health app (white icon with a red heart) and tap it.
  2. Go to the Medical ID Tab: Tap “Medical ID” in the bottom right corner.
  3. Edit Your Information: Tap “Edit” in the top right corner. Enter details like your medical conditions, medications, allergies, and emergency contacts.
  4. Turn On “Show When Locked”: Make sure to toggle this option so your information is accessible from the lock screen.
  5. Save: Once done, tap “Done” to save your Medical ID.

How to Access Medical ID in an Emergency

If someone needs to access your Medical ID in an emergency, here’s how they can do it:

  1. From the Lock Screen, swipe up or press the home button (depending on your iPhone model).
  2. Tap “Emergency” in the bottom left corner.
  3. Tap “Medical ID” to view your health information and emergency contacts.

Why This Step Matters

Setting up your Medical ID takes only a few minutes but could be crucial in an emergency. Medical responders will have access to the information they need to provide the best care quickly. Even if you’re perfectly healthy, it’s important to list emergency contacts.

Keep It Updated

As your health changes or you switch medications, remember to update your Medical ID so that it always has the correct information.

Final Thoughts

Setting up your Medical ID is a simple step that could make a big difference in an emergency. It’s quick, easy, and ensures that first responders have the information they need. Take a few minutes to set it up today, and share this guide with family and friends to help them stay safe too.