Old vs. New: Surprising iPhone Apps That Will Boost Your Skills

iPhones have become powerful tools for staying connected, organizing tasks, and even managing day-to-day activities. If you’ve been using your iPhone for a while, you’re probably familiar with some of the classic apps that have been around for years. But what about newer apps? Today’s iPhones are packed with features, and many new apps have been designed to help improve productivity and make life a little easier.

In this guide, we’ll compare classic iPhone apps with their newer counterparts. We’ll show you how both old and new apps can help you get the most out of your device. Whether you’re looking to stay organized, manage your time, or make tasks simpler, there’s an app for you!

Table of Contents

Classic iPhone Apps You Already Know

1. Safari

  • Purpose: Browsing the web
  • Why it’s great: Safari is reliable and simple to use. It’s perfect for checking emails, reading news, or finding answers to questions.
  • Tip: Use Safari’s bookmarks to save your favorite websites, so you can quickly access them without searching.

2. Contacts

  • Purpose: Storing and managing contacts
  • Why it’s great: The Contacts app has been around since the beginning. It’s a simple way to store names, phone numbers, and email addresses.
  • Tip: Group your contacts to keep your friends, family, and colleagues organized.

3. Calendar

  • Purpose: Scheduling events and reminders
  • Why it’s great: The Calendar app helps you keep track of appointments, birthdays, and important events. It’s always been a go-to for staying organized.
  • Tip: Set up recurring events for things you do regularly, like taking medication or attending weekly meetings.

Newer iPhone Apps That Will Change Your Routine

1. Focus

  • Purpose: Helps reduce distractions and improve productivity
  • Why it’s great: Focus helps you limit distractions by turning off apps or notifications that aren’t important at the moment.
  • How to use it: Go to your iPhone’s settings, tap “Focus,” and choose from preset modes like “Do Not Disturb” or “Work” to customize your notifications.
  • Tip: Use “Sleep” mode to ensure you get some quiet time at night.

2. Reminders

  • Purpose: Managing to-do lists and tasks
  • Why it’s great: Reminders lets you create lists for everything you need to do. It syncs across all your Apple devices, so you can check tasks wherever you are.
  • How to use it: Open the app, tap “New Reminder,” and add tasks with due dates or locations. You’ll be alerted when it’s time to act.
  • Tip: Create specific lists for things like shopping or doctor’s appointments to stay organized.

3. Apple Notes

  • Purpose: Taking and organizing notes
  • Why it’s great: Apple Notes allows you to jot down quick thoughts, ideas, or even create checklists. It’s simple to use and can be accessed from any Apple device.
  • How to use it: Open Notes, tap “New Note,” and start typing. You can also add photos or scan documents directly in the app.
  • Tip: Use folders to keep your notes organized by categories like personal, work, or projects.

4. Voice Memos

  • Purpose: Recording audio notes or reminders
  • Why it’s great: Voice Memos allows you to quickly record audio without needing to type anything. It’s great for reminders or capturing ideas on the go.
  • How to use it: Open the app, tap the red “Record” button to start, and stop when you’re done. You can even edit your recordings!
  • Tip: Label your recordings so you can easily find them later.
Comparing Classic vs. New Apps: What’s Best for You?

While classic apps like Safari, Contacts, and Calendar are great for basic functions, newer apps such as Focus, Reminders, and Apple Notes bring exciting features that help you stay organized and productive.

Here’s a quick comparison:

FunctionClassic AppNewer AppBest for You
Browsing & ResearchSafariSafariClassic app is still the best for web browsing.
Task ManagementCalendarRemindersReminders makes organizing tasks easier.
Notes & IdeasNotepad (Old)Apple NotesNewer Apple Notes allows multimedia and is synced across devices.
Focus & DistractionsNoneFocusFocus is great for staying productive.

How Both Old and New Apps Can Work Together

The good news is that you don’t need to choose between old and new apps. You can use both types to your advantage! For example:

  • Use Safari for web browsing and Apple Notes to save important information you find online.
  • Keep track of events and appointments in Calendar and use Reminders to manage specific tasks.
  • Use Focus to help reduce distractions while working or relaxing.

Conclusion

No matter how tech-savvy you are, both classic and newer iPhone apps offer valuable tools that can help improve your daily life and boost productivity. By combining the simplicity of old apps with the convenience and features of new ones, you’ll have everything you need to stay organized and on top of your tasks.
How to Declutter Photos and Videos on Your iPhone Using Apps

Keeping your iPhone organized can be challenging, especially when photos and videos start piling up. Over time, you may find duplicates or similar shots that take up valuable space. Fortunately, there are apps and tools that make it easy to clean out those extras. This guide will help you declutter your iPhone step by step using simple tools designed for older adults or those unfamiliar with iPhones.

Table of Contents

Why Decluttering Your Photos Matters

  • Saves Storage Space: Removing duplicates frees up storage for new memories.
  • Simplifies Browsing: Fewer photos make it easier to find your favorite moments.
  • Speeds Up Performance: A clutter-free phone often runs faster.

These apps can help identify and remove duplicate or similar photos and videos:

  • Gemini Photos: Automatically detects duplicates and clutter.
  • Remo Duplicate Photos Remover: Finds similar shots and lets you delete them in batches.
  • Cleaner for iPhone: Scans for both photos and videos, highlighting unnecessary files.

How to Use Gemini Photos (Step-by-Step)

Follow these steps to start cleaning your photo library:

  1. Download Gemini Photos from the App Store.
  2. Open the app and grant permission to access your photos.
  3. Scan your photo library: The app will analyze your gallery for duplicates and similar images.
  4. Review Results: Gemini groups similar photos and suggests which ones to delete.
  5. Select and Delete: Confirm which photos you want to remove and tap Delete.

Manual Decluttering Using the Photos App

If you prefer not to use a third-party app, you can also declutter manually:

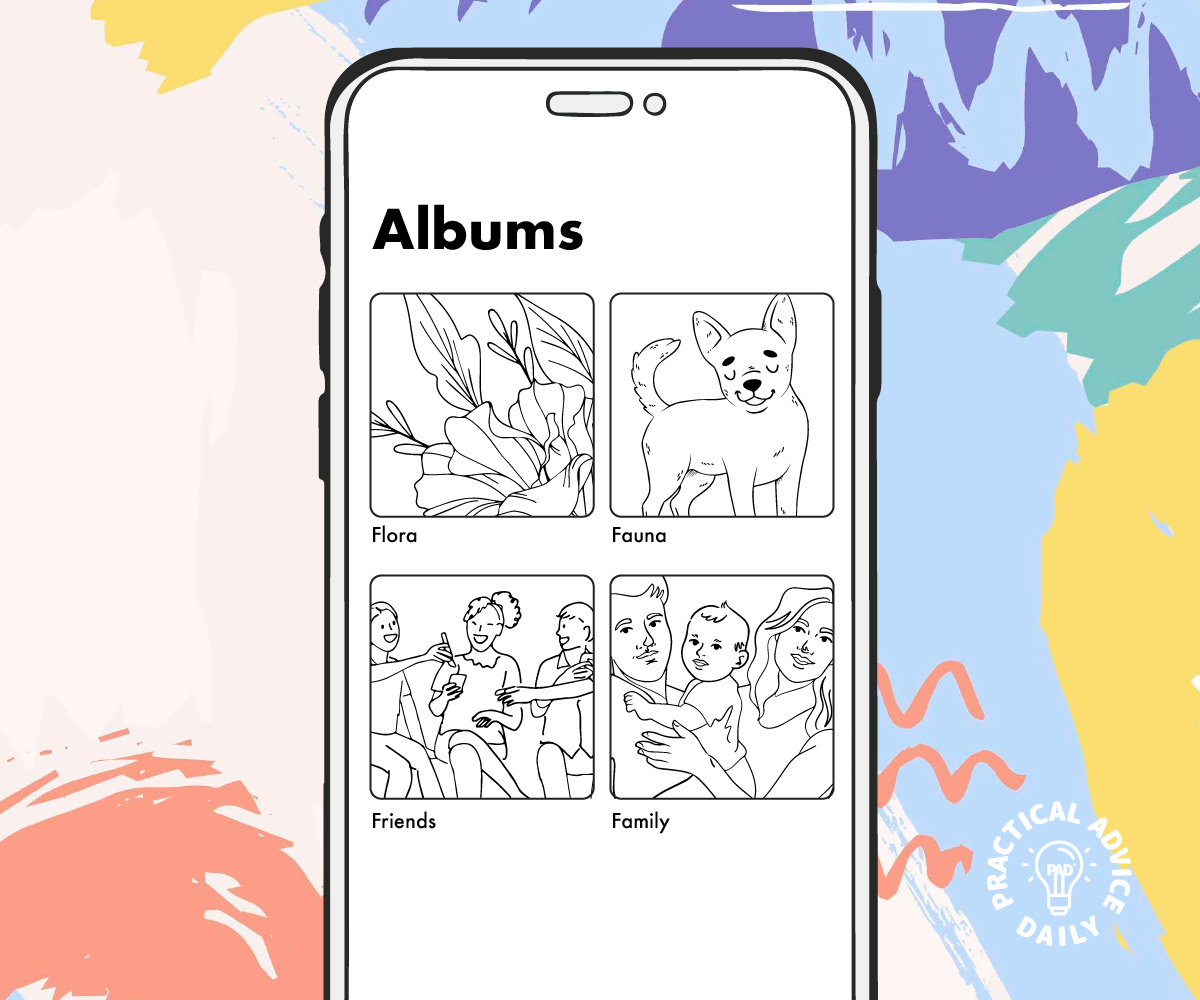
  1. Open the Photos App on your iPhone.
  2. Go to Albums > Duplicates.
  3. Review the suggested duplicates.
  4. Tap Merge to combine similar photos or delete as needed.

Tips for Maintaining a Clutter-Free Photo Library

  • Regular Cleanups: Set a monthly reminder to review your photo library.
  • Use iCloud Storage: Automatically backs up your photos and prevents clutter on your device.
  • Delete Unnecessary Screenshots: Review and remove old screenshots regularly.

Final Thoughts

Decluttering your iPhone photos and videos can be simple and rewarding. Using apps like Gemini Photos or manual methods ensures your phone stays organized and runs smoothly. Remember, regular cleanups make it easier to keep your digital memories safe and easy to access.

By following these steps, you’ll have a cleaner, more organized photo library in no time. Happy decluttering!

5 Biggest Mistakes Killing Your iPhone Battery: How to Avoid Them

An iPhone’s battery is a crucial component, yet many users unknowingly make mistakes that can drastically shorten its lifespan. Poor habits can render a fully charged device close to powerless midway through the day. Avoiding common pitfalls can significantly extend the battery life of your iPhone.

Table of Contents

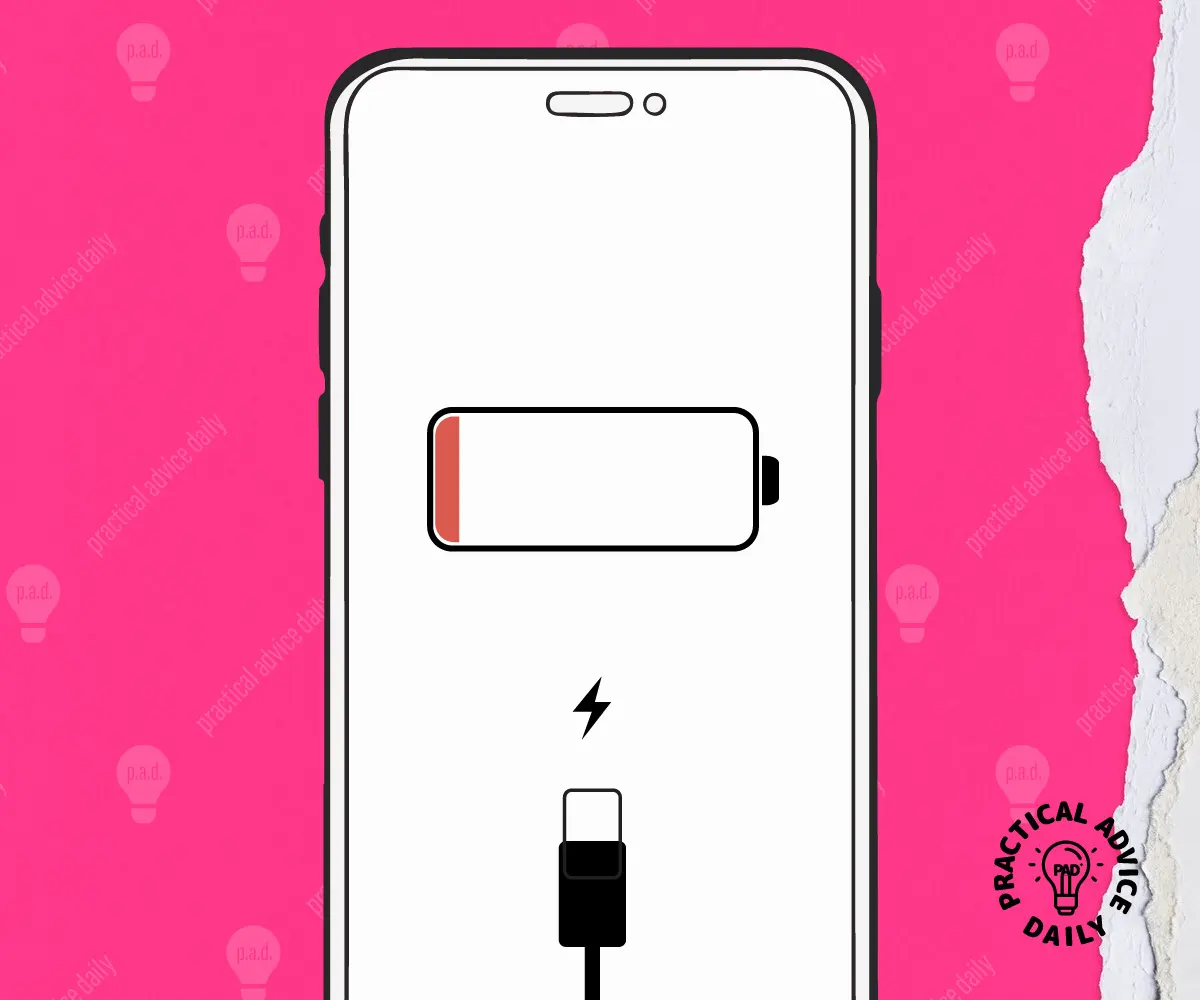
An iPhone with a low battery icon, surrounded by various power-draining devices and activities

Many unknowingly expose their iPhones to conditions that lead to rapid battery drain. Whether it’s charging habits or environmental factors, simple changes can make a noticeable difference. Understanding the intricacies of battery health can empower users to maintain their devices effectively.

In a world where remaining connected is essential, ensuring optimal battery performance is paramount. Users often focus on advanced features, overlooking the basics of battery maintenance. Through awareness and slight adjustments, anyone can sustain their battery life for longer periods.

Key Takeaways

  • Battery health is critical for smartphone longevity.
  • Simple errors can reduce battery lifespan.
  • Awareness and adjustments improve battery performance.

Understanding iPhone Battery Health

An iPhone with a low battery percentage displayed on the screen, surrounded by various charging cables and adapters. The background could include a cracked screen or a dimly lit room to convey the idea of battery misuse

iPhone battery health depends on lithium-ion chemistry and user habits.

Key Factors:

  • Lithium-Ion Batteries: Efficient and rechargeable, but sensitive to temperature changes.
    • Cold weather slows chemical reactions.
    • Heat accelerates battery degradation.
  • Ideal Temperature: Keep the device between 32° to 95°F (0° to 35°C).

Mistake #1: Charging to 100% Constantly

  • Frequent full charges strain the battery.
  • Best Practice: Maintain charge between 20% and 80%.

Mistake #2: Letting the Battery Drain Completely

  • Draining to 0% reduces battery lifespan.
  • Best Practice: Avoid full discharges; recharge before reaching low percentages.

Mistake #3: Charging Overnight

An iPhone plugged into a non-certified charger while sitting on a hot surface, with multiple background apps running
  • Myth: Overnight charging damages the battery.
  • Fact: iPhones have built-in protection against overcharging.
  • Tip: Use Optimized Battery Charging to reduce wear.

Mistake #4: Using Non-Certified Chargers

Mistake #5: Ignoring Software Updates

  • Updates often include battery performance optimizations.
  • Tip: Keep your iOS updated and monitor battery health settings.

Final Tips for Prolonging Battery Life:

  • Avoid extreme temperatures.
  • Keep background apps in check.
  • Use low power mode when necessary.

5 Must-Know Tips for Taking Better Selfies with Your iPhone

Taking selfies with your iPhone can be a fun way to capture memories and share your moments with friends and family. If you’re looking to improve your selfie skills, here are five must-know tips that will help you take better photos with ease.

Table of Contents

1. Find Good Lighting

Tip: Natural light is your best friend!

When taking selfies, the right lighting can make all the difference. Try to position yourself near a window or outdoors during the day when the sun is shining. Soft, natural light helps reduce shadows and highlights your features beautifully. Avoid harsh, overhead lights that can create unflattering shadows on your face.

2. Hold Your iPhone at Eye Level

Tip: Keep it simple!

For the best angles, hold your iPhone at eye level. This perspective is flattering and helps capture your face without distortion. If you’re taking a group selfie, hold the camera slightly above your head and angle it downwards for a great view of everyone.

3. Use the Front Camera

Tip: Switch to the front camera for easy selfies!

Your iPhone has two cameras, and the front one is perfect for selfies! To switch to the front camera, tap the camera icon with the two arrows in a circle. This allows you to see yourself on the screen, making it easier to frame your shot and smile just right.

4. Experiment with Angles

Tip: Try different angles for unique shots!

Don’t be afraid to move around and try different angles. Tilt your head slightly to the side, or turn your body a bit for a more dynamic shot. Take several photos from different angles to see which ones you like best. Remember, it’s all about finding your favorite look!

5. Use the Timer for Group Selfies

Tip: Let your iPhone do the counting!

If you’re taking a group selfie, using the timer can help everyone get in the picture. Open the camera app, tap the timer icon (it looks like a clock), and set it for 3 or 10 seconds. This gives you enough time to get into position with your friends or family before the photo is taken.

Conclusion

With these five simple tips, you’ll be on your way to taking stunning selfies with your iPhone. Remember to have fun, experiment, and most importantly, enjoy capturing the moments that matter to you. Happy snapping!

Time-Saving iPhone Hacks Every New User Should Master: Boost Productivity with Insider Tips

New iPhone users often find themselves overwhelmed with the device’s extensive features.

While the basics are straightforward, discovering hidden tricks can truly change the game for productivity.

Learning to use your iPhone efficiently means delving into lesser-known shortcuts that can dramatically enhance your day-to-day tasks.

These hacks, trusted by tech insiders, offer not just convenience but also a meaningful boost to your digital lifestyle.

Table of Contents

Key Takeaways:

  • Discover and apply hidden shortcuts for greater efficiency.
  • Adjust iPhone settings to fit personal needs quickly.
  • Use Siri and gestures to save time on daily tasks.

Optimizing Your Settings

An iPhone with various apps open, a clock showing time saved, and a hand using a shortcut

Streamline Notifications:

  • Group notifications by app in Settings > Notifications.
  • Enable Focus Modes to limit alerts during specific times.
  • Disable notifications for less-used apps to reduce distractions.
  • Turn on Badge Icons for important apps.

Battery Life Extenders:

Customizing Control Center:

  • Customize via Settings > Control Center.
  • Add shortcuts like Flashlight, Camera, Wallet for quick access.
  • Reorganize tools to match personal needs for faster access.

Mastering Keyboard Shortcuts

A person's hand using keyboard shortcuts on an iPhone, with various app icons visible on the screen

Text Replacement Tricks:

  • Set up in Settings > General > Keyboard > Text Replacement.
  • Create shortcuts like “omw” for “On my way!”.
  • Ideal for repetitive phrases and email addresses.

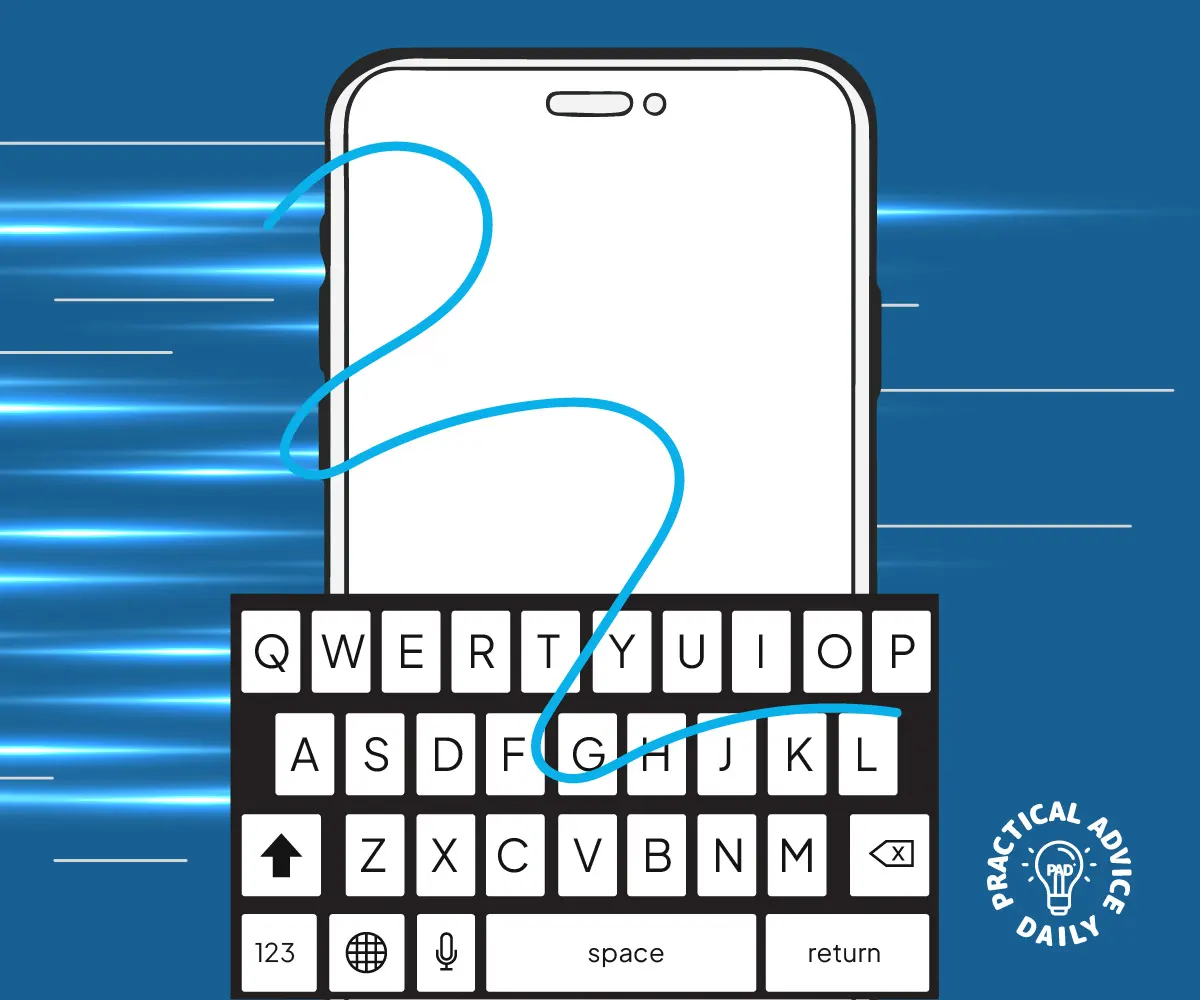
Efficient Typing with Swipe Keyboard:

  • Active by default in iOS 13+.
  • Slide finger across letters instead of tapping.
  • Great for one-handed use and faster typing.

Leveraging Siri for Efficiency

A person's hand holding an iPhone, using Siri to quickly complete tasks, with various apps open in the background

Creating Custom Voice Commands:

  • Set up in Settings > Siri & Search > Shortcuts.
  • Create commands to open apps, message contacts, or adjust settings.

Using Siri Shortcuts:

  • Automate tasks like checking weather, traffic, and calendar.
  • Create in the Shortcuts App > Create Shortcut.

Advanced Gestures and Touch Commands

A hand holding an iPhone, with various app icons and settings options displayed on the screen

Navigational Swipe Gestures:

  • Swipe up for the App Switcher.
  • Swipe down from the top-right for Control Center.
  • Swipe left-to-right for easy navigation back to previous screens.

3D Touch & Haptic Touch Techniques:

  • 3D Touch (on some models) provides app previews with harder presses.
  • Haptic Touch offers similar features with a long press.
  • Use for quick actions like checking messages or app shortcuts.

How to Use the Hearing Aid Compatibility Feature on Your iPhone

If you use a hearing aid or cochlear implant, you may have noticed that sometimes it’s a little tricky to hear sounds clearly through your iPhone. Fortunately, Apple has a feature built right into your iPhone that can make the sound clearer and more compatible with hearing devices. It’s called the Hearing Aid Compatibility feature, and it’s super simple to set up! Let’s walk through how to turn it on and make sure your iPhone and hearing device are working together smoothly.

Table of Contents

Step 1: Open Settings

Start by opening the Settings app on your iPhone. This app has a gear-shaped icon and is usually found on the home screen.

Step 2: Go to Accessibility

Once in Settings, scroll down a bit and tap on Accessibility. This section of the settings is where you can adjust features to make your iPhone easier to use, including those for hearing aids.

Step 3: Find the Hearing Devices Section

In the Accessibility menu, look for the Hearing Devices section. It’s usually listed toward the top, so you don’t have to scroll too far.

Step 4: Turn On Hearing Aid Compatibility

Now, tap on Hearing Aid Compatibility. This will open a new page where you can toggle the feature on. Simply switch the slider to the “on” position.

Once turned on, this feature will improve the sound quality for your hearing aid or cochlear implant by adjusting the iPhone’s sound settings. You might notice clearer audio when you’re on a call or listening to music or videos.

Step 5: Pairing Your Hearing Aid

If you haven’t already connected your hearing aid to your iPhone, now is a good time to pair them. While in the Hearing Devices section, you may see an option to pair with your hearing aid if it’s Bluetooth-enabled.

  1. Tap Bluetooth.
  2. Make sure your hearing aid is in pairing mode (you may need to refer to your hearing aid’s manual for details on how to do this).
  3. Your hearing aid should show up in the list of available devices on your iPhone. Tap on it to connect.

Step 6: Adjust Sound Settings (Optional)

Once your hearing aid is paired, you might want to adjust the sound settings for the best experience. In the Hearing Devices section, you can find options like Audio Routing, which lets you choose whether to send audio through your hearing aids, speaker, or other connected devices.

You can also adjust the Balance if you prefer more sound in one ear than the other.

Step 7: Test It Out

Finally, test out the connection by making a call or playing music. If the sound quality isn’t quite right, go back into the Hearing Devices settings and make any adjustments you need.

With these simple steps, you can use the Hearing Aid Compatibility feature to make your iPhone work better with your hearing device. It’s easy to set up, and once you’ve got it going, you’ll have a clearer and more enjoyable experience when using your iPhone. Give it a try today!

3 Handy iPhone Accessories Every User Should Have

Having an iPhone makes life easier in many ways, but did you know that a few simple accessories can make it even better? These three accessories are must-haves for anyone who wants to make everyday tasks with their iPhone easier and more enjoyable. Here’s why they’re essential and how they can help you get the most out of your iPhone.

Table of Contents

1. A Durable Case for Protection

Why It’s Essential: A good iPhone case protects your device from accidental drops and scratches, which helps it last longer and look good as new. Cases also provide a better grip, making it less likely that your iPhone will slip from your hand.

  • What to Look For:
    • Material: Silicone and rubber cases are comfortable to hold and absorb shock if you drop the phone.
    • Raised Edges: Some cases have slightly raised edges around the screen and camera to give extra protection.
    • Fit and Style: Choose a case that fits your iPhone model snugly and matches your personal style!
  • Recommended Option: Apple Silicone Case (available on the Apple Store)

2. A Reliable Portable Charger

Why It’s Essential: We use our iPhones for so much during the day that battery life can drain faster than expected. A portable charger, also known as a power bank, lets you recharge your phone anywhere—perfect for when you’re on the go or away from an outlet.

  • What to Look For:
    • Compact Size: A small, lightweight power bank is easy to carry in your bag or pocket.
    • Charging Capacity: Look for a charger with at least 5,000mAh capacity for one to two full charges.
    • Built-in Cable: Some portable chargers come with a built-in cable, which is convenient so you don’t need to remember a separate one.
  • Recommended Option: Apple MagSafe Battery Pack (available on the Apple Store)

3. A Pair of Comfortable Wireless Earbuds


Why It’s Essential: Wireless earbuds are perfect for listening to music, podcasts, or making hands-free calls without the hassle of tangled wires. Apple’s AirPods are specially designed to work seamlessly with iPhones, giving great sound quality and ease of use.

  • What to Look For:
    • Battery Life: AirPods and similar wireless earbuds usually last several hours and come with a charging case for multiple charges.
    • Comfort Fit: Look for earbuds that fit comfortably in your ears, especially if you plan to use them often.
    • Easy Pairing: AirPods connect quickly with iPhones, so you can enjoy listening without delay.
  • Recommended Option: Apple AirPods (2nd Generation) (available on the Apple Store)

Final Thoughts

These three accessories—a protective case, a portable charger, and wireless earbuds—can make using your iPhone easier and more enjoyable. They add convenience, protect your investment, and let you enjoy your phone wherever you are.

How to Secure Your iPhone with Two-Factor Authentication

Keeping your iPhone secure is more important than ever. One of the best ways to protect your personal information is by setting up Two-Factor Authentication (2FA). This extra layer of security ensures that even if someone knows your password, they can’t access your account without a second verification step. Don’t worry if you’re not familiar with this – we’ll walk you through it step by step!

Table of Contents

What is Two-Factor Authentication?

Two-Factor Authentication (2FA) is a security feature that adds an extra layer of protection to your accounts. When you enable 2FA on your iPhone, you’ll need two things to log in:

  1. Your password
  2. A second code that is sent to you via a text message or an app

This makes it harder for anyone to access your account, even if they know your password.

Why Should You Use Two-Factor Authentication?

The simple answer: It keeps your information safer. 2FA helps protect sensitive data, such as your contacts, messages, photos, and financial details, by requiring an extra step to confirm it’s really you trying to log in.

Now, let’s go over how to set it up!

Step-by-Step Guide to Set Up Two-Factor Authentication on Your iPhone

  1. Open Settings
    First, unlock your iPhone and tap on the Settings app, which is represented by a gear icon.
  2. Go to Your Apple ID
    At the top of the Settings menu, you’ll see your name. Tap on it to open your Apple ID settings.
  3. Select Password & Security
    Once you’re in the Apple ID section, scroll down and tap Password & Security. This is where you’ll find the options to secure your account.
  4. Turn on Two-Factor Authentication
    You’ll see an option for Two-Factor Authentication. Tap on it, and then select Turn On.
  5. Verify Your Identity
    To proceed, you may need to enter your Apple ID password. Type it in and tap OK.
  6. Choose How You Want to Receive the Code
    Apple will ask how you’d like to receive the verification code: via text message or through an authentication app like Google Authenticator. Choose the option that’s easiest for you.
  7. Enter the Verification Code
    You’ll receive a six-digit code either by text or in the app you selected. Enter the code into the prompt on your iPhone.
  8. Finish Setup
    Once you’ve entered the code, tap Next. You’re all set! Two-Factor Authentication is now enabled, making your iPhone more secure.

What to Do If You Lose Access to Your Trusted Phone Number

If you ever lose access to the phone number linked to your 2FA, don’t worry. Apple allows you to set up trusted devices or even change your phone number in the Apple ID settings. You’ll just need to follow the prompts on your device to recover access.

Tips for Managing Two-Factor Authentication

  • Keep your trusted phone number updated: If you change your phone number, be sure to update it in your Apple ID settings.
  • Use trusted devices: Devices like your iPad or MacBook can also be set up to receive verification codes, so you don’t always need your phone on hand.

Final Thoughts

Setting up Two-Factor Authentication on your iPhone is a simple yet powerful way to protect your personal information. By following these steps, you’ve added an extra layer of security that helps ensure your data stays safe. Stay confident knowing that your iPhone is better protected from potential threats!

If you ever have any trouble or need further assistance, Apple’s support is just a tap away. You’re doing great, and your iPhone is now more secure than ever!

How to Fix Apps That Keep Crashing on iPhone

There’s nothing more frustrating than when an app on your iPhone keeps crashing. But don’t worry! Fixing this issue is often easier than you think. In this guide, we’ll walk you through simple steps to get your apps running smoothly again. Just follow along one step at a time, and you’ll have it sorted in no time.

Table of Contents

1. Close and Reopen the App

Sometimes, all the app needs is a quick reset.

  • Swipe up from the bottom of your screen (or double-click the Home button if your iPhone has one).
  • Find the app that’s causing trouble.
  • Swipe it upwards to close it completely.
  • Wait a moment, then tap the app to open it again.

2. Restart Your iPhone

A simple restart can work wonders for fixing small glitches.

  • Hold the power button (or the power button and volume down button on some models) until the “Slide to Power Off” option appears.
  • Slide it to turn off your iPhone.
  • Wait about 10 seconds, then press the power button again to turn it back on.

3. Check for App Updates

An outdated app can crash frequently. Here’s how to update it:

  • Open the App Store on your iPhone.
  • Tap your profile picture in the top-right corner.
  • Scroll down to see a list of apps with available updates.
  • Tap Update next to the app that’s crashing.

4. Update Your iPhone Software

Sometimes, the app isn’t the problem—your iPhone’s software might need an update.

  • Open the Settings app.
  • Scroll down and tap General > Software Update.
  • If an update is available, tap Download and Install.

5. Free Up Storage Space

Apps may crash if your iPhone is running low on storage.

6. Reinstall the App

If the issue persists, deleting and reinstalling the app can help.

  • Press and hold the app icon on your Home Screen.
  • Tap Remove App, then select Delete App.
  • Go to the App Store, search for the app, and reinstall it.

7. Contact App Support

If nothing works, the problem might be with the app itself. Look for a “Support” option within the app (usually under Settings) or visit the app’s website for help.

8. Reset All Settings (Optional)

If apps continue crashing, resetting your iPhone’s settings could solve the issue.

  • Go to Settings > General > Transfer or Reset iPhone > Reset > Reset All Settings.
  • This won’t erase your data, but it will reset things like Wi-Fi passwords and preferences.

What Is Airplane Mode and When to Use It

What Is Airplane Mode and When to Use It

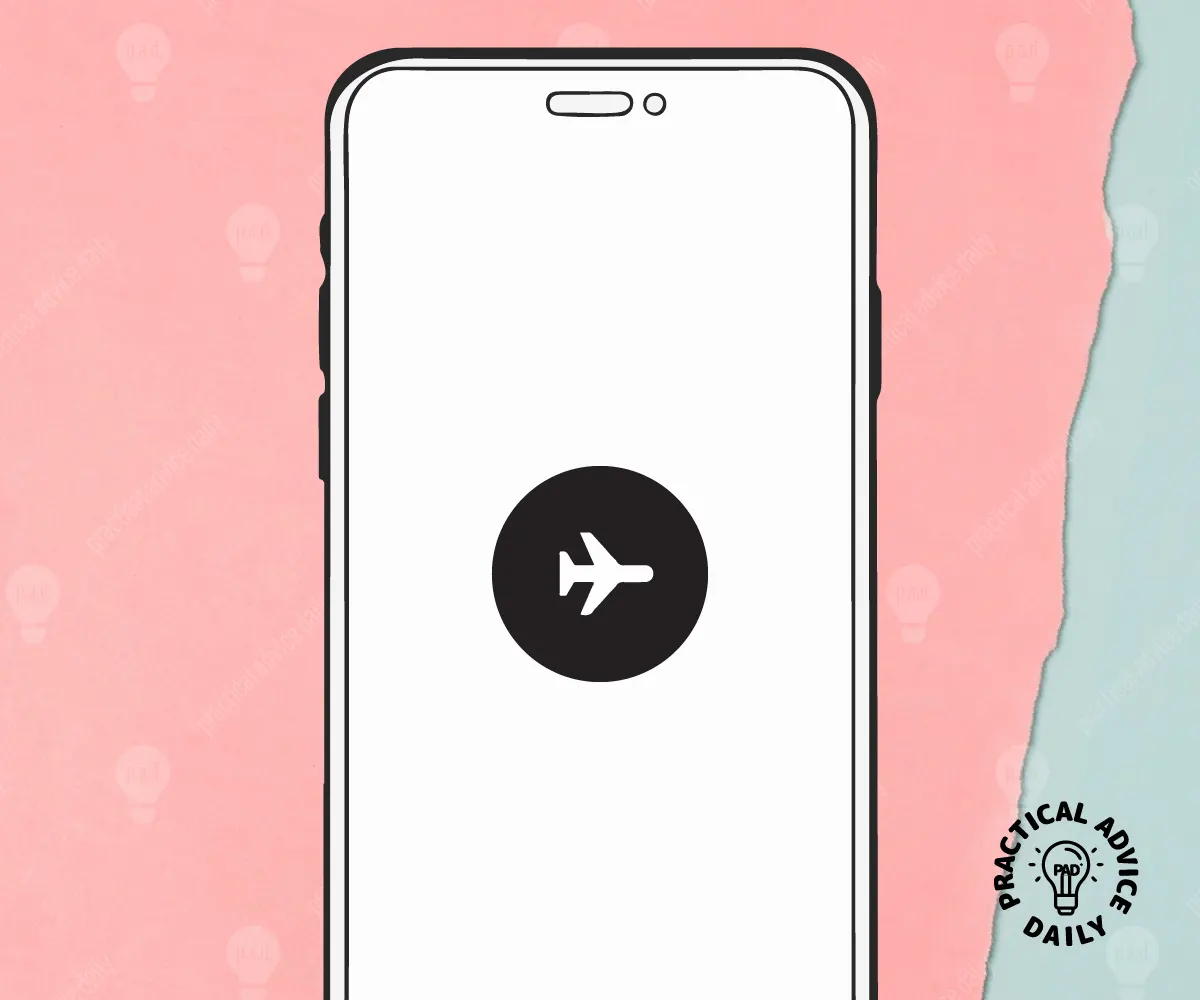
You may have noticed a small airplane icon on your phone, but what does it do? Airplane Mode is a helpful feature that temporarily turns off certain connections on your phone. Let’s explore what it does, how to use it, and why it’s useful in different situations.

Table of Contents

What Does Airplane Mode Do?

When you turn on Airplane Mode, your phone stops sending and receiving signals like:

  • Cellular connection: No calls or texts.
  • Wi-Fi: Disconnects from wireless internet.
  • Bluetooth: Turns off connections to devices like wireless headphones.

However, you can turn Wi-Fi or Bluetooth back on manually while staying in Airplane Mode if needed.

How to Turn On Airplane Mode


It’s easy to activate Airplane Mode on your iPhone:

  1. Using Control Center:
    • Swipe down from the top-right corner of the screen (on newer iPhones) or swipe up from the bottom (on older models).
    • Tap the airplane icon to turn it on. It will light up when active.
  2. Using Settings:
    • Open the Settings app.
    • Toggle the switch next to Airplane Mode to the green “on” position.

To turn it off, repeat the steps above.

When Should You Use Airplane Mode?

  1. On an Airplane
    As the name suggests, this mode was designed for use during flights. It ensures your phone’s signals don’t interfere with the airplane’s communication systems.
  2. Saving Battery Life
    When your phone struggles to find a signal, it drains the battery faster. Turning on Airplane Mode can help your battery last longer in areas with poor reception.
  3. Focusing Without Interruptions
    Need some quiet time? Airplane Mode silences calls, texts, and notifications, making it perfect for focusing on tasks or relaxing.
  4. Charging Your Phone Faster
    Airplane Mode reduces background activity, helping your phone charge more quickly.
  5. Avoiding Roaming Charges While Traveling
    If you’re in another country and want to avoid unexpected charges, Airplane Mode ensures your phone doesn’t connect to cellular networks.
  6. Troubleshooting Network Issues
    If your phone isn’t connecting to Wi-Fi or cellular networks properly, toggling Airplane Mode on and off can help reset the connections.

FAQs About Airplane Mode

Can I still use apps in Airplane Mode?
Yes, you can use apps that don’t need internet, like the Camera, Calculator, or Notes. If you turn Wi-Fi back on, apps that require internet will work.

What happens to calls and texts in Airplane Mode?
Incoming calls and texts won’t come through while Airplane Mode is on. Once you turn it off, you’ll receive any missed messages.

Can I listen to music with wireless headphones?
Yes! After enabling Airplane Mode, go to Settings > Bluetooth to reconnect your headphones.