Ever taken a great photo only to find out it’s blurry? Don’t worry—you don’t need expensive software or expert skills to fix it! This guide will show you how to sharpen blurry iPhone photos using simple built-in tools and free apps. Let’s get started!
Table of Contents
Why Do iPhone Photos Turn Out Blurry?
Before fixing a blurry photo, it helps to know why it happens:
- Camera Shake – Moving while taking a picture can cause blurriness.
- Low Light – Poor lighting makes it harder for the camera to focus.
- Dirty Lens – A smudged lens can make photos appear out of focus.
- Motion Blur – Fast-moving subjects can create blur in pictures.
Simple Fixes Using the iPhone Photos App
Your iPhone has built-in tools to help sharpen blurry pictures. Here’s how to use them:
- Open the Photos App – Find the blurry photo you want to fix.
- Tap Edit (Top Right Corner) – This opens the editing options.
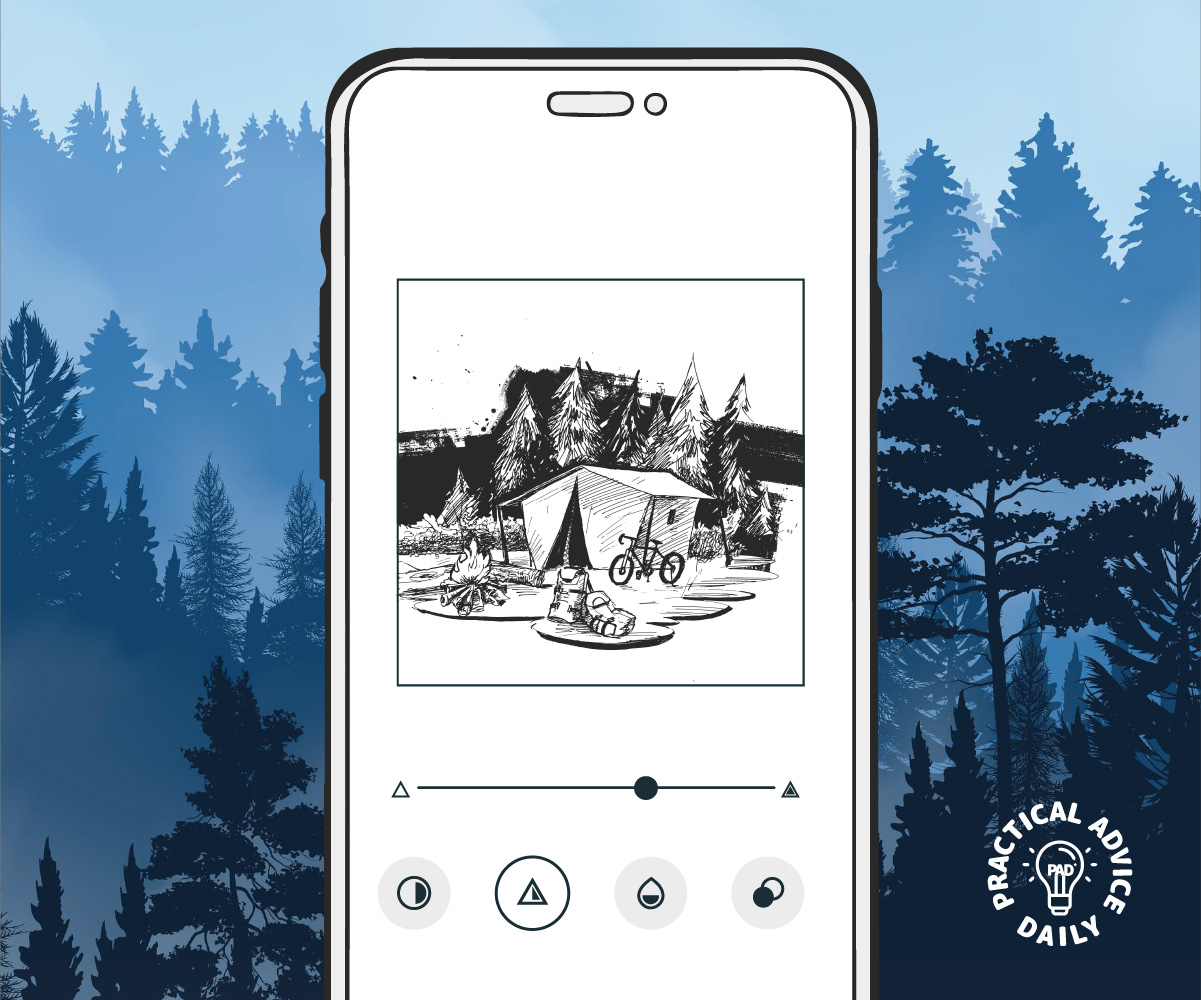
- Select the Sharpness Tool – Tap the adjustment button (looks like a dial) and choose Sharpness.
- Increase Sharpness – Slide the bar to the right to enhance details.
- Use Definition and Contrast – Adjust these settings to make edges clearer.
- Tap Done – Save your improved photo.
Using Free Apps to Sharpen Blurry Photos
If the built-in tools don’t give you the results you want, try these free apps:
1. Snapseed (By Google)
- How to Use:
- Open Snapseed and load your photo.
- Tap Tools and select Details.
- Adjust Sharpening and Structure to enhance clarity.
- Save your photo when you’re happy with the result.
2. Remini
- Best For: Fixing very blurry images with AI enhancement.
- How to Use:
- Upload your blurry photo.
- Let the app apply AI sharpening.
- Save and share your improved image.
3. Adobe Lightroom Mobile
- How to Use:
- Import your photo into Lightroom.
- Use the Sharpening tool under Detail.
- Adjust clarity and contrast to make edges stand out.
Preventing Blurry Photos in the Future
Here are a few tips to take clearer photos from the start:
- Hold Your iPhone Steady – Use both hands or a tripod.
- Clean the Camera Lens – Wipe it with a soft cloth.
- Use Burst Mode for Moving Subjects – This takes multiple shots to catch the clearest one.
- Tap to Focus – Before taking a picture, tap the screen where you want to focus.

Final Thoughts
Blurry photos can be frustrating, but fixing them is easier than you think! Whether you use the built-in Photos app or a free third-party app, you can sharpen your images in just a few taps. Try these methods and get clear, crisp pictures every time!
Got a favorite photo-fixing app? Share your experience in the comments below!
