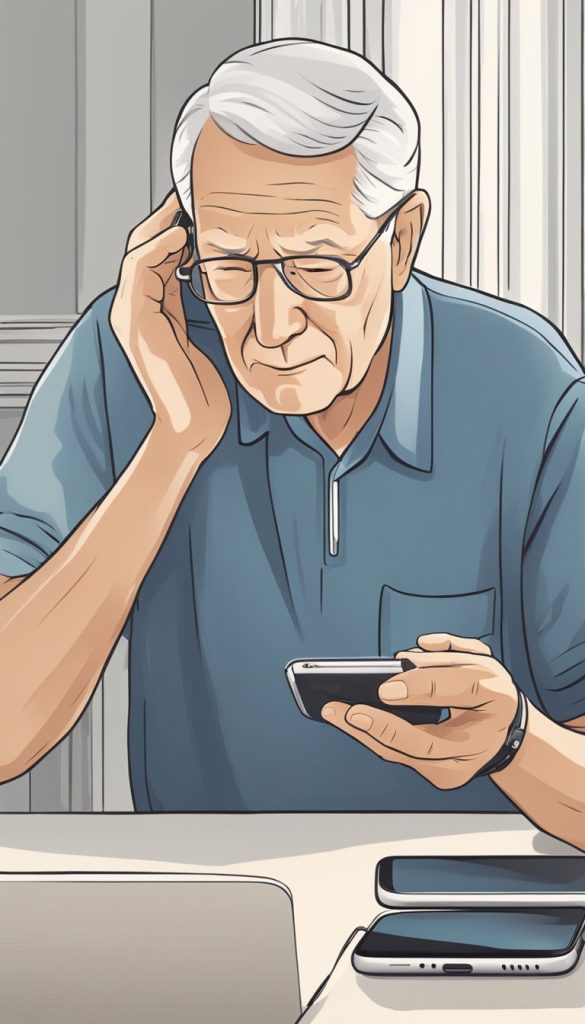
If you use a hearing aid or cochlear implant, you may have noticed that sometimes it’s a little tricky to hear sounds clearly through your iPhone. Fortunately, Apple has a feature built right into your iPhone that can make the sound clearer and more compatible with hearing devices. It’s called the Hearing Aid Compatibility feature, and it’s super simple to set up! Let’s walk through how to turn it on and make sure your iPhone and hearing device are working together smoothly.
Table of Contents
Step 1: Open Settings
Start by opening the Settings app on your iPhone. This app has a gear-shaped icon and is usually found on the home screen.
Step 2: Go to Accessibility
Once in Settings, scroll down a bit and tap on Accessibility. This section of the settings is where you can adjust features to make your iPhone easier to use, including those for hearing aids.
Step 3: Find the Hearing Devices Section
In the Accessibility menu, look for the Hearing Devices section. It’s usually listed toward the top, so you don’t have to scroll too far.
Step 4: Turn On Hearing Aid Compatibility
Now, tap on Hearing Aid Compatibility. This will open a new page where you can toggle the feature on. Simply switch the slider to the “on” position.
Once turned on, this feature will improve the sound quality for your hearing aid or cochlear implant by adjusting the iPhone’s sound settings. You might notice clearer audio when you’re on a call or listening to music or videos.
Step 5: Pairing Your Hearing Aid
If you haven’t already connected your hearing aid to your iPhone, now is a good time to pair them. While in the Hearing Devices section, you may see an option to pair with your hearing aid if it’s Bluetooth-enabled.
- Tap Bluetooth.
- Make sure your hearing aid is in pairing mode (you may need to refer to your hearing aid’s manual for details on how to do this).
- Your hearing aid should show up in the list of available devices on your iPhone. Tap on it to connect.

Step 6: Adjust Sound Settings (Optional)
Once your hearing aid is paired, you might want to adjust the sound settings for the best experience. In the Hearing Devices section, you can find options like Audio Routing, which lets you choose whether to send audio through your hearing aids, speaker, or other connected devices.
You can also adjust the Balance if you prefer more sound in one ear than the other.
Step 7: Test It Out
Finally, test out the connection by making a call or playing music. If the sound quality isn’t quite right, go back into the Hearing Devices settings and make any adjustments you need.
With these simple steps, you can use the Hearing Aid Compatibility feature to make your iPhone work better with your hearing device. It’s easy to set up, and once you’ve got it going, you’ll have a clearer and more enjoyable experience when using your iPhone. Give it a try today!
