Is your iPhone home screen feeling cluttered or hard to navigate? Adding widgets is a quick way to personalize your screen and make it easier to find what you need. Widgets are like mini-displays for your favorite apps, giving you quick information at a glance—such as weather, calendar events, or photos—without having to open each app. This guide will walk you through the steps to set up widgets, rearrange icons, and organize your screen so it feels like it was made just for you!
Step 1: Decide Which Widgets You Want
Think about which apps you check most often or which information you want to see quickly. Some popular widget choices are:
- Weather: Check the daily forecast.
- Calendar: See upcoming events or appointments.
- Photos: Display a rotating selection of your favorite memories.
- Clock: Show the time in other cities or countries.
- News: Get the latest headlines right on your screen.
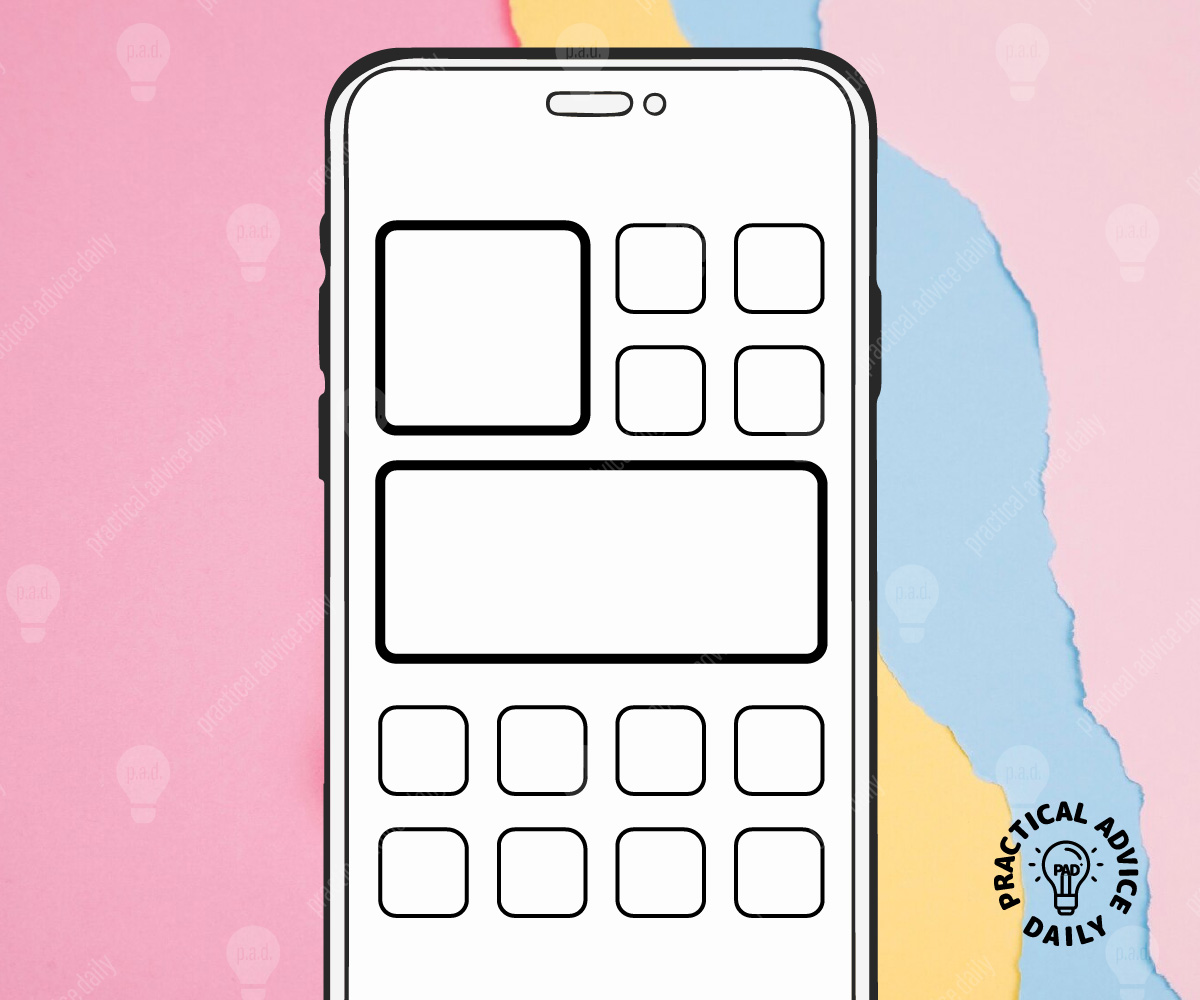
Step 2: Add a Widget to Your Home Screen
Here’s how to start adding widgets to your home screen:
- Press and Hold: Find an empty spot on your home screen, then press and hold until the app icons start to “wiggle.”
- Tap the Plus (+) Button: In the top left corner of the screen, you’ll see a plus (+) button. Tap it to open the widget selection.
- Choose Your Widget: Scroll through the list of widgets or use the search bar at the top to find specific ones, like “Weather” or “Photos.”
- Select a Widget Size: Widgets usually come in different sizes—small, medium, and large. Pick the size that works best for you, depending on how much information you want to see.
- Add the Widget: Tap Add Widget at the bottom of the screen. Your new widget will appear on your home screen.
Step 3: Arrange Your Widgets and Apps
Now that you’ve added widgets, you can organize them alongside your apps to create a layout that’s both useful and easy to navigate.
- Move Widgets and Apps: Press and hold any widget or app until it starts to wiggle. Then, drag it to the spot where you’d like it to stay. You can place widgets next to or above apps for a balanced look.
- Create a Stack of Widgets: To save space, you can “stack” widgets on top of each other. Drag one widget on top of another (they need to be the same size), and they’ll form a “stack” you can swipe through. This is helpful if you want several widgets but don’t want them taking up too much space.
Step 4: Use App Library to Organize Apps
If you don’t need every app on your home screen, you can remove some and find them in your App Library instead. This makes your home screen feel more organized and less cluttered.
- Remove Unneeded Apps from Home Screen: Press and hold an app icon until a menu appears. Tap Remove from Home Screen to keep the app but take it off the main screen. You’ll still find it in the App Library.
- Access the App Library: Swipe to the last page of your home screen, and you’ll see the App Library, which automatically organizes apps into categories like Social, Productivity, and Entertainment.
Step 5: Customize Your Home Screen Background
You can make your home screen feel even more personal by changing your background. A simple background can also make your widgets and apps easier to see.
- Open Settings: Go to your iPhone’s Settings app.
- Choose Wallpaper: Tap Wallpaper and then Choose a New Wallpaper.
- Pick a Background: You can choose a picture from your photos or pick from Apple’s built-in options.
- Set Your Wallpaper: Tap Set and choose whether you want the wallpaper for just your home screen, just your lock screen, or both.
By following these steps, you’ll have an organized, custom home screen that shows you exactly what you need at a glance. Adding widgets, arranging apps, and simplifying your layout can make your iPhone easier and more enjoyable to use. Enjoy your new setup!